This is my first attempt at a write up. It's pretty simple, but since there was a recent thread asking about this I figured I'd do it.
How many of us have installed a system and removed the door sills to run wires. Then when you put it back together you bend or break the tabs for the screws that hold the sill trim down? It was a poor design from the start. But something we've had to live with. You can either replace the trim piece, and risk breaking it if you have to remove it for some reason in the future. Or fix it like I did and be able to remove and replace the sill trim as often as you want.
I consider this a one beer job. Ok, more like half a beer. But who wants just half a beer?
Things you will need. Small flat screwdriver or something similar to pry with, phillips screwdriver, cutters of some sort, and a T-40 torx wrench...

First you want to remove the door sill trim. I'm sure that most can figure this out, but I wanted to be thorough so humor me. To remove the door sill trim, pry off the covers from the torx head bolts that hold down the seat belt anchor point (USDM)...
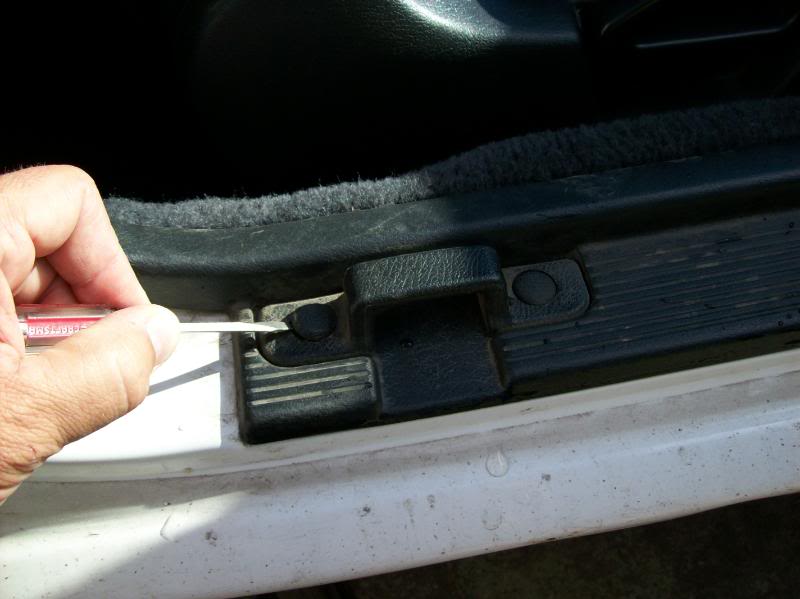
Then you can remove the bolts...
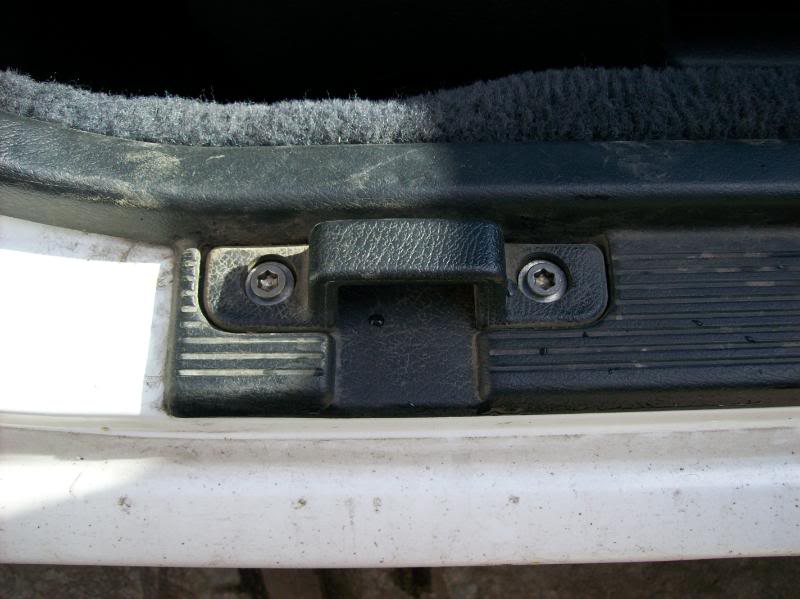
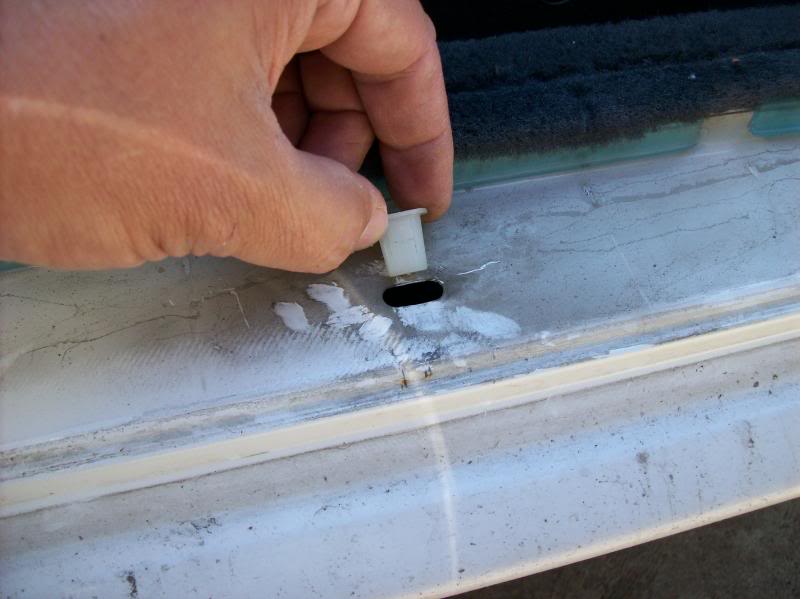
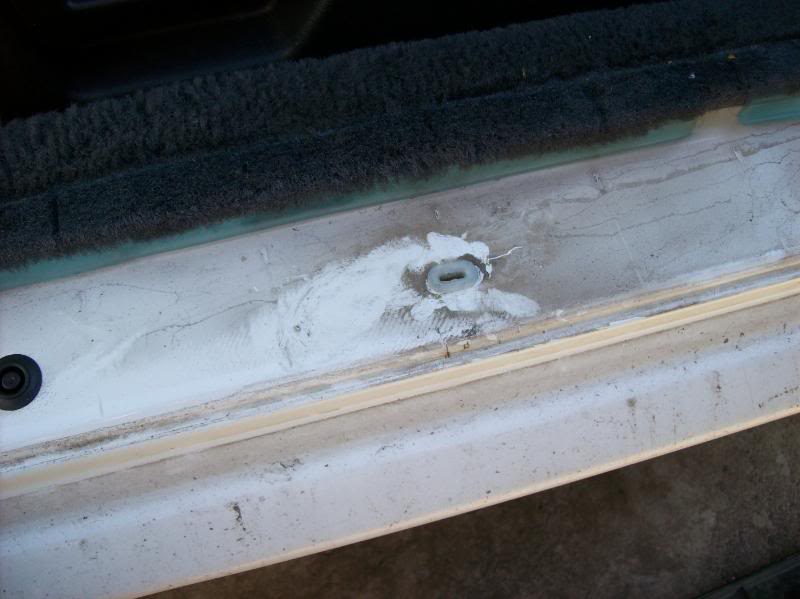
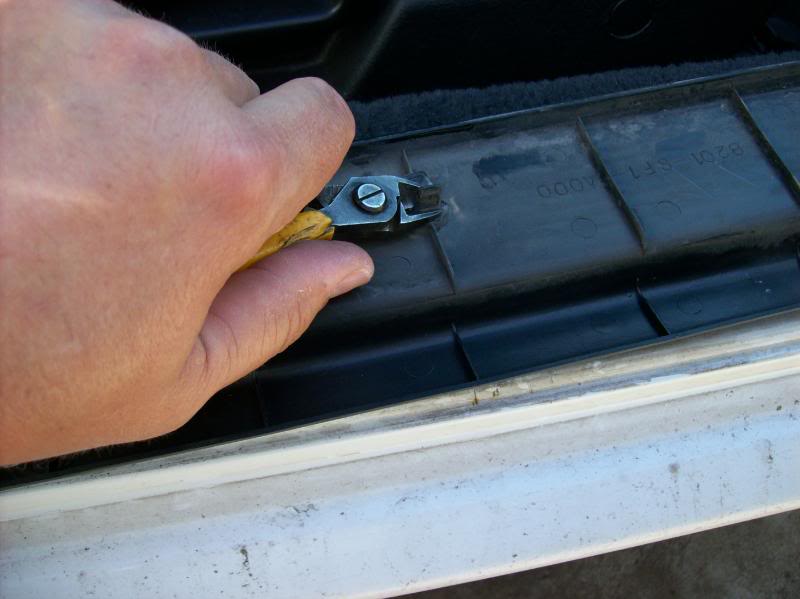
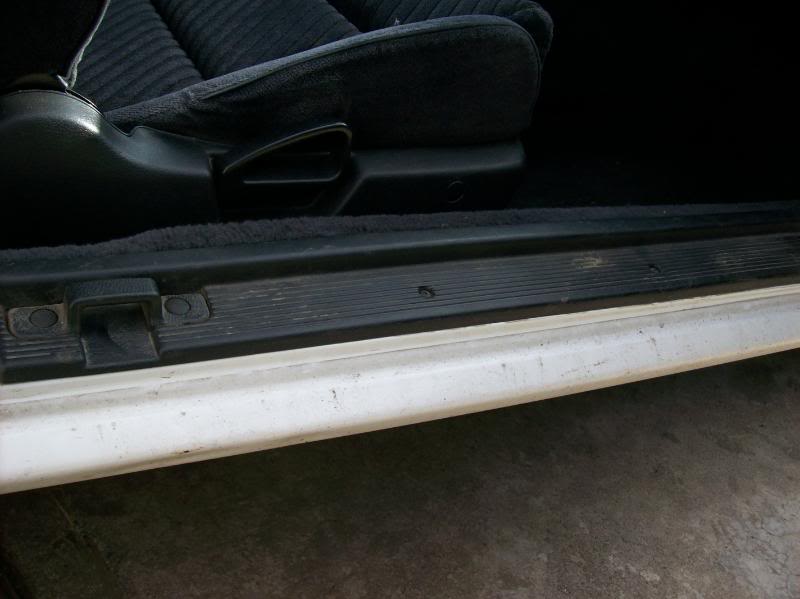
Now remove the three phillips head screws if they are there. Here is the passenger side door sill from my 91. This is what we are fixing...
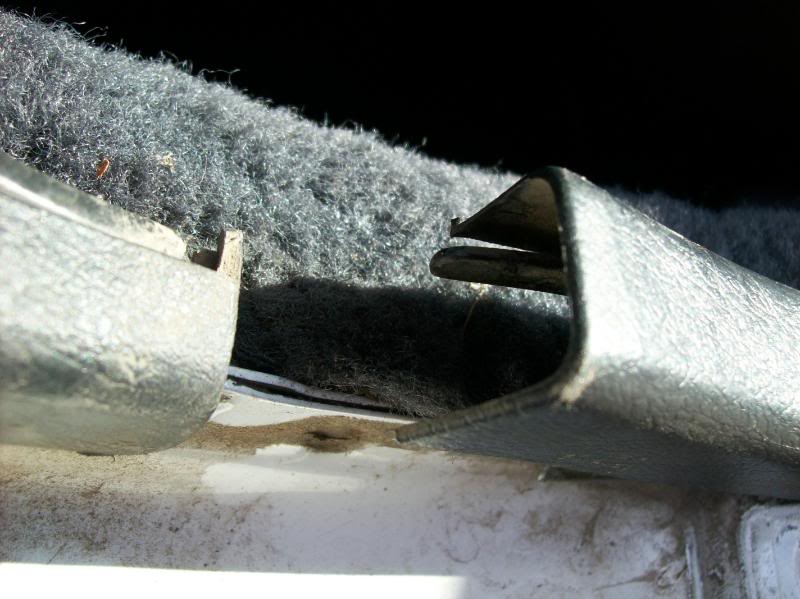
It should look like this...
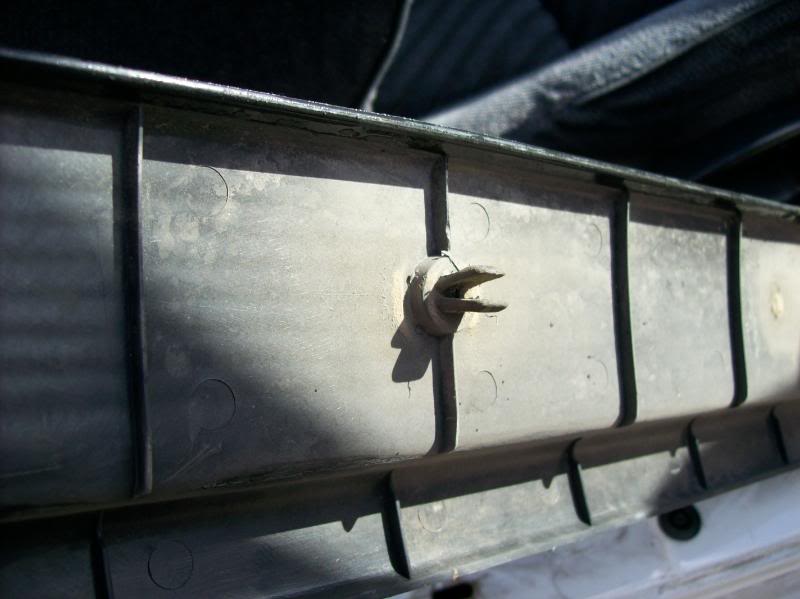
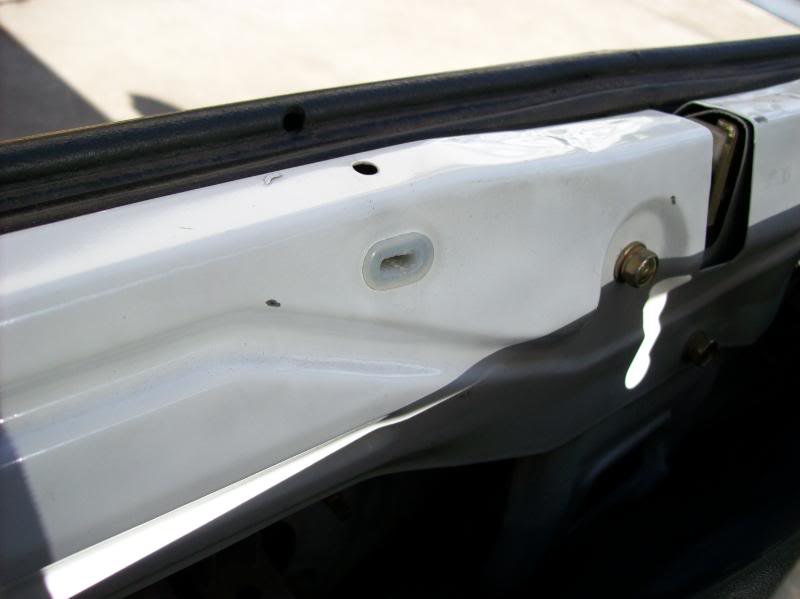
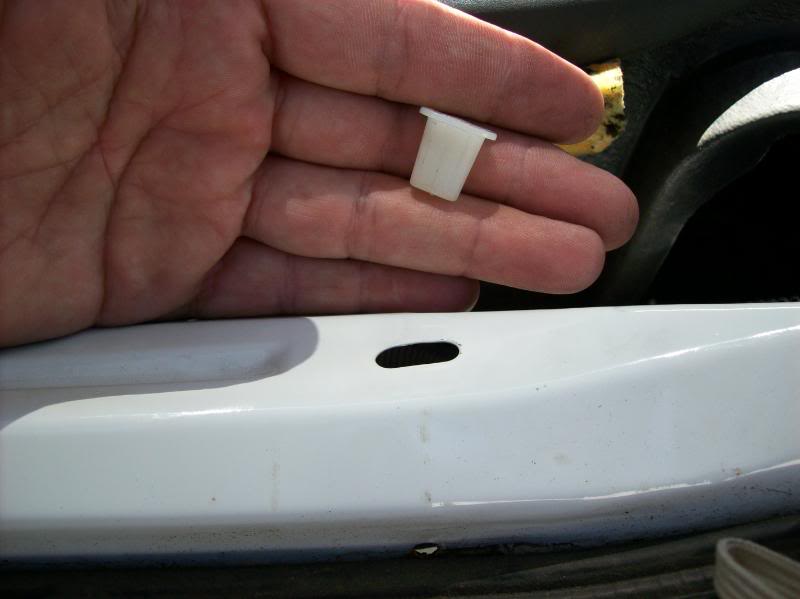
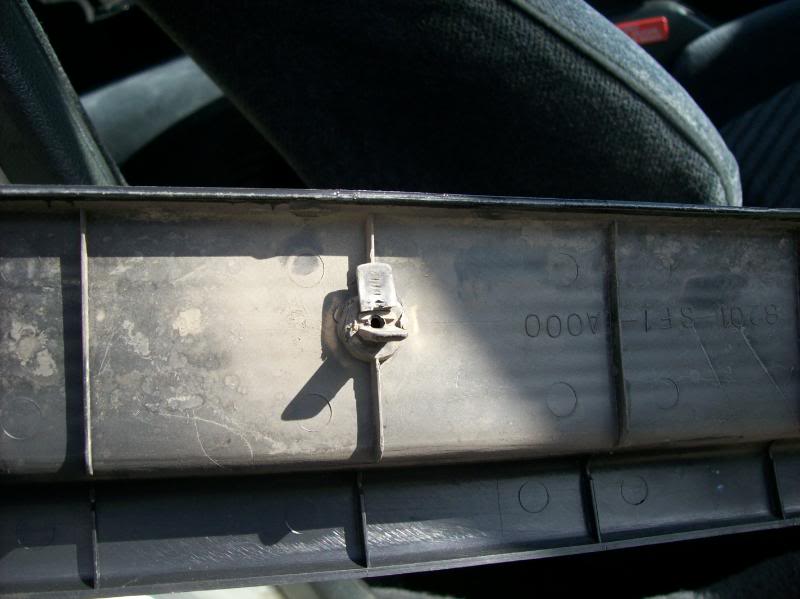
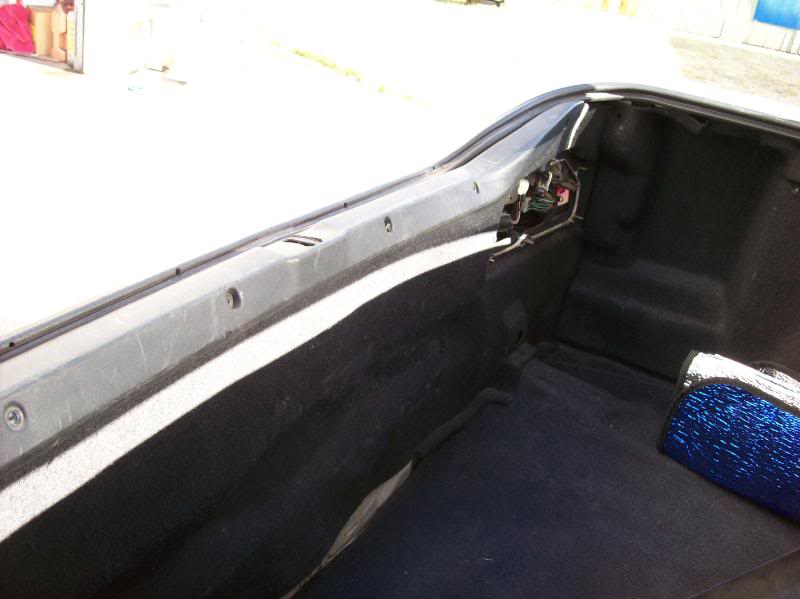
The part you will need to fix this comes from the trunk rear panel area. It's an insert that the rear panel cover screws screw into...
Ideally you will pull these from a junkyard car, but I'm pulling one from the same car to show where they came from. Remove the six screws holding the rear panel cover. Also remove the tail light covers...
You will then see six inserts like this...