Materials:
1. 400 and 600 grit automotive(wet or dry) sandpaper
2. Electronic parts cleaner
3. Phillips Head Screwdriver
4. BUM VSS
5. Q-tips
6. Dielectric Grease
7. Socket Set with extenders and 10mm socket
V.S.S. Overhaul
By: 91BeaterLude
(From: http://www.preludepower.com/forums/showthread.php?t=355158)
Link to this page:
BACK TO PRELUDE3G.COM HOME
A constant problem for many IF not all. The VSS for our 90-91 3rd gens is either hard to obtain due to $ or pure inability to find a 3rd gen in a local Junkyard. This write up is to obtain a possible "cheap fix"(supplies cost me under $20)
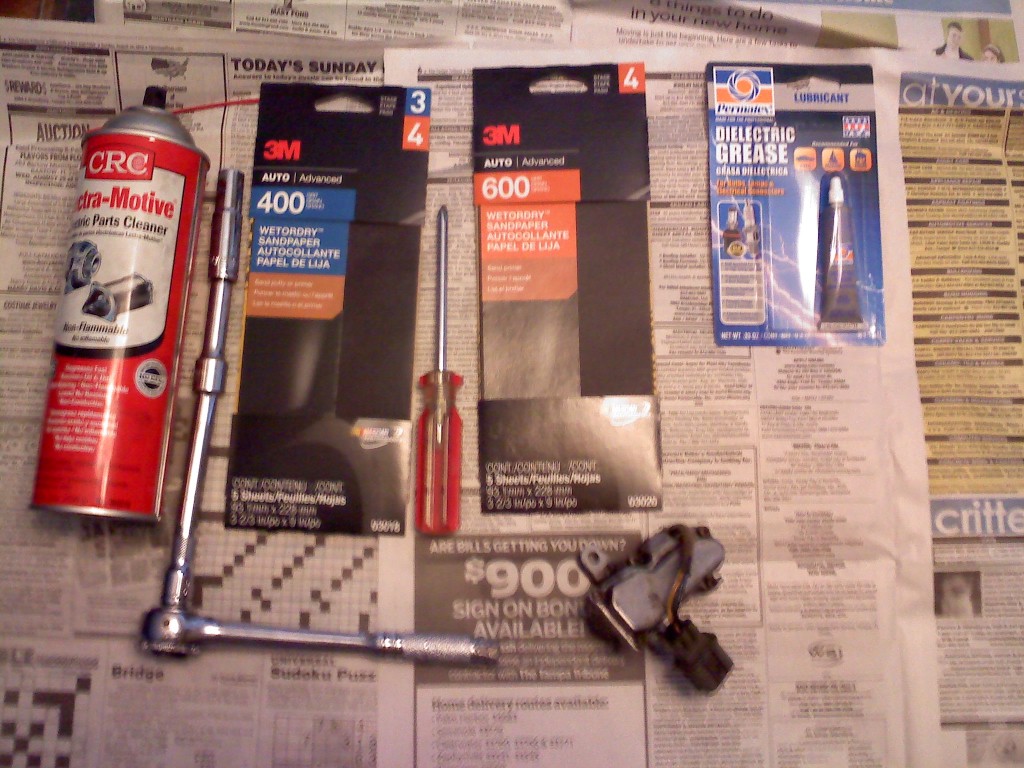
Materials:
1. 400 and 600 grit automotive(wet or dry) sandpaper
2. Electronic parts cleaner
3. Phillips Head Screwdriver
4. BUM VSS
5. Q-tips
6. Dielectric Grease
7. Socket Set with extenders and 10mm socket
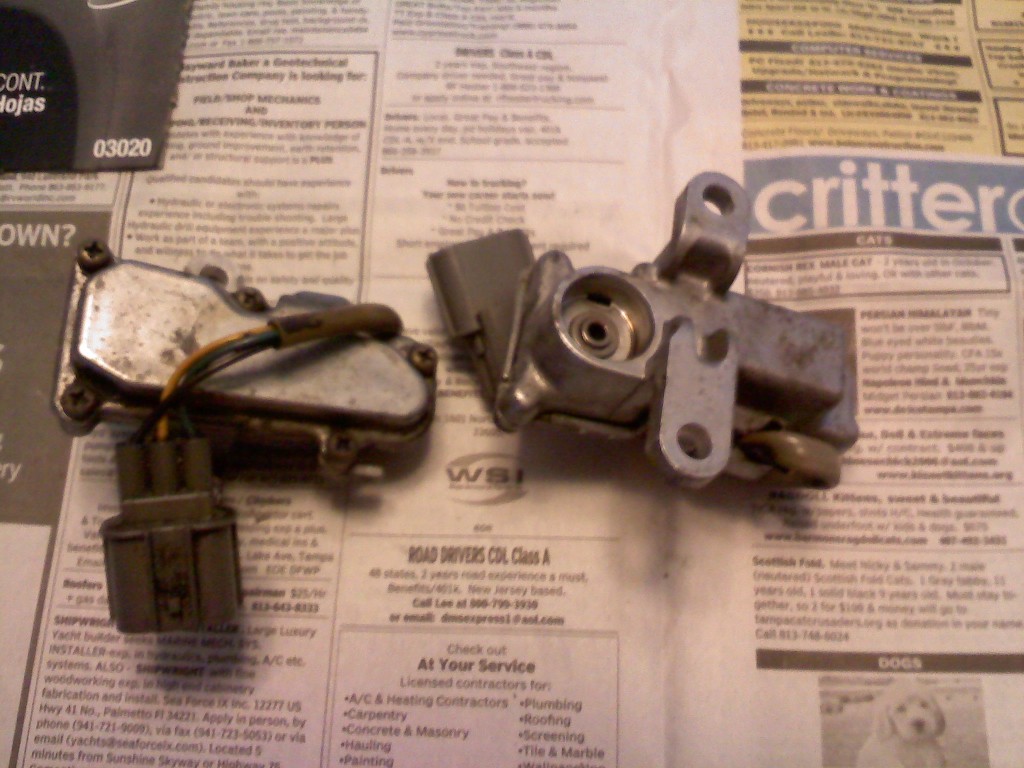
The VSS were both the same size, assuming the same year or model Ebay had it for 90-93 preludes:
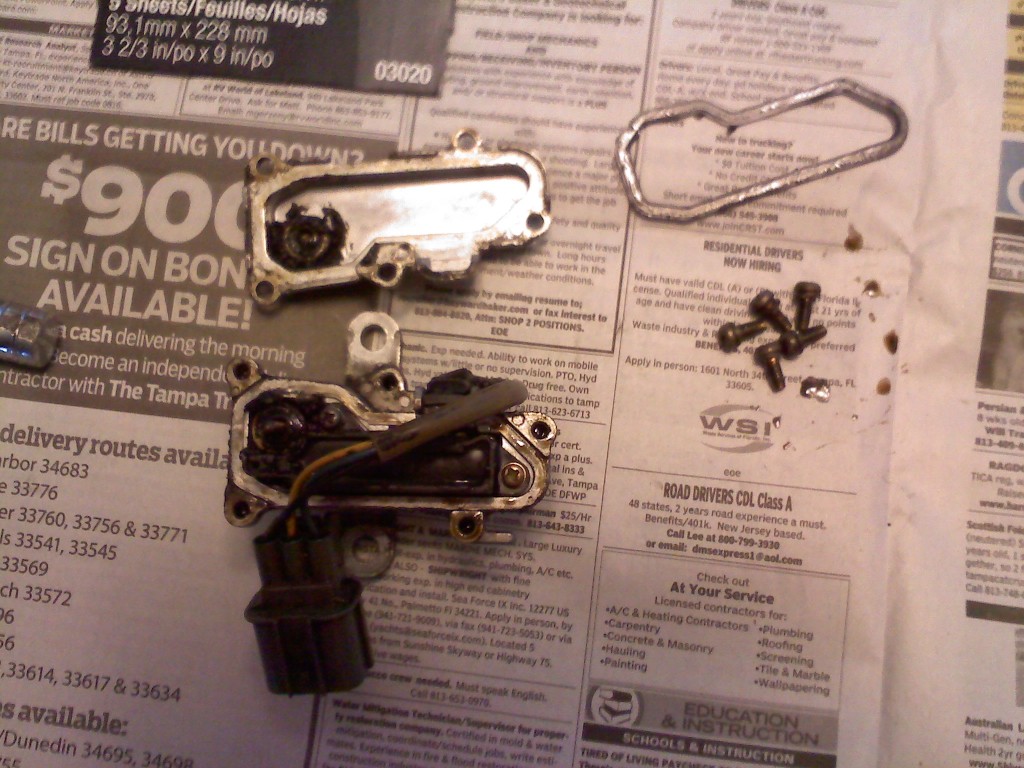
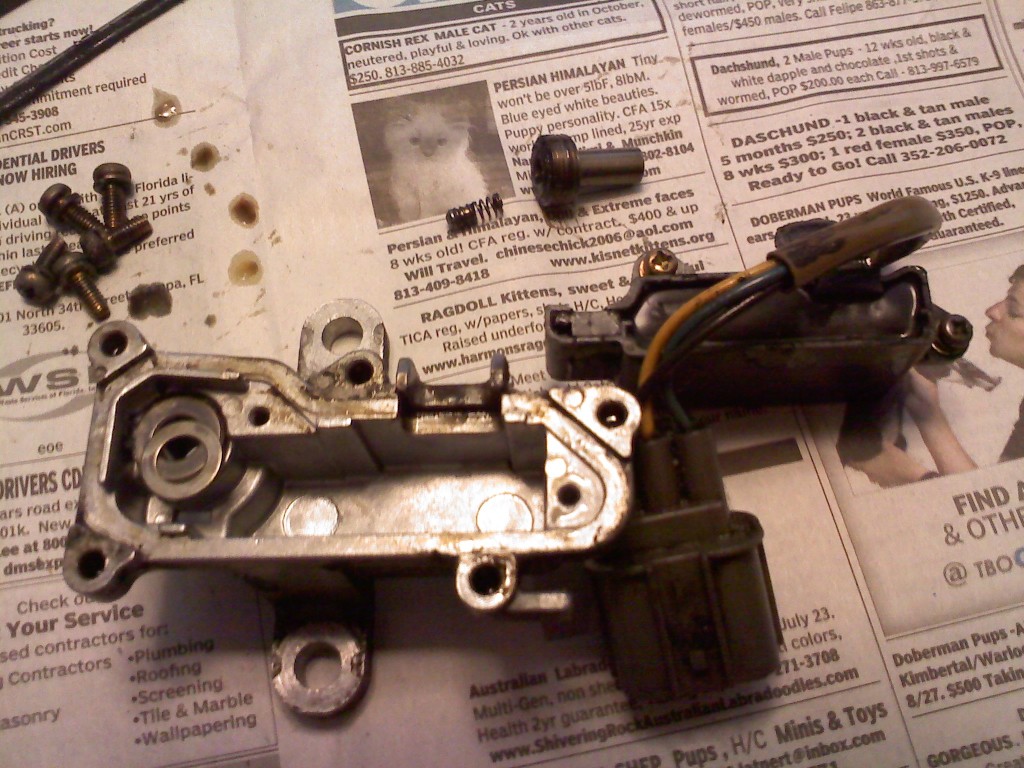
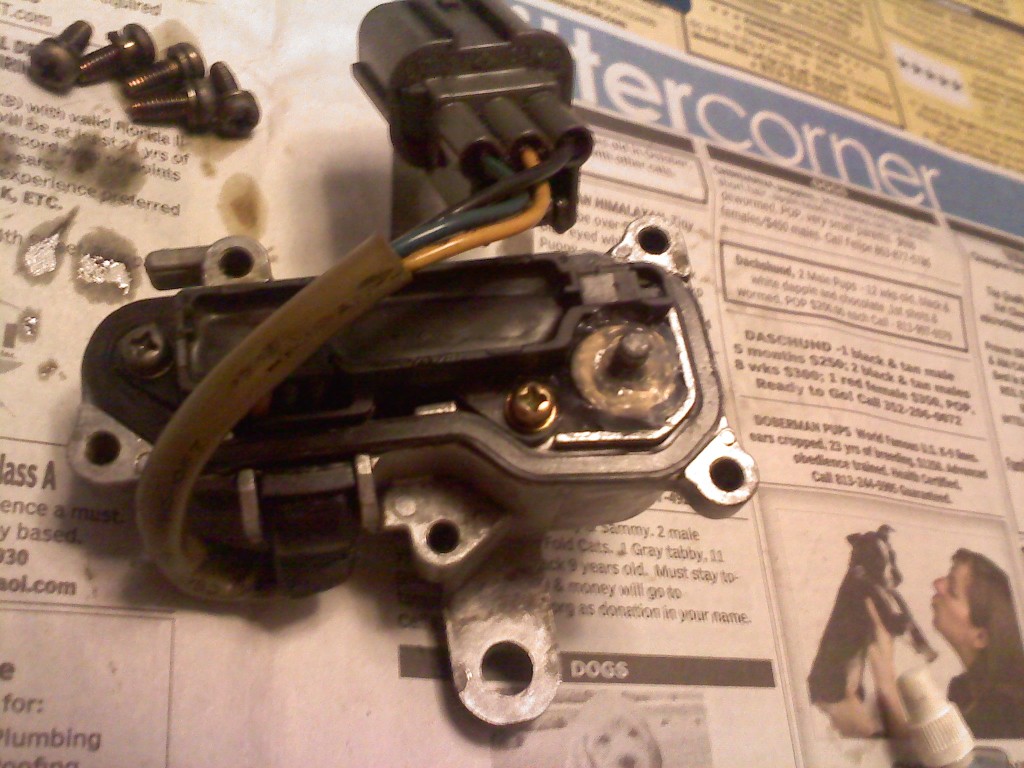
First step is taking off the top cover, 5 phillips head screws You will notice there is a gasket that you have to take off before you can remove the wire module. All the black chunks is OLD grease, and possible dirt buildup:
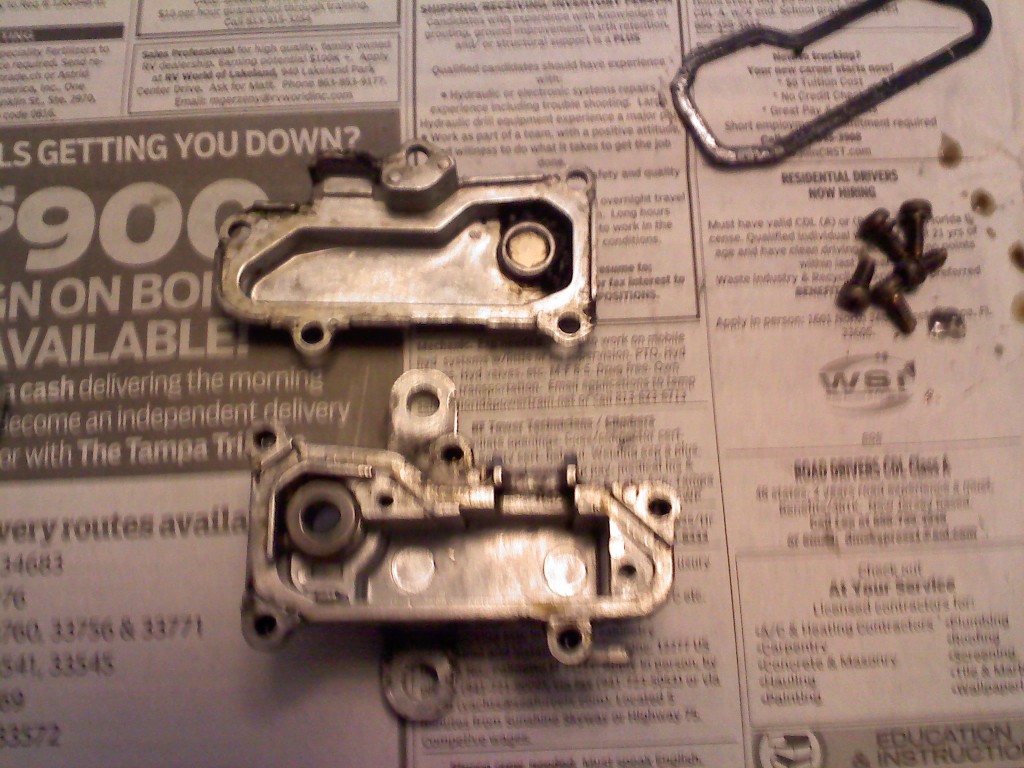
Next is taking out the wire module itself and bearing/spring rod. KEEP IN MIND THERE ARE TWO(2) washers that sit in between the magnetic ring and the base:
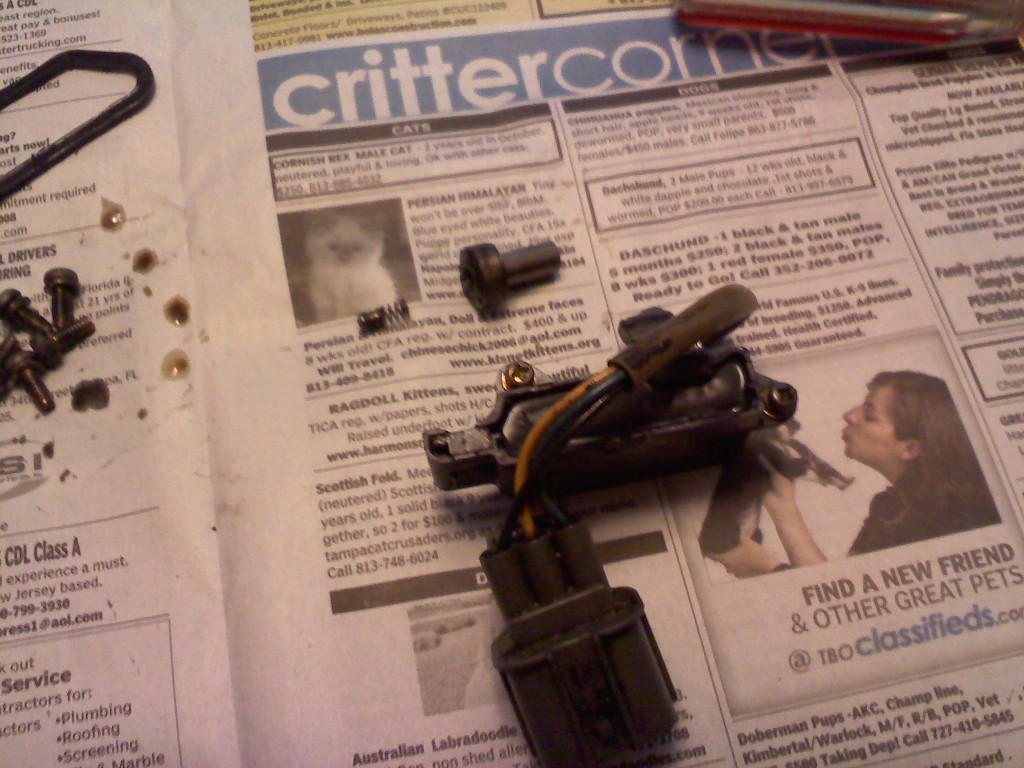
One washer is still seen sitting on the base of the VSS, while one is connected to the bearing:
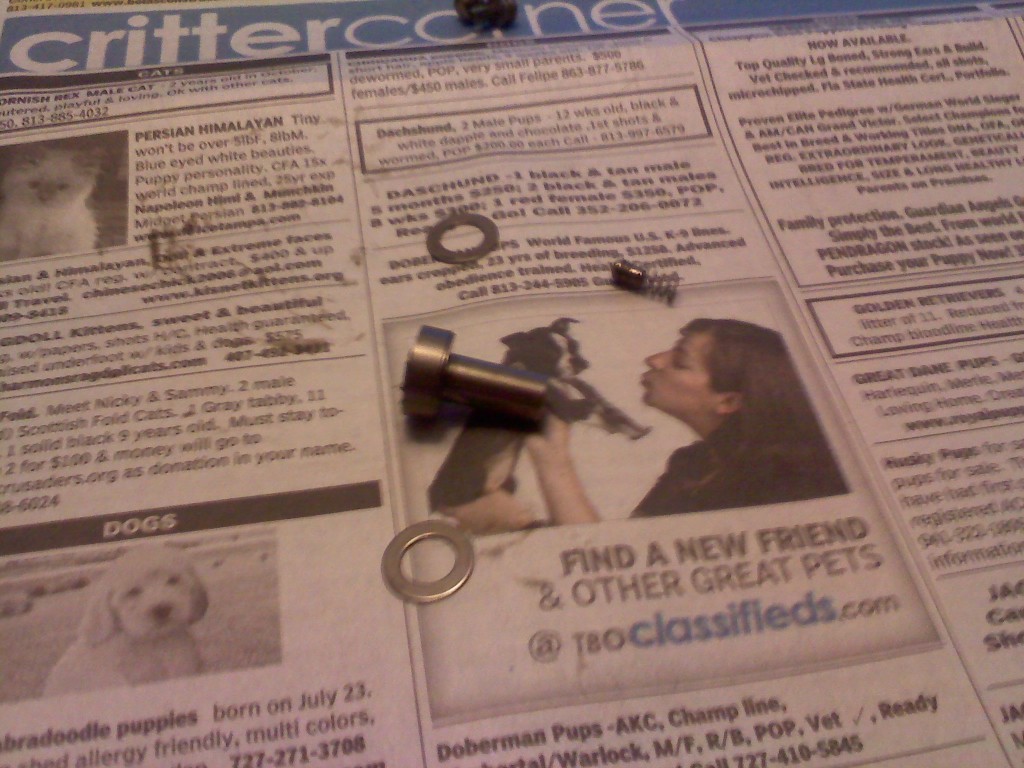
The bearing, spring rod and 2 washers:
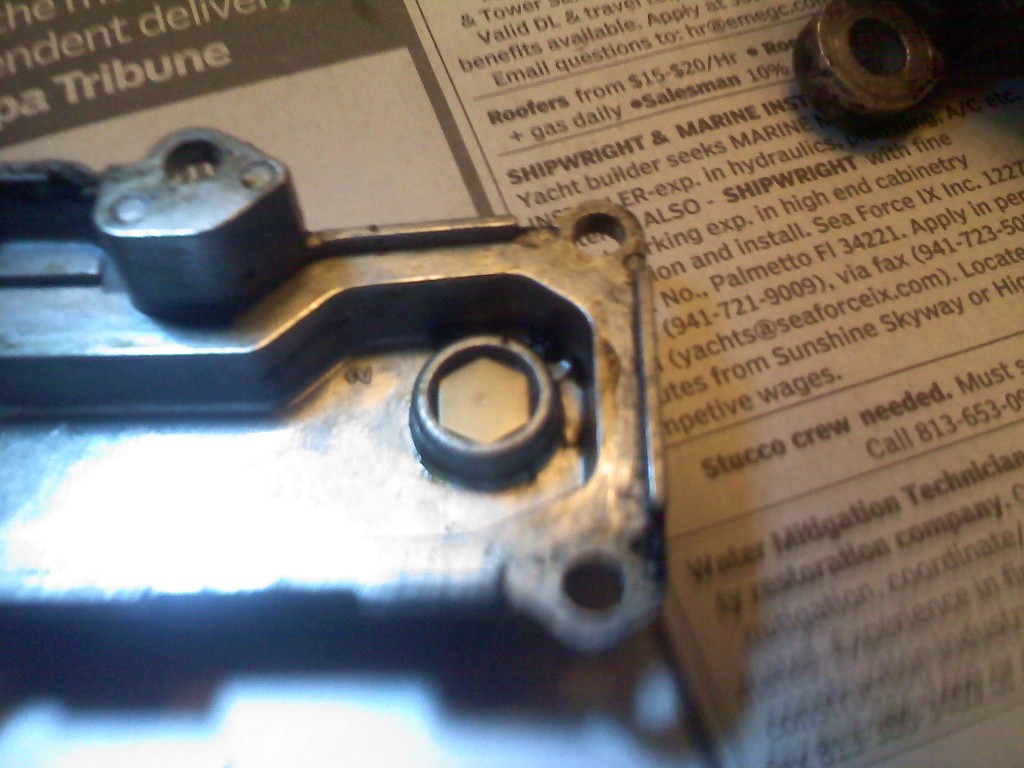
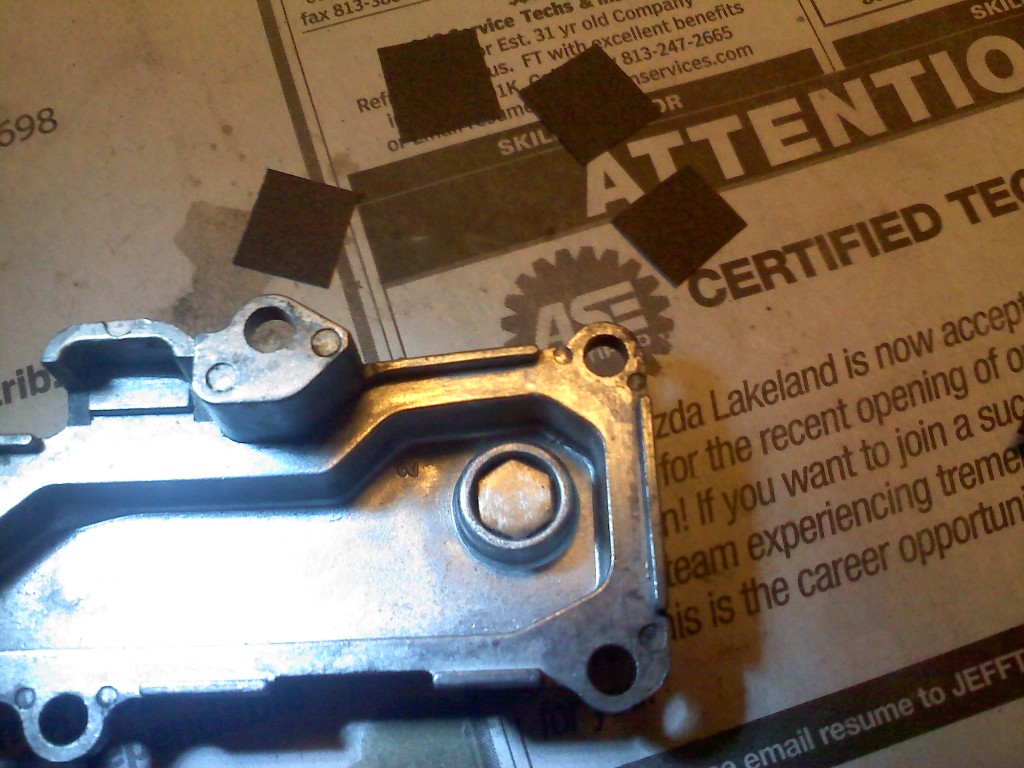
Empty casing of the VSS, be sure to get all old grease residue out of both parts. If you look closely you will actually see a pinhole where the VSS spring rod has rubbed down in the hexagon:
Now to sand the spring rod, you are primarily wanting to sand the top bowl portion of the rod. Start with 400 grit and when polished/shaved move up to 600 grit to smooth it out:
For the silver hexagon, you can cut your sandpaper into the same long strips and then cut them into small cubes. I later found out you can pop out the hexagon if you have a small chisel:
AND:
If you manage to pop it out without damage(shouldn't be too hard) it makes the job much faster, and you get a smoother/level sand. Now its time for the dielectric grease. You want to be very liberal with it, the hardware spins a lot. Coat the bottom washer that meshes with the casing and the washer that the bearing spins on. Coat the top hexagon and surrounding areas:

Put all items back together in reverse order. Gasket should be the last thing before top cover. Make sure you line the spring rod UP and it is fully seated into the bearing. Place grease in there so it doesn't move too freely:
Replace top case and all 5 screws and you're done. Took me about 4 to 5 hours. But I had to dink around with swapping things out..