Give yourself plenty of time. This is also an excellent time to replace any burnt out lights on your dash!
What you need to obtain before beginning:
Testors candy apple red paint
1 can should be enough but you might want to
get 2. You can also pick this paint up at any place that sells model car paints.
Small flathead screwdriver
Phillips head screwdriver
Painters tape
220 Grit sand paper
1 sheet should do
Check the online manual for more instructions on getting this stuff out.
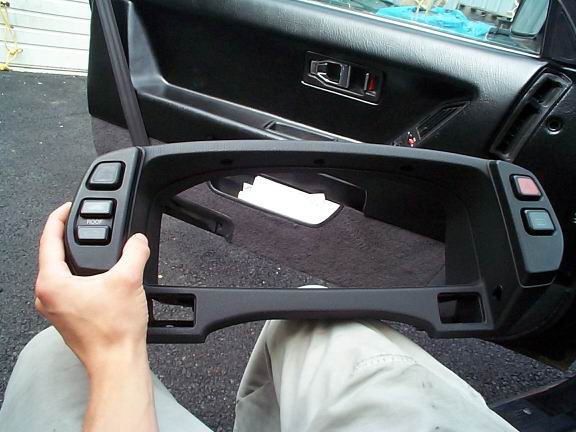
Take off the outer piece with the moon roof, defroster, cruise, etc.
There are three screws just under the upper lip and 2 behind the headlight and
dimmer controls. Once all the screws are out you need to tug pretty hard near
the top of the piece to get it to snap out. When it snaps out unplug all the
wires going to the back of it, this is what you should have:
Now unscrew the switches from the back:

Start with the sun roof controls. Insert the flathead in a small
slit in the side of one of the buttons and then gently pop one side out. With one
side popped up just pull on the button cover and it will come off:

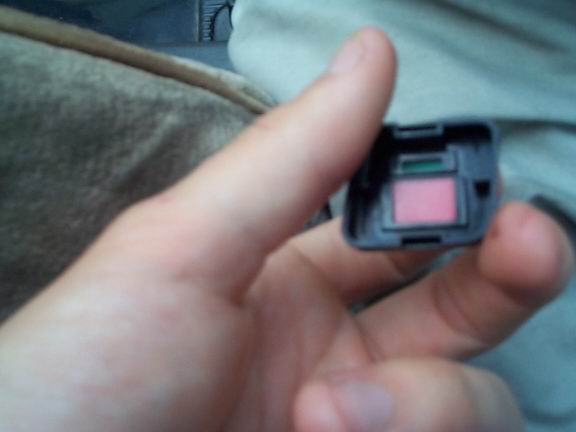
When you look at the back of the button you will see blue:

Take the flathead and gently push the blue part from behind
and the whole front image part will come off. You will see that the blue part
was a rectangular piece with blue on one side and white on the other.
Put the blue side down on the sandpaper and slide it around until it sands
off all the blue. Stop sanding when there is no more blue, you don't want to
sand too much:

(This is from the climate control tutorial, but
you get the idea)
Take a piece of painters tape and set the little white rectangular piece with the sanded side facing up. Make sure the unsanded side is completely sticking to the tape. You don't want any if the paint to get on the unsanded side.
Spray it for a second so you cant see any white on
the sanded side. You want just enough to cover the white so hold the can about 8-10
inches away and spray. Give it at least 10 minutes to dry.
Once it has dried
put the painted piece back on the button with the white side facing out then
set the plastic piece with the picture over that. It should still have some
sticky stuff on it so you don't need to re-glue it in.
Done! Do the other button the exact same way. Then just reassemble in reverse order.
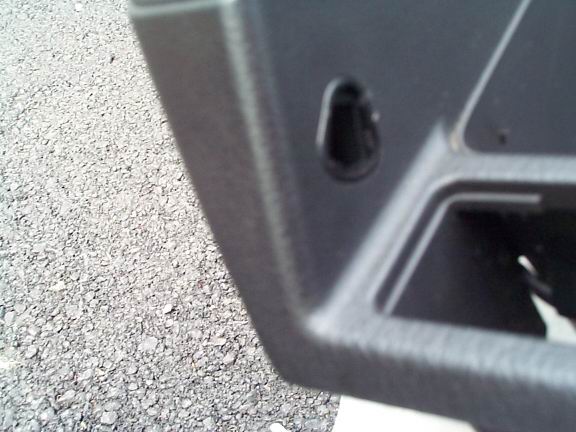
To do the little green plastic parts near the headlight and
dimmer controls use a knife to pop just the coloured plastic part out and paint
it with the paint, pretty easy:
Unscrew from behind like before:

The button will come off like the roof controls did.
Pop-out the blue piece like before. Be careful there will be a little green coloured strip there too. The sanding and painting portion is just like you did on the first button.
Once dry put the button cover back on like the roof controls.
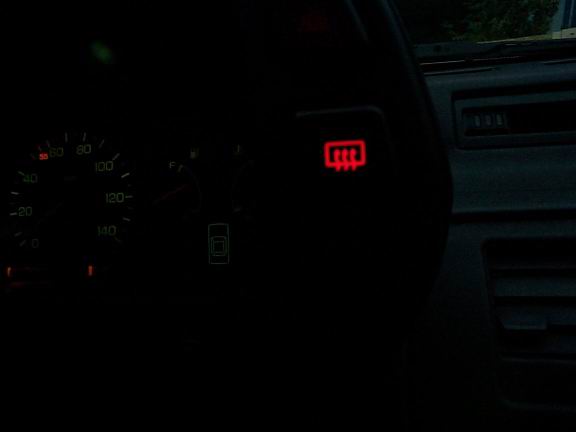
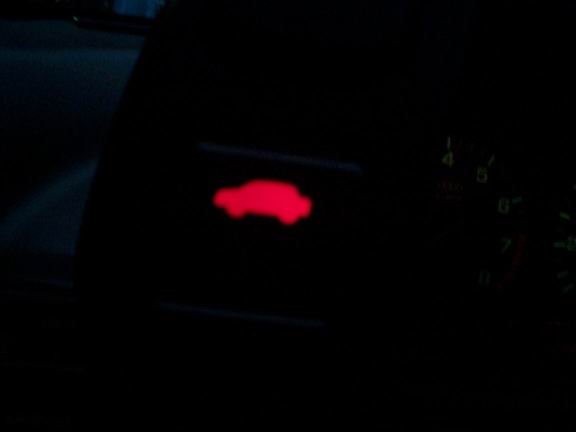
Result:
Do the same for the defroster controls.
Done with this section! Here are some pics of the finished
results:
Possible Variations:
1. You could put the white piece on with the coloured side facing outward that way during the day it is coloured also.
2. I'm sure you have already realized you can just paint with another colour paint if you don't want red. If you go with blue and maybe purple you will need to change the bulbs in your dash to white ones to make it show up correctly.