Once the console is out take out your stereo. Use a short phillips head screw driver and remove these screws:

What you need before starting:
Testors candy apple red paint
Phillips head screw driver
Small flat head screw driver
Painters tape
Some clear glue
220 (or finer) grit sand paper
Replacement bulbs
If any of your lights have burnt out you should be able
to get them at your local dealer.
Check the online manual for more instructions on getting this stuff out.
Pull the shift boot down from the shifter knob and then unscrew the knob. Unscrew the 8 screws holding the center console in and carefully remove
it. You may have to take the part around the hand brake off as well.
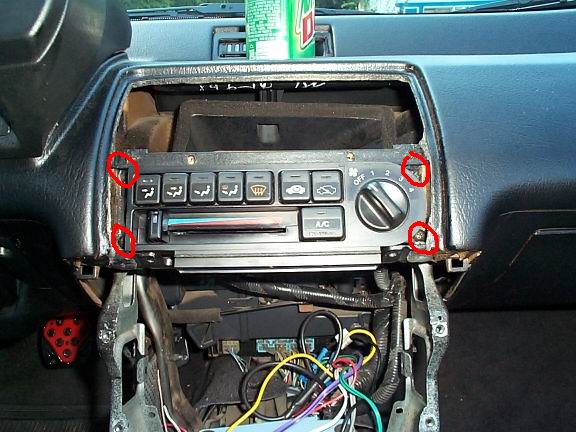
Once the console is out
take out your stereo. Use a short phillips head screw driver and remove these screws:
Once they are unscrewed pull the cable up and off the lever. Unscrew the 2 screws on the bottom of the climate controls that are on either side of the blue plastic strip. With them off you can pull the vent cover right off.
Next unscrew these 4 screws:

Done!
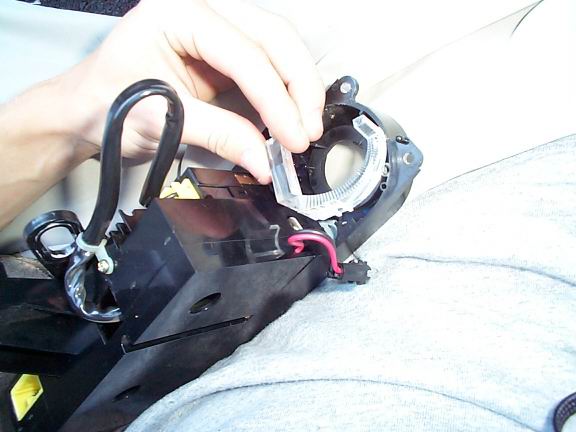
Start with the blower knob. There are 2 little screws holding
it on, unscrew them and pull hard on the knob and it will slide off.
Turn
the light counterclockwise and it will come out. Finally, pull the clear plastic
piece out:
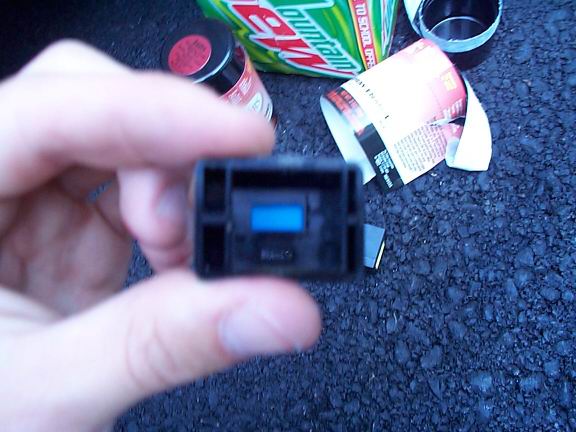
Take the screw driver and gently push out the plastic label
with the numbers from behind. Next take the coloured piece stuck to the back
of it off:

Sand off the coloured side like you have done before:

Painting is just like you have done before. Make sure you are spraying the correct side as this one isn't reversible.
You can see the back of the blue
plastic part through where the knob used to be. Take a screw driver and push it out from
behind. Remove the blue part from the clear plastic then just put a good coat
of paint on all sides of the clear plastic.
Once it is dry put it back in with
some clear glue on the back of it so it stays in place:

Stick a flathead in the little slits on the side of each
button and carefully pop then off one by one like you have done before:

Push the plastic part out from behind and sand off the blue
like before. Set it on some tape and paint it. Finally, put it back in the
button the way it came out; coloured side facing inward:
By now you will have the hang of it. Just repeat this step for all the buttons. The defroster one is optional, I just sanded all the colour off and painted it red on both sides.
Once the buttons are done snap then back on. Don't
remember which ones go where? Here's a pic of how it should look:

Done! Reassemble everything and assemble in reverse order.
Here is how it should look at night:
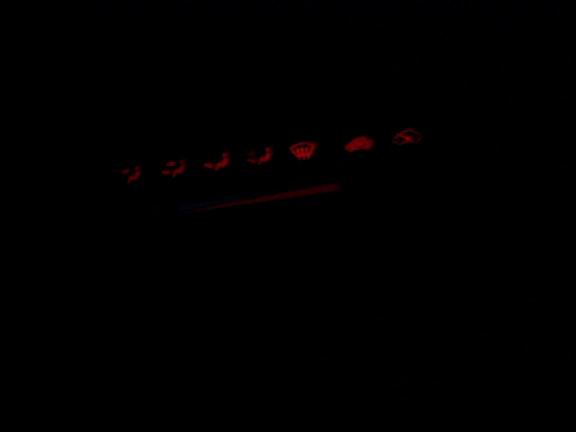
(Stupid me didn't get new bulbs so my knob numbers and stereo
light aren't lit up)