Stuff your gonna need:
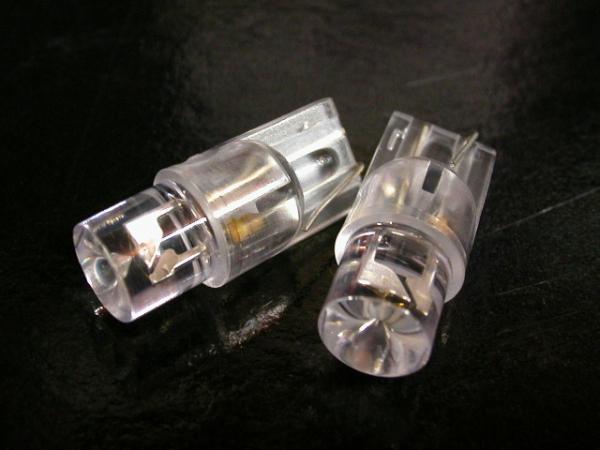
7 of these LED's from www.superbrightleds.com

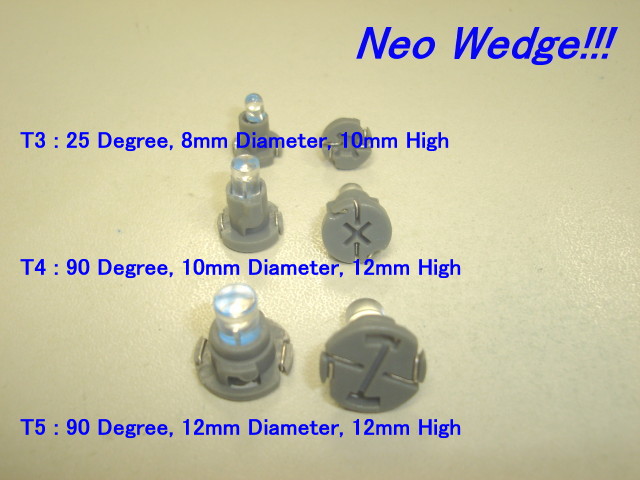
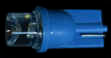
1 of these LED's from www.superbrightleds.com
*Note* At time of this write-up these aren't available in wide angle, the type I used in this application.
2 wires about 4 1/2 inches long
2 wires about 1 inch long
2 wires about 2 inches long
Soldering Iron
Electrical Tape
Small philips head screw driver
Air Conditioner:
1. First remove the front vents by removing the 2 screws at the bottom.
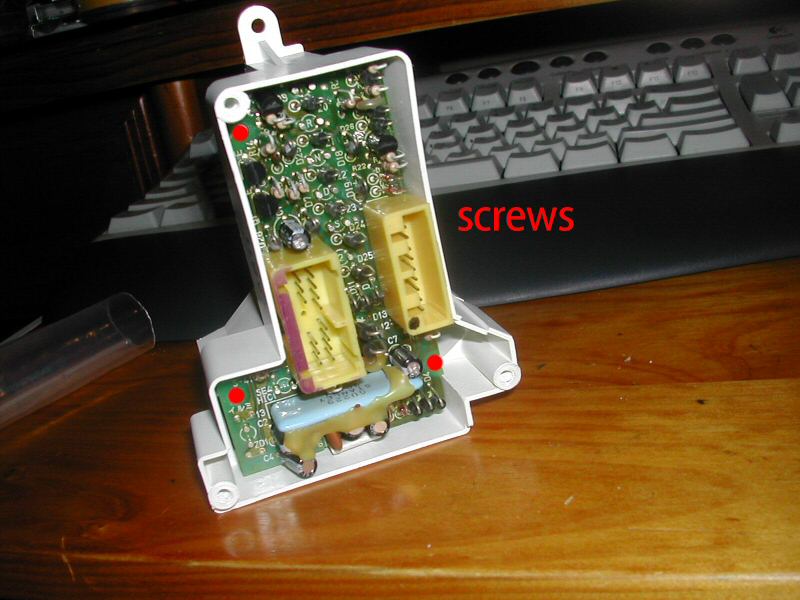
2. Remove the 4 screws holding in the AC.
3. Remove the connectors in the back, starting with the one for the dial since its the shortest.
4. Look under the unit and unscrew the clamp holding the cable down, followed by one of the screws for the slider and the cable should be easy to remove.
5. Remove the yellow connector behind the AC button and slide the AC button out by pushing from the back.
6. There are 3 clips holding the unit together - 1 on the top, 1 on the bottom, and another where the AC button was.
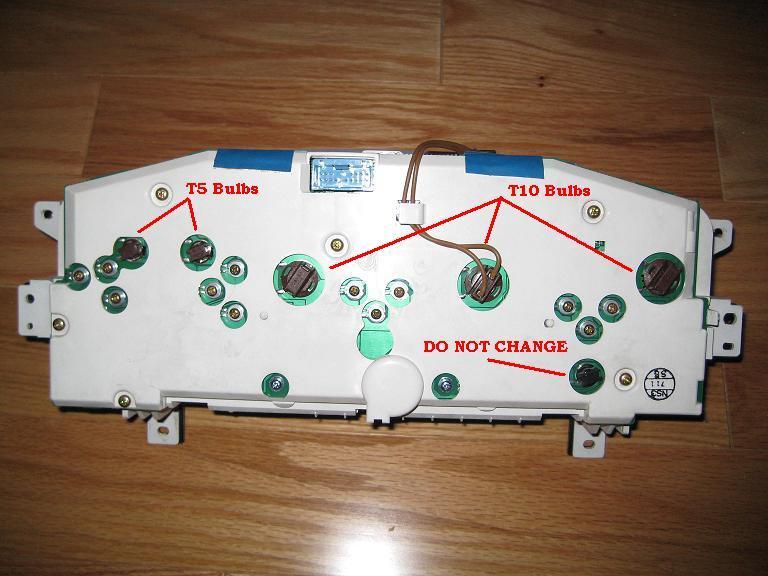
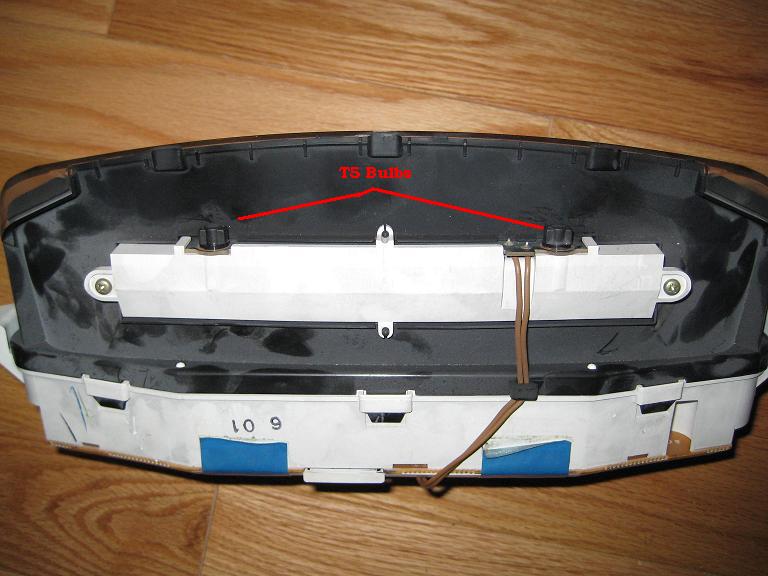
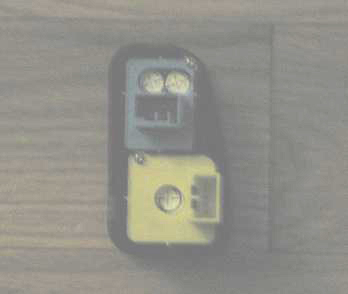
7. With the unit apart, you should see where the stock bulbs are. There are 3, including the one that lights up the dial.
8. Twist all the bulbs out and put them somewhere, throw them away, whatever you wanna do with them.
9. Looking at the bottom of the unit with it facing away from you, the positive contacts are: for the left socket: right contact, for the right socket: right contact. Easy enough.
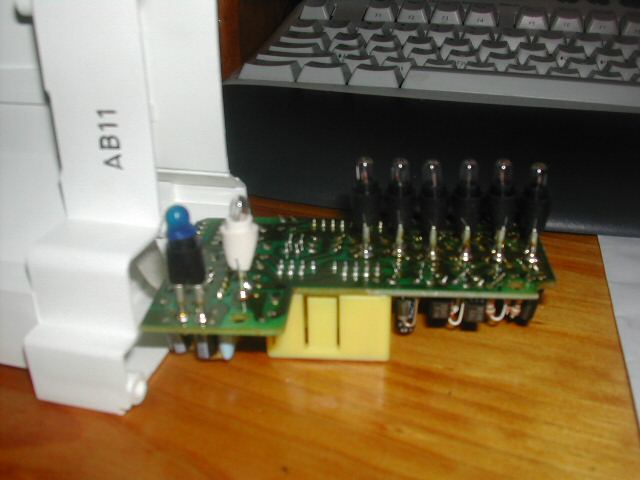
10. Remove the LED's from their plastic bases (if you ordered the ones with them). The 7 black based ones are the easiest, but you may need pliers. The blue based ones are a little more difficult since they are easy to break. Just carefully wiggle the LED as you pull it out gently. It might also be a good idea to order a couple extra of both types just incase you break one. If you break one with a blue base, you might be able to use one of the smaller ones, although I don't know how the smaller ones light pattern differs with the larger ones. On the LED's, the side with the blue resistor is the positive side.
11. Solder a small LED in the left socket. Pretty straight forward, just poke it though and solder to the correct contacts.
12. The right socket is where you are gonna use some wires. Solder the 1 inch wires to a small LED and also the 4 1/2 inch wires to another.
13. Solder the shorter wires first, the right contact being the positive and position the LED so it is pointing into the clear plastic.
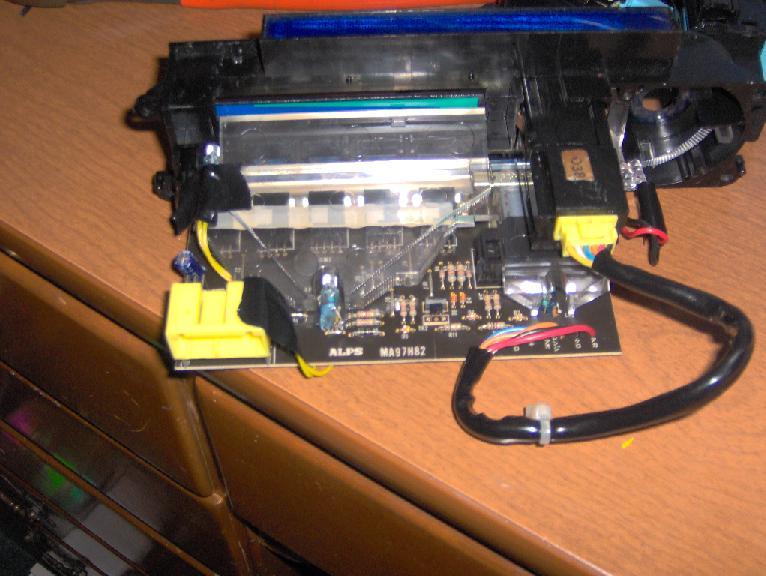
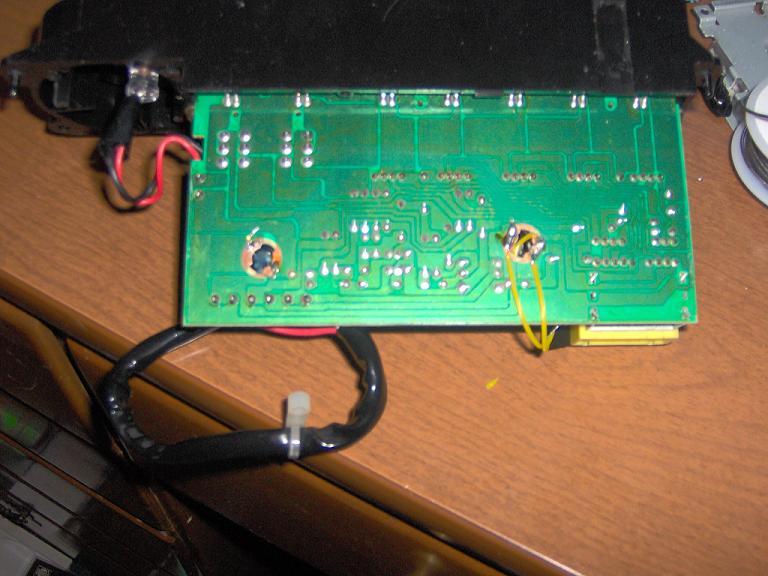
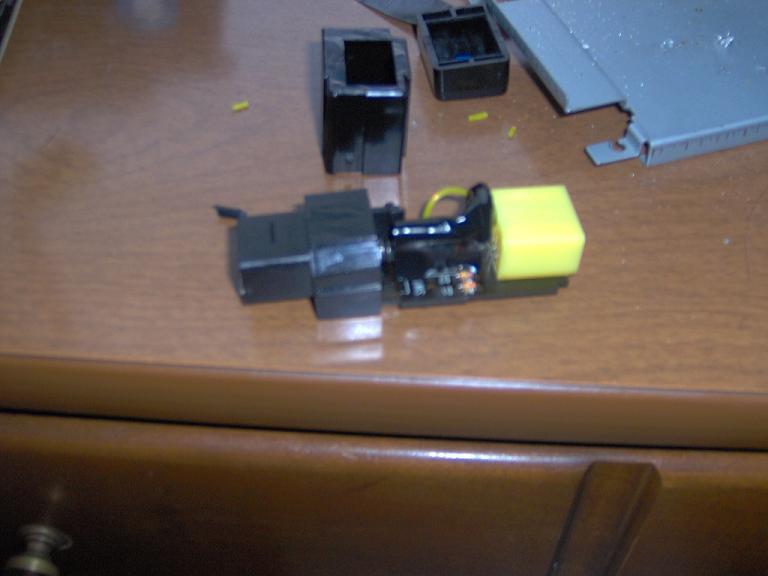
14. Now solder the longer wires to the same contacts and tape it to the location shown in the pic below, right above the switch on the end..
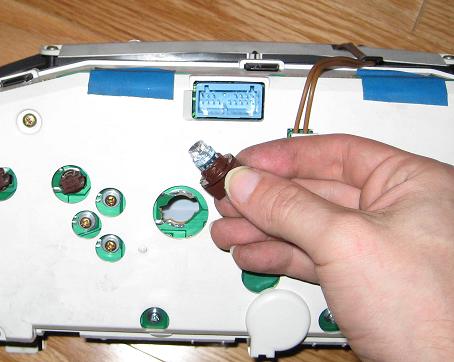
15. Cut the bulb for the dial and strip the wires. Now solder the larger LED ( or a smaller one if you don't have one, the reason I used one of these is because I happened to have one lying around and it was a better fit in the hole ) to the proper contacts, remembering that the side with the blue resistor is the positive. Then just secure it in the hole with some tape.
This is what it should look like:
Now for the AC button...
16. Release the clips on each side and it should pull apart.
17. Now, the positive contact on this socket is the one closest to the front of the unit. Solder a small LED to the remaining 2 inch wires.
18. Solder the correct wires to the correct contacts and tape the led on top of the switch, pointing it straight at the clear plastic that directs the light to the button.
19. Putting the button assembly back together was a bit tough for me since its a very tight fit. Just squeeze the piece that goes over the led to get it on without moving or changing direction.
It should look like this:
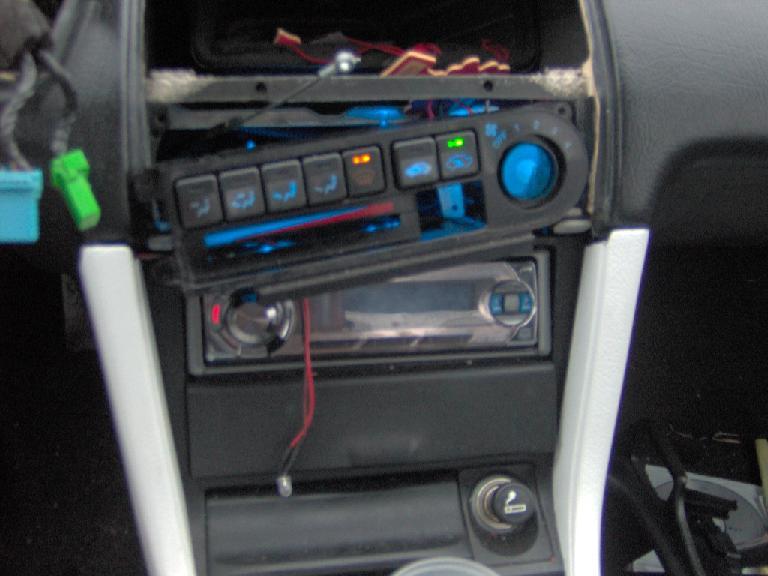
20. I would now suggest checking it out by plugging it into your car to see if it works before putting it back together.
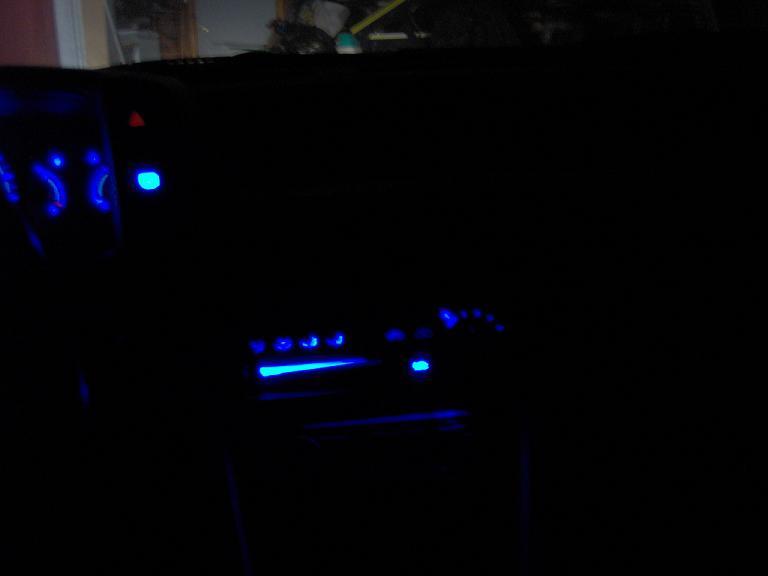
Testing:
21. Putting the unit back together is pretty straight forward, just be careful not to disrupt any of your new soldering contacts
Okay, with the hard part out of the way, it gets easier from here.
Lets start with the Hazard/Defrost switches:
1. Pry the switches out from your console with a knife or flat head screw driver and disconnect the connectors.
*Note* I only did my defrost, if you wanna do your hazard, I would suggest using a small red LED that you can order from the same site. Positioning should be the same as the first socket described in the AC section. Also positive terminals on these two switches are the upper terminals when holding them upright.
2. Unscrew the screw from the back of the defrost switch and undo the clips and it should come apart, but not without giving you some trouble. Then twist out the lower bulb and take off the black plastic that holds the button.
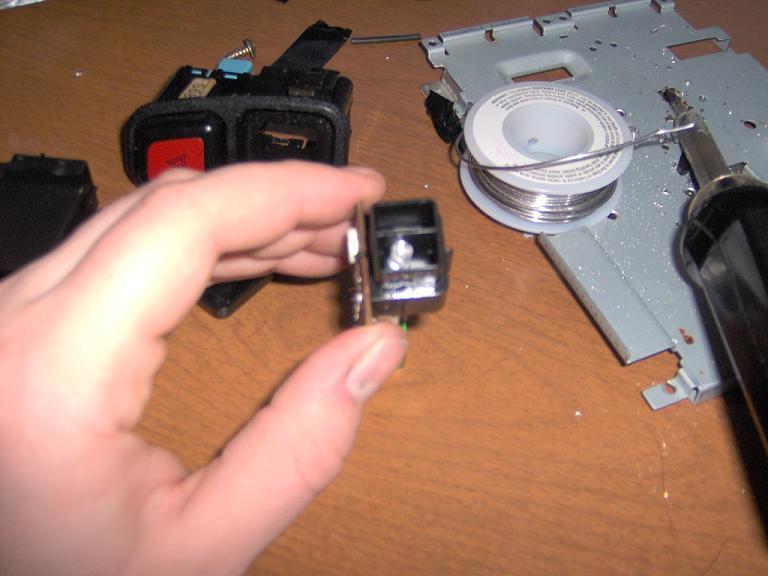
3. Okay, the way you have to position this is a bit tricky, you have to position the LED on the side without the contacts and route the contacts through the socket. Then you put the black plastic piece back on, while having the LED inside, pointing straight out.
It should look like this:
4. Solder the proper contacts and put it all back together.
*Note* I had a bit of trouble with keeping it pointing straight, if it is crooked, it won't light up the whole area that needs to be lit. The thing is, when I went to put the button back on, it would move to the right and not light the whole area. Just keep prying the button off and adjusting it and sooner or later you should be able to get it to stay. Don't worry if it changes the feel of the button, it did that to mine and it still works, which is all that matters.
Next we have the Cruse/Moon roof Switches:
*Note* The positive contacts on these switches are now the lower ones, totally opposite from the other set.
5. Starting with the Cruise, unscrew the small screw, pry the clips, pry the button, and remove the circuit and switch.
6. Twist out the left bulb and poke the LED from the opposite side of the contacts since it cannot fit through the small socket.
7. Solder the correct contacts and put everything back together.
8. Now, I must warn you, when taking apart the moon roof switch, be careful you don't loose the springs and the sliders. Just take it apart like all the others, just be careful.
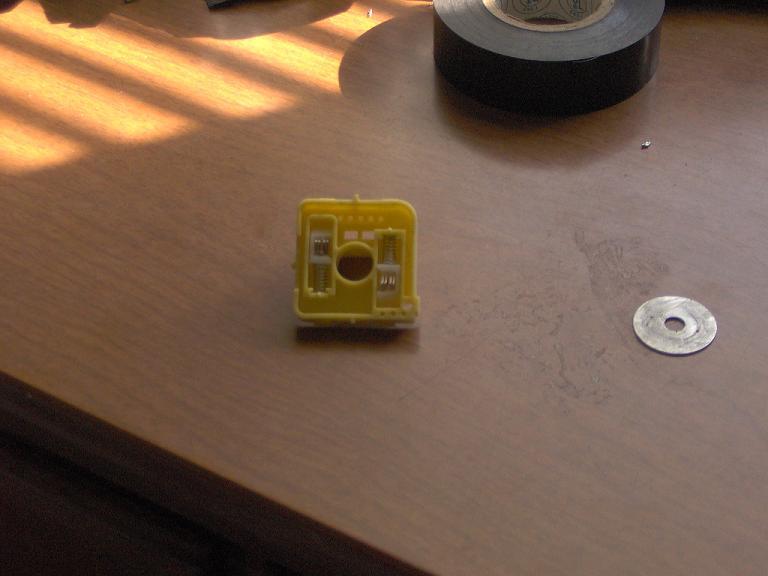
9. Position the LED same as above with the cruise and solder the contacts.
They should look like this:

Now if your springs and sliders came out this is how they go back in:
10. Put everything back and test them out. If done right they should work. Congratulations, you've just personalized your dash to your liking. Now give your lude a much needed test drive...