90-91 Integra Clutch And Flywheel Install Into 88-89 Prelude
By: MustardCat (With help from
Kalm_Traveler)
(From: http://www.preludepower.com/forums/showthread.php?t=227388)
Link to this page:
BACK TO PRELUDE3G.COM HOME
Ok, I bought a 90-91 integra clutch and flywheel kit off e-bay, intending to find out if it could be made to fit and work with 88-89 lude transmissions. Kalm_Traveler mentioned in a thread that the teg clutch disk splines onto the 88-89 lude tranny, so that gave me some hope and enough info to convince me to try it. It does work, read on to learn what needs to be modified. This write-up won't cover any of the trans removal or installation, unless there is something that needs to be modified. For the trans removal and install check the online manual.
Flywheel modifications:
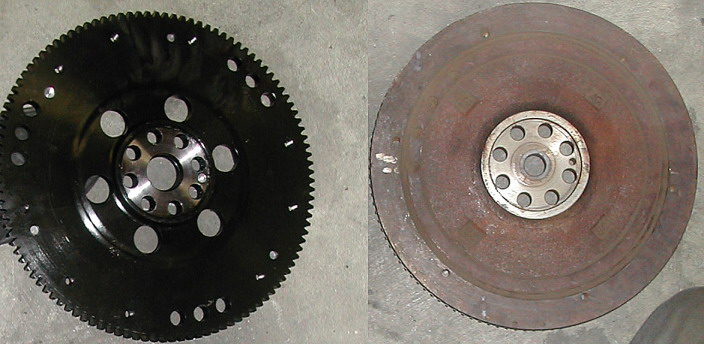
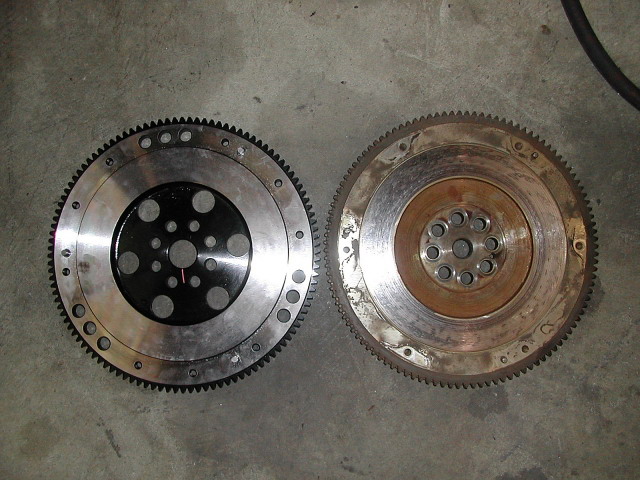
Here is a picture of my new fly and the old stock one. If you look at the old stock one you will see small dowel pin hole between two of the main flywheel bolt holes. If you look at the new fly I have already drilled a hole to match it:
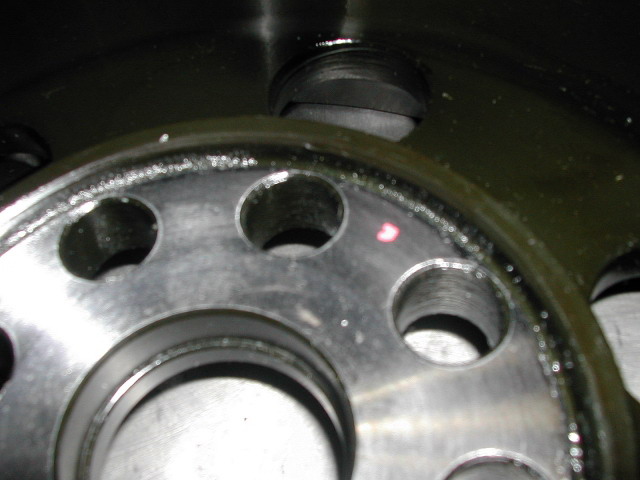
First eyeball where the hole needs to be then mark it somehow:
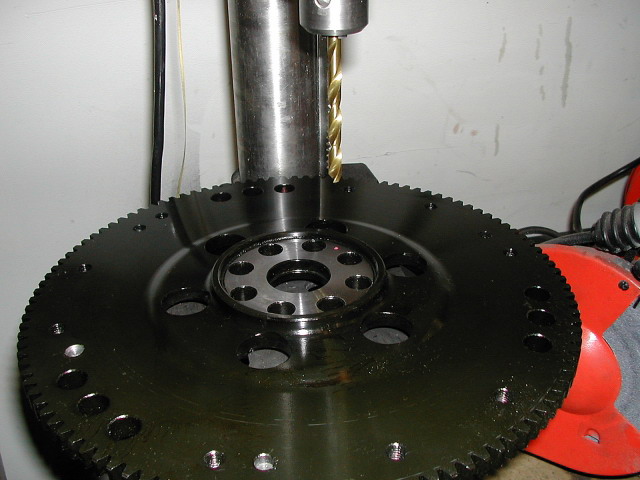
I used a drill press to drill it, but a regular hand drill is fine. This doesn't actually have to be precise, the only reason we are making this hole is so the fly can be bolted onto the crank. So I recommend using a drill bit that is a little larger then the down pin, so if you are off a little the fly will still bolt up. Another thing to remember is to make the hole deeper then the dowel pin is tall, you really don't want the pin to bottom in the hole before the flywheel bolts are completely torqued!
Here the hole is drilled, be sure to clean off any metal shavings from the mating surface:
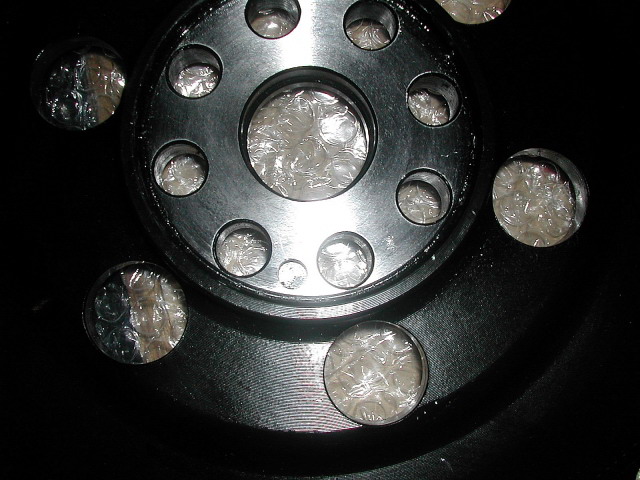
Another angle:
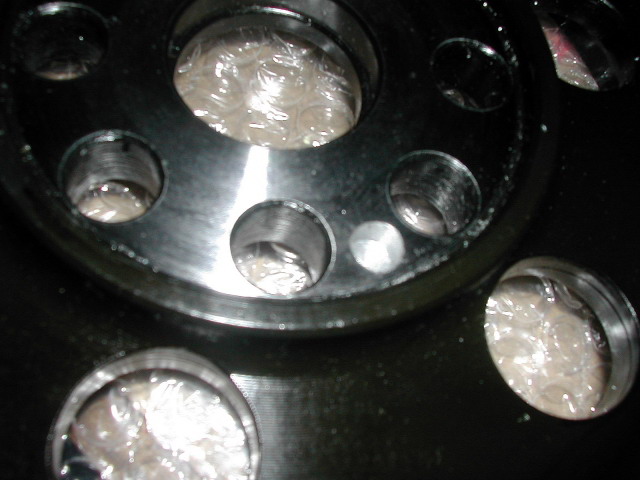
I set the fly onto the crank in my spare block, it seats perfectly and all the bolt holes match up:
Now for the final fly modifications. The real difference between B20a series fly's and B16/B18 etc. fly's is that the B20a fly's have markings on them for setting TDC and the timing, while the "regular" B series have all that on the crank pulley. That's why they don't just drill a dowel pin hole in the "regular" B series fly's and market them for 3G ludes. The solution? You will need to transfer those markings onto the new fly.
Take your old fly and set it on the table then set the new fly on top of it, but both their clutch contact surfaces should be pointing up, now rotate the top one so that the dowel pin holes in both of them match up. Doing all this puts the new fly in the exact same orientation as the old one. Now get 2 long bolts and 2 nuts, the bolts need to fit fairly snug into the fly bolt holes. You now need to drop the bolts down through the top fly holes and through the holes in the original fly then put the nuts on the end of the bolts and snug them down. This will hold the fly's together, you want to be as precise as possible doing this:
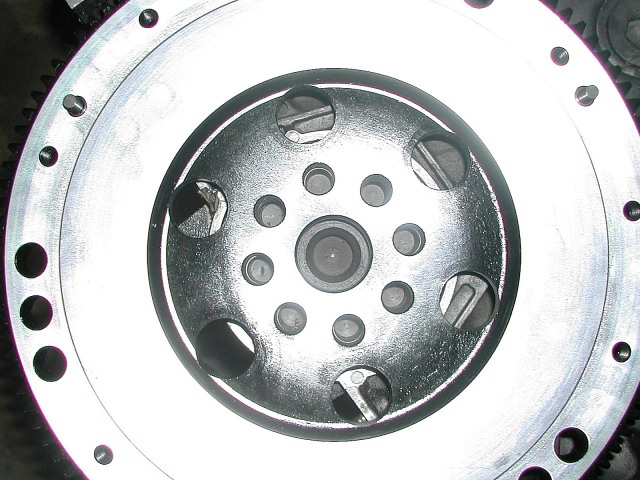
Ok, now you've got them bolted together, both facing the same direction, and the dowel pin holes are also pointed in the same direction. Rotate the whole unit until you see the "T" mark on the stock fly. Using a metal pick, file, dremel, or anything you can find you want to make a mark on the back of the new fly in the same location, it also should be a permanent marking of course. I recommend scraping/cutting a small groove then using some paint and a little paint brush and painting in the groove, this will basically duplicate how the stock flywheel is. Now you need to rotate the whole unit again till you find the "15" mark, it will also have two little marks on either side of the "15", do the same as before and duplicate them onto the new fly.
Your done with the fly now. The kit would have come with a small pilot bearing to install into the center of the flywheel, don't install it, it doesn't fit the end of the lude tranny input shaft and is useless.
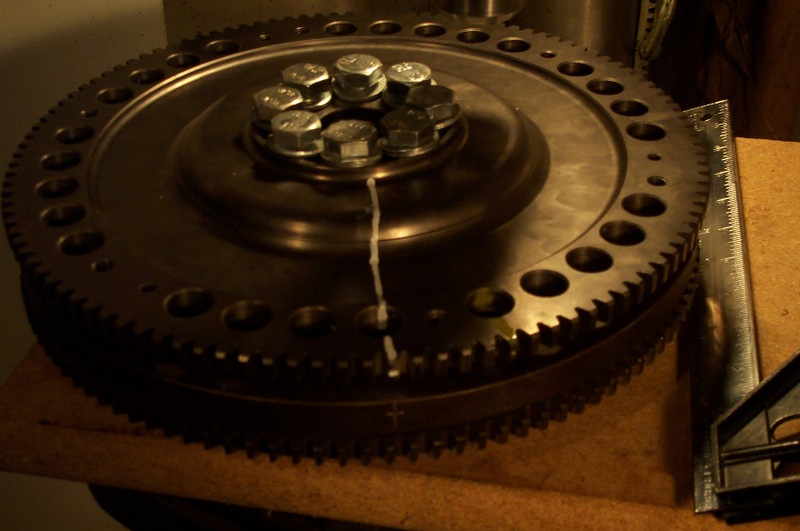
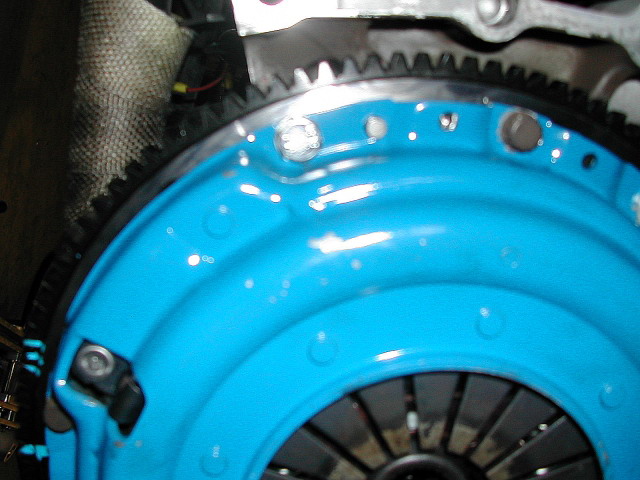
Here is the fly with the new clutch and pressure plate setting on top of it:
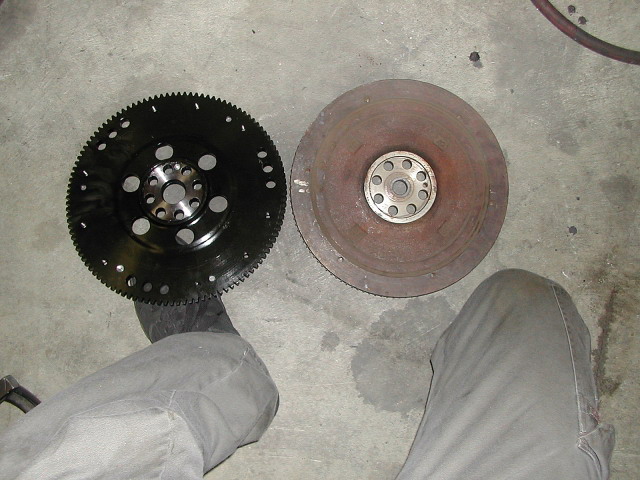
Comparison of the new and old fly:
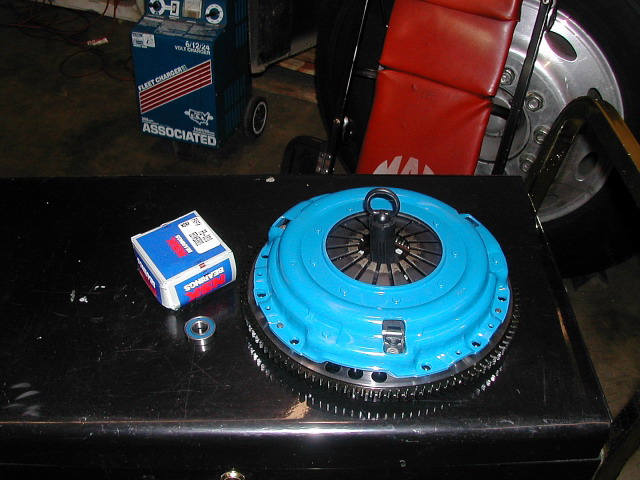
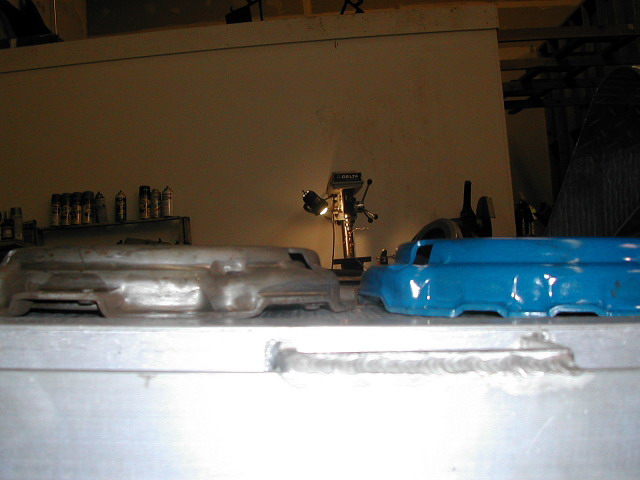
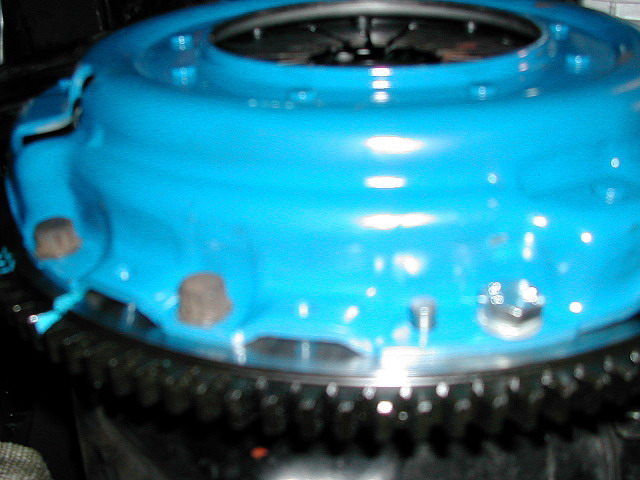
Here is the old pressure plate/clutch cover and the new one. You may notice that the new one is maybe 1/4" taller, this does cause a small problem, but there's an easy fix I will describe later on:
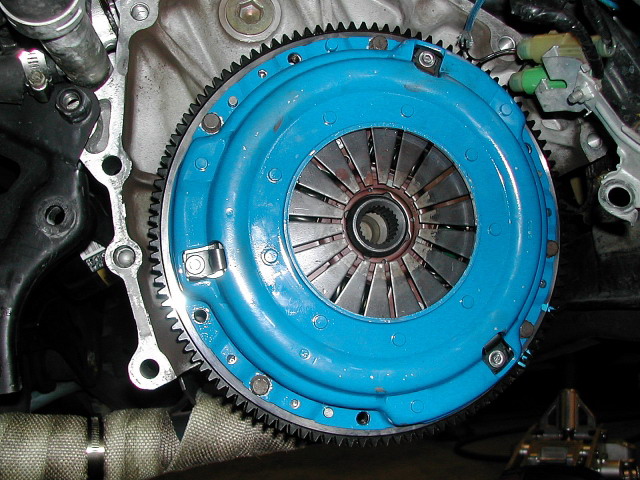
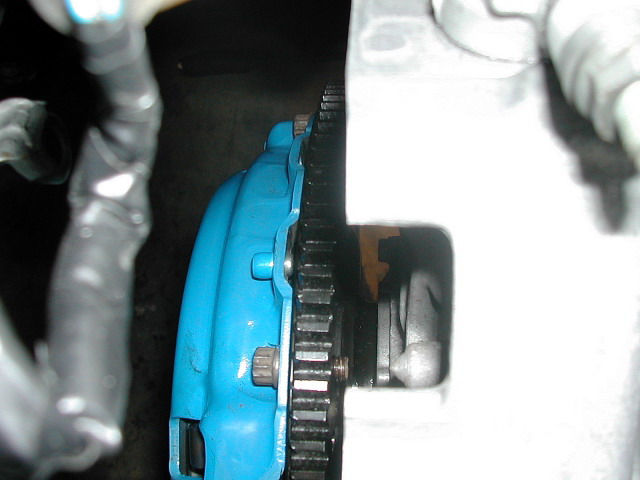
Now I've got the fly and clutch installed, the clutch alignment tool wont work very well without that pilot bearing so you will have to eyeball it, sorry. One thing you will notice in this pic, is that there are only 6 bolts holding the cover on! As it turns out the lude cover is a 6 bolter and the teg one is a 9 bolter, so you will need to get 3 additional bolts, I just took one of the old ones to the local auto parts store and got 3 regular bolts and lock washers that were of the same length and thread:
New bolts:
Ok, now the fly and clutch are all bolted up. When you take the teg throw-out bearing out of the box, you will see it wont work at all. All the dimensions are the same, it just doesn't attach to the release fork/arm the same way. So you must use the lude one, if your current one is of unknown age/usage just buy a new one for the lude.
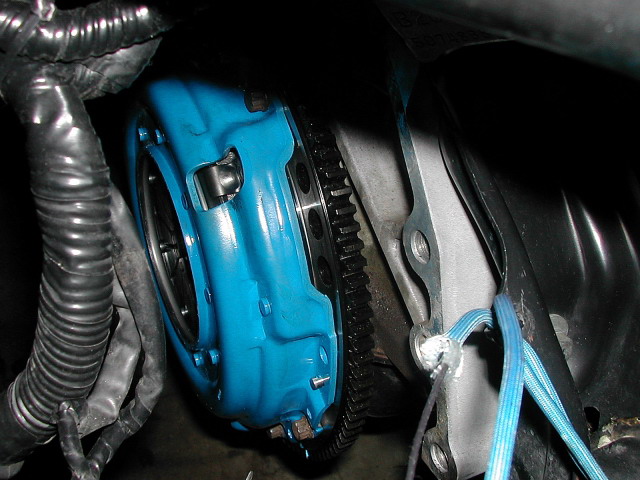
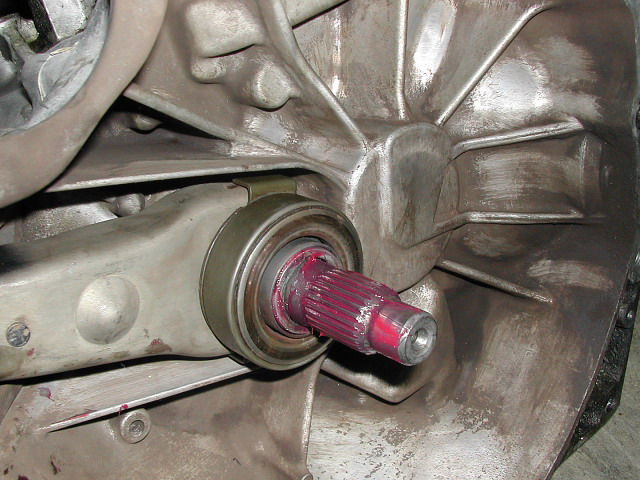
Here is the lude throw-out bearing installed and the splines all greased up ready for the install:
Ok so by now the tranny is back in and everything is hooked up and ready to go. You start the car, push the clutch pedal all the way in, go to put it into first... oh no! It won't go into gear! The clutch must not be releasing!
This is what's really happening: Remember the pressure plate/clutch cover being 1/4" taller than the old one? When you push the clutch pedal in, the throw-out bearing pushes against the arms on the pressure plate and takes the clamping force off the clutch, but since the new cover is taller than the old one, when you get the clutch pedal all the way to the floor the throw-out bearing is actually pushing the arms 1/4" further in than they are supposed to be going! The ends of the arms are over-extending and actually coming up against the clutch itself and pushing it back into the flywheel, thus re-engaging it and causing the intermediate shaft to spin with the motor. It's the same as trying to put the car in gear with the clutch half-engaged, it's really hard, and pretty much impossible to get it into reverse without grinding like a mofo.
Don't worry, you don't need to pull everything back apart to fix it. Now there are a few possible ways to fix it:
1. Lengthen the end of the release fork so when the slave cylinder pushes against it, it doesn't travel as far.
2. Somehow modify the master and/or slave cylinder so they don't displace as much fluid and thus don't have as much travel.
3. Increase the size of the clutch pedal stopper, so you can't push the pedal in as far as before.
Option 1 is plausible, if you don't mind removing the tranny several times till you get the length just right and you can weld. But lets scratch that idea, since it is out of the scope of what the general DIY'er is going to want to deal with.
Option 2... I don't know where you would even start with this one, maybe one from another car? Send the stocker out and see if it can be modified? Impractical if you ask me, scratch this one as well.
Option 3, Simple, easy, can be done by just about anyone with a few simple tools.... perfect!
Final step, stopper modification, and clutch pedal adjustments:
Slide the drivers seat all the way back, get down by the pedals and push the clutch pedal in by hand. You see a little rubber stopper on the firewall that the pedal arm comes in contact with when it's all the way in. What we are going to do is put another stopper in it's place that's 1/4" to 1/2" taller. Now there isn't just my way of doing this, and there is probably a better way of doing it that I didn't think of, but I will show you what I did to make a taller stopper
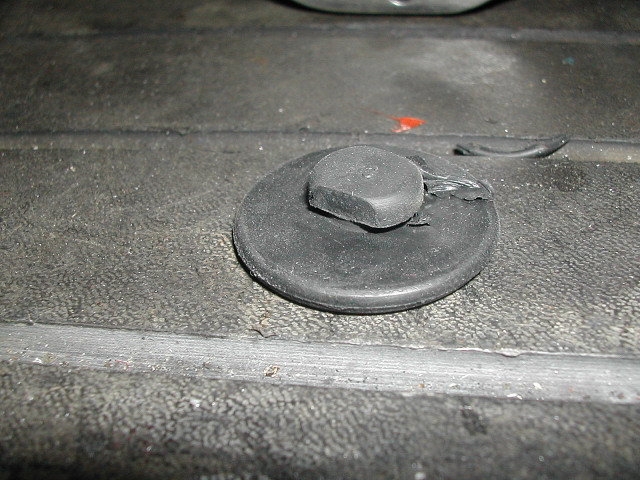
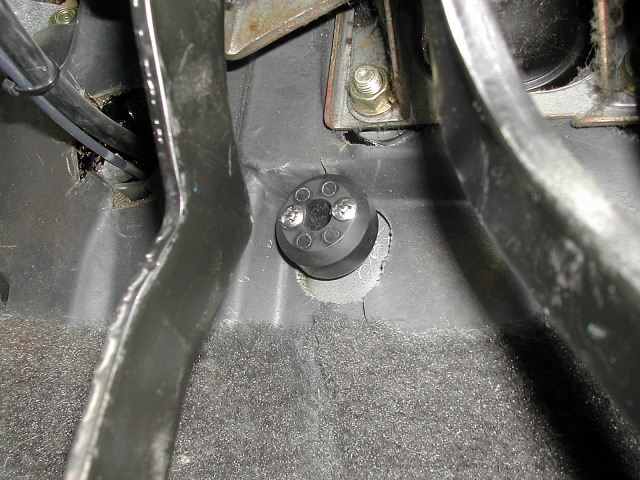
First I pulled the original stopper off. (Just a quick tug):
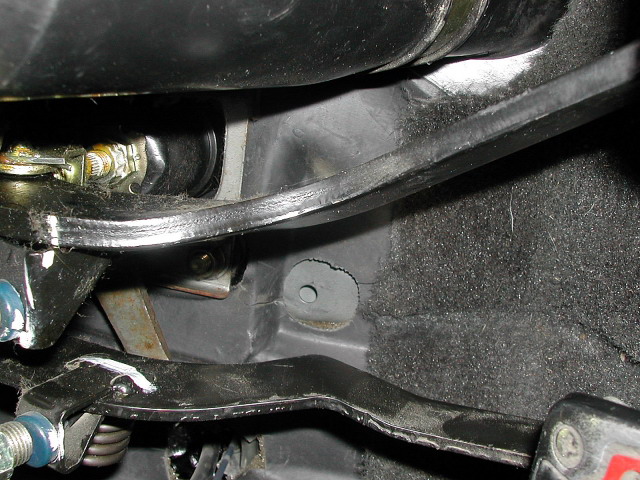
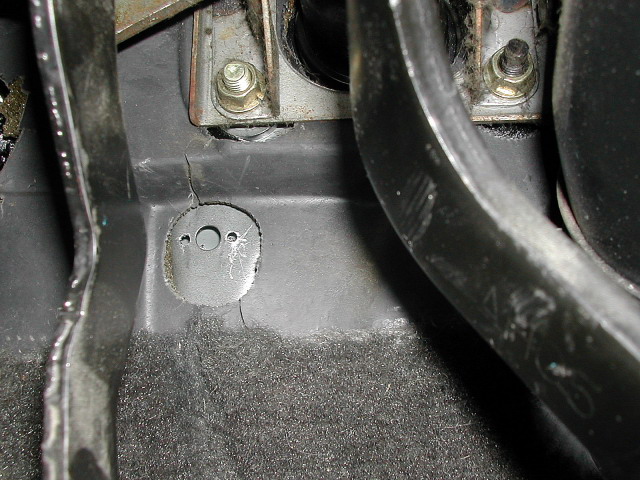
Here is where it used to live:
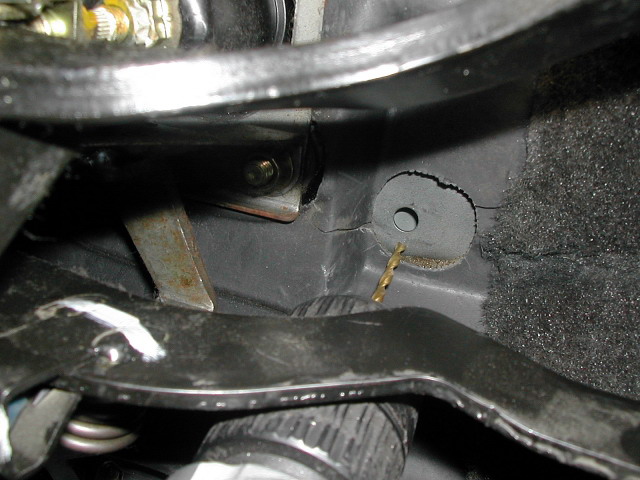
Then I drilled 2 small holes on either side of the original:
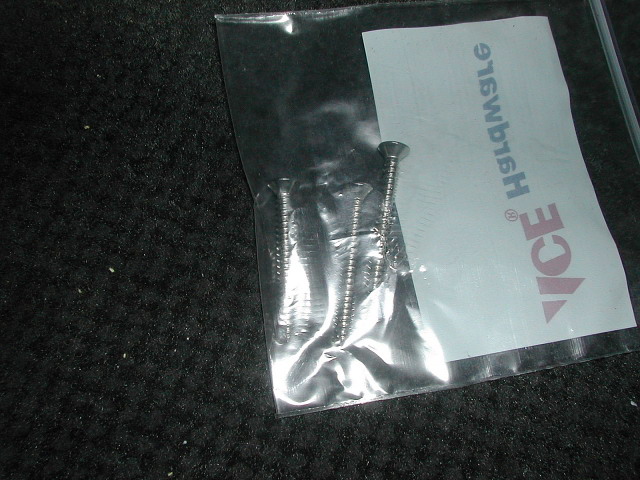
I bought 2 fairly lengthy screws to go into the holes. (Ignore the third!):
Now I took a spare sway bar end link bushing I had laying around and drilled two holes in it to match the ones I made in the firewall, then I just screwed the screws in:
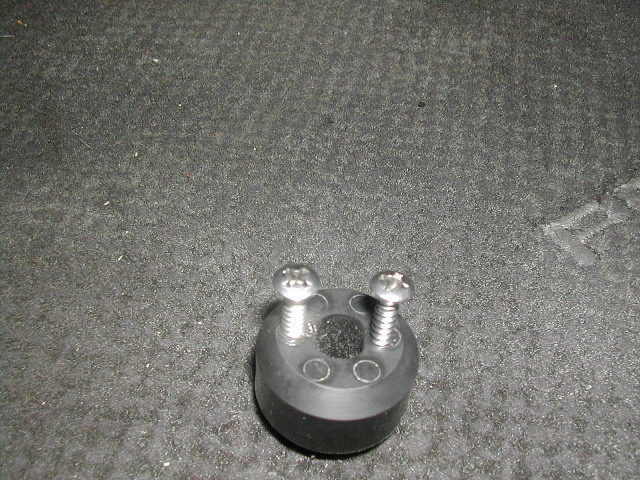
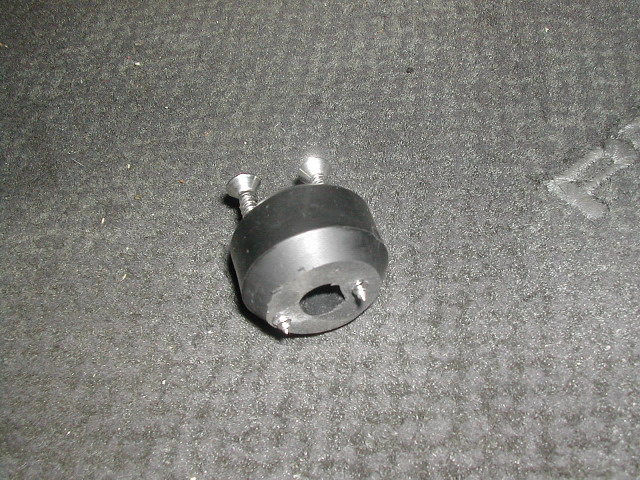
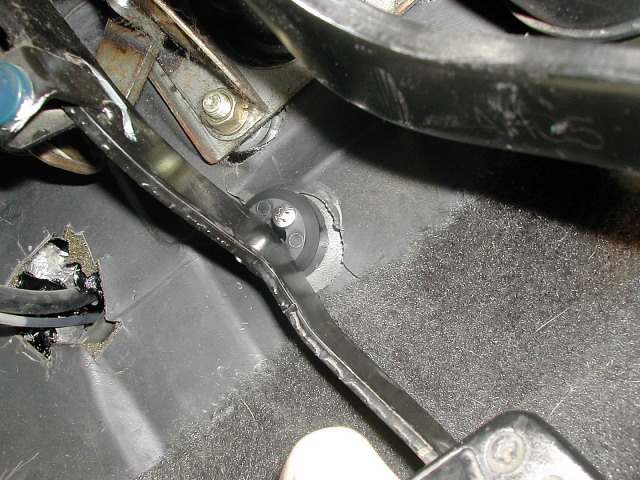
Next step, just screw it in. I started out with the bushing being a little more than 1/2" thick, but I wound up shaving it to be a little under 1/2" thick:
Here's the pedal in, resting right between the screw heads, works perfect!
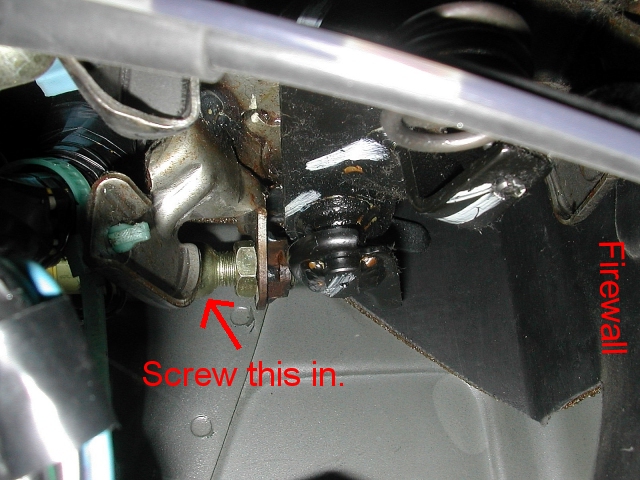
Now if you go to start the car, you will have a problem, it won't start. The pedal is no longer going in far enough to trigger clutch pedal switch #2 which needs to be pressed in for the car to start. You need to loosen the nut holding in the switch and then screw the switch in so when the pedal is up against the stopper, the switch is also getting pressed. Don't be mistaken, this switch is not the one easily seen when you look under the dash, the one you want is way up past the fuse box.
Get a 17mm wrench, lay on your back in the drivers floor board then reach up with your right hand starting above the dead pedal and you will be able to get at the nut, loosen the nut. Now, unplug the connector from the back of the switch (This can be a little challenging, but it's doable) once the plug is out screw the switch in a few turns, then with your left arm push the clutch pedal all the way in and make sure it is activating the switch, but you don't want it to be bottoming onto the switch. Once you have it right tighten the 17mm nut and plug the rear connector back in. Done.
Here is a pic I managed to take of the switch, loosen that nut and screw the switch body in:
Ok, your almost done I swear. All that left is to do fine adjustments to the new stopper and master cylinder rod.
Start the car, let out the clutch pedal, push it back in, and see if you can get it into gear, it should not be any harder then it was before. If it feels the same, take the car for a drive and see how it shifts and if you like where the clutch engages, if you like everything as is then your done.
But if it's still hard to get into gear, or the clutch is engaging too close to the floor or too high, you will need to adjust. First for hard shifting, the stopper could be too short OR too tall. I recommend starting with at least 1/2" of stopper then shaving it down little by little till it is shifting correctly, this will also affect the clutch engagement point, because a stopper that is 1/2" tall is going to have the clutch engaging closer to the floor then one that is 1/4" tall.
Once you think the stopper is about right you can do more precise adjustments by adjusting the master cylinder rod that is connected to the clutch pedal arm. It's right above the gas pedal, there is a 12mm nut on it, loosen that nut. Now just screw the rod in and out by turning it with your hand. Just make an adjustment, then start the car and test it out, keep doing this till you get it how you want, then re tighten the nut and your done.

That's it, although there is a bit more custom stuff that needs to be done to make it work I think the benefits outweigh the additional work required. You can get teg clutches and fly's cheaper and there's a better selection of parts. Besides who knows how much longer companies will make performance flys and clutches specifically made for the 88-89 trannys?
Update: Been driving with this clutch/fly setup for a little over a month now and it's working great. With this 12lbs. fly there are no drivability issues at all, feels the same in traffic as stock and I don't notice any difference going up hills etc. The stock fly's should have weighed 12lbs. :-)