This procedure is to help you clean the solenoids you have.
0) Disconnect the battery negative.
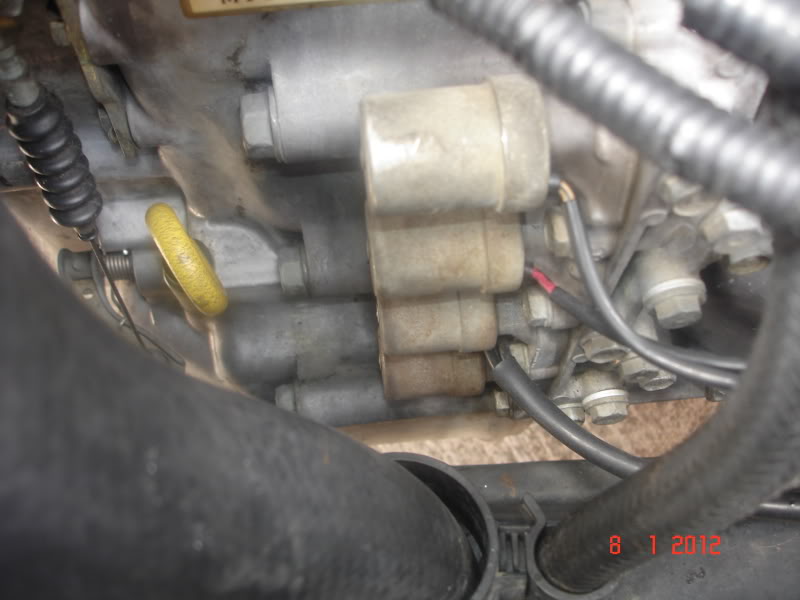
1) Remove all air intake etc. to clear a path for easy access to the solenoids. Pic below shows the solenoids attached to the A/T box:
Auto Transmission Solenoid Maintenance
By: Spacemaster
(From: http://www.preludepower.com/forums/showthread.php?t=350241)
Link to this page:
BACK TO PRELUDE3G.COM HOME
If your car has the following symptoms, this procedure will help:
A) S4 indicator flashing
B) A/T code of 2 or 8
C) Stuck with one gear (usually at higher gear)
D) Hard to shift between gear, etc.
In my case, my car has all a, b and c.
Our prelude A/T is very strong and usually doesn't fail. The above symptoms indicate that either or both Solenoids (lockup and Shift) are not functioning as expected. Luckily the solenoids are external and easy to remove. We can at easily restore its functionality (in worst case replace one, hopefully not).
This procedure is to help you clean the solenoids you have.
0) Disconnect the battery negative.
1) Remove all air intake etc. to clear a path for easy access to the solenoids. Pic below shows the solenoids attached to the A/T box:

The top solenoid is the lockup control and the bottom one is the shift control solenoid.
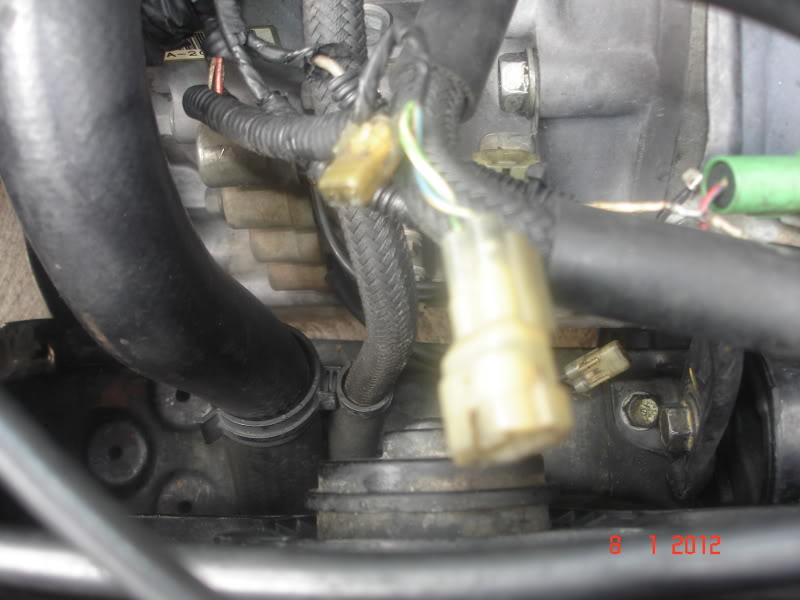
2) Carefully unplug the wire connection from both solenoids by lifting the tab from the plug. Pic below shows two solenoid wires unplugged:
3) Remove three 10mm bolts from the lockup solenoid and remove the solenoid. Here what it looks like:
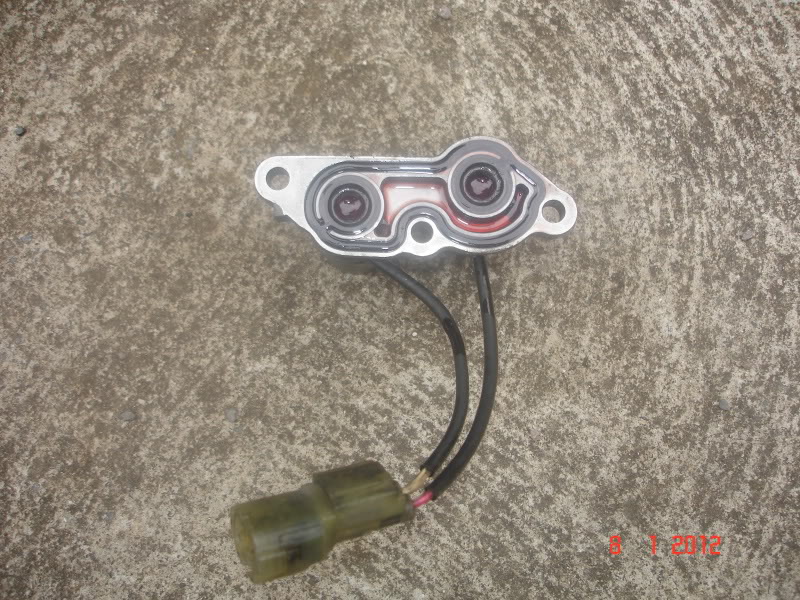
You can see the solenoid gasket filter attached to the solenoid. In my case it has metal flakes/sludge on the filter that block the passage of oil to the solenoid valve. At this point I removed the remaining solenoid:
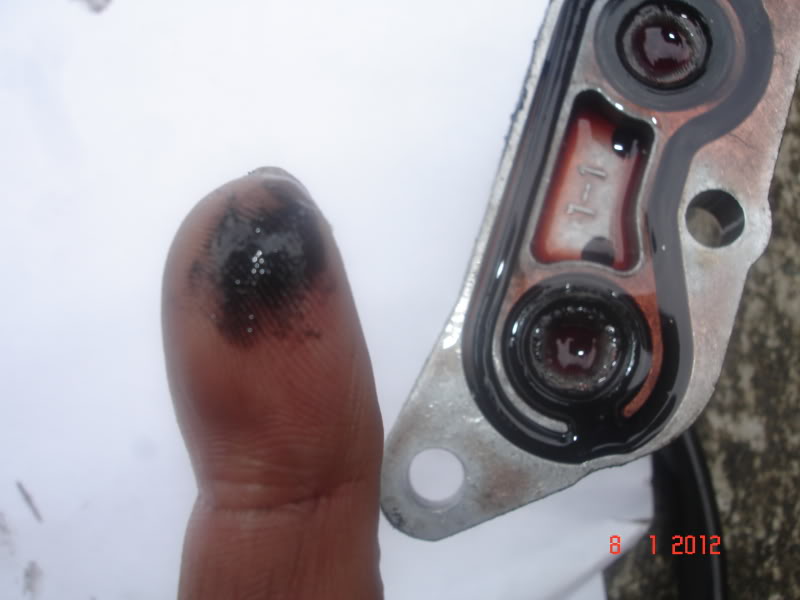
4) Carefully pry off the gasket filter from the solenoids. Here is my shift solenoid filter:
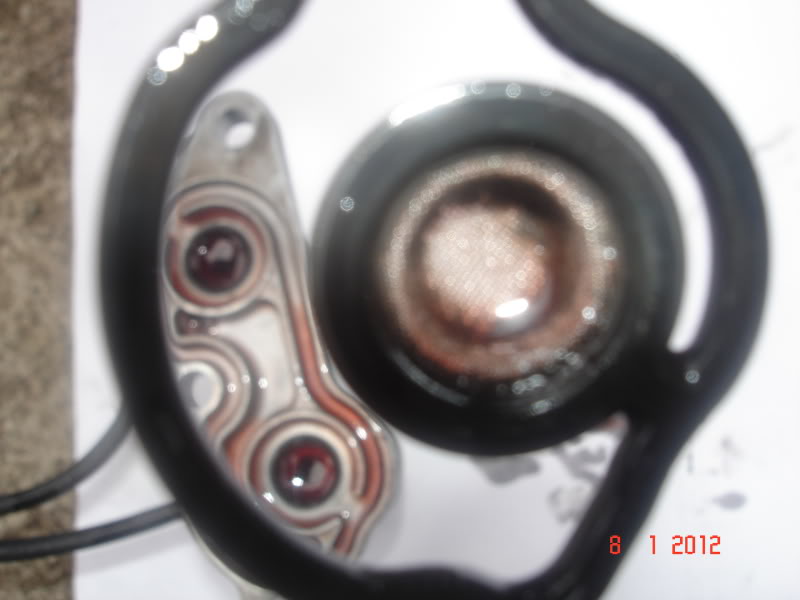
Now we can start to do the fun stuff in order to restore the solenoid
5) If you want to reuse your gasket filter, then you need to clean the filter with brake cleaner. This allows better oil flow to the solenoids:
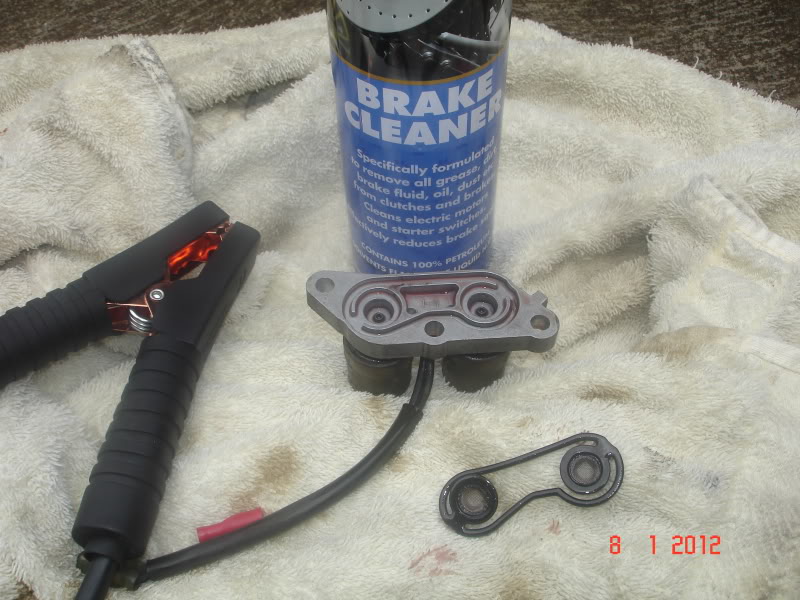
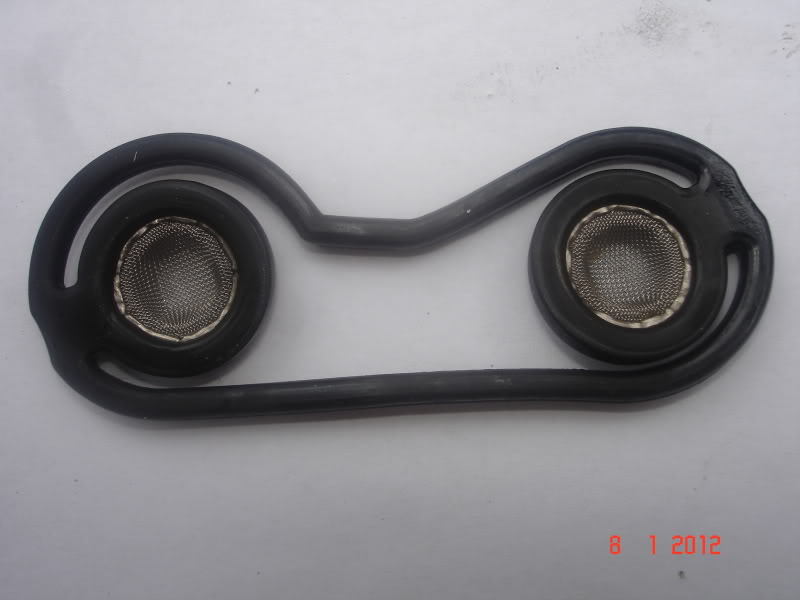
After cleaning:
Now we turn to the solenoids themselves. The solenoid has two valves (A and B). Both need to activate (or click) when you apply 12v to it. You can test this by applying a very brief 12v positive to one wire (either wire, one for each valve) and negative to the body of the solenoid. Careful you don't let the positive touch the negative wire. With a full functional solenoid, you should hear a click or clicks. In my case one valve is quite stuck and the other is a very weak click. This indicated that my solenoid had stuck with all the metal dust in it and I need to clean the inside:
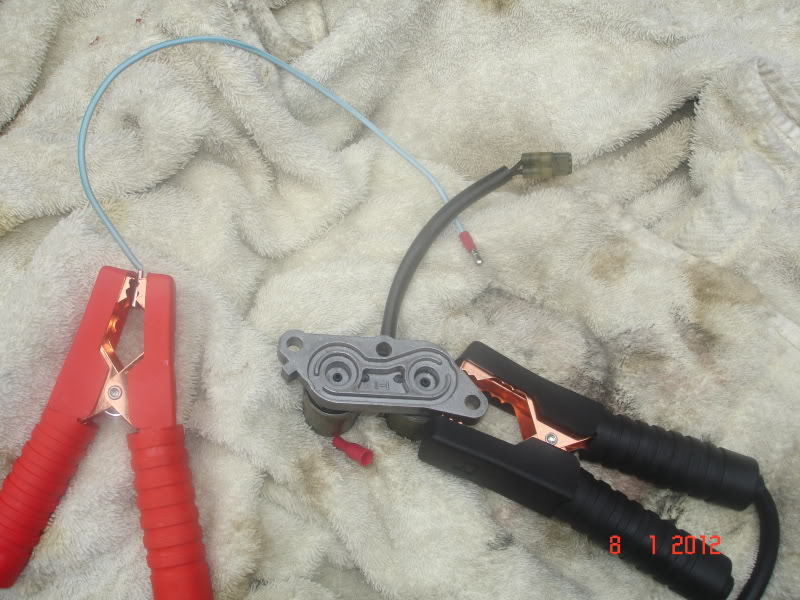
6) Let's start cleaning the solenoid. First you can see the holes. Just blow the brake cleaner into each hole, you will see some metal dust coming out with the brake fluid:
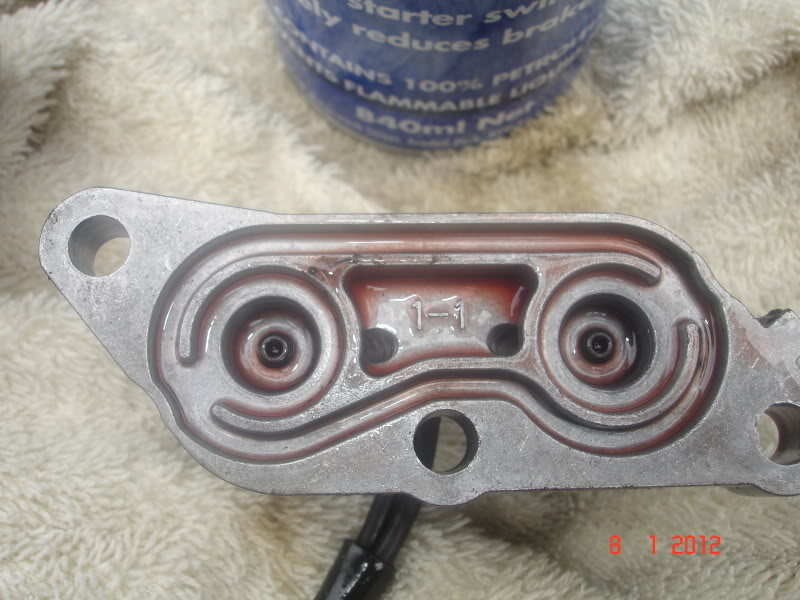
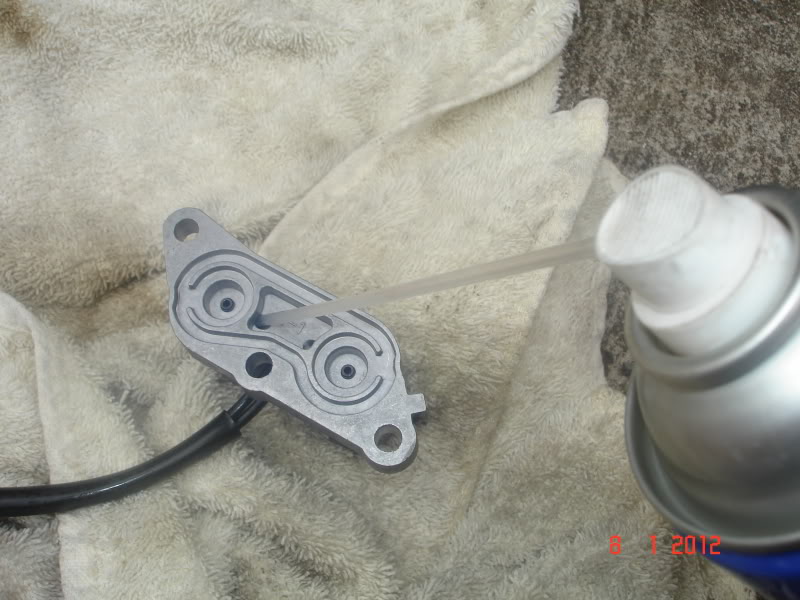
But that alone is not enough, after you apply some brake cleaner moderately tap it onto a clean towel a few times. This will shake the dust inside the valve. Repeat the brake cleaner and tap..tap... during this you might see some metal dust seeping out of the hole.
7) Check the solenoid valve by applying 12v and ground to the solenoid body as above. You will hear the click is getting louder and kicking stronger. If not, repeat step 6 until you see no more metal dust or you satisfy that both valves have strong and louder click. Now you know you have brought it back to life:
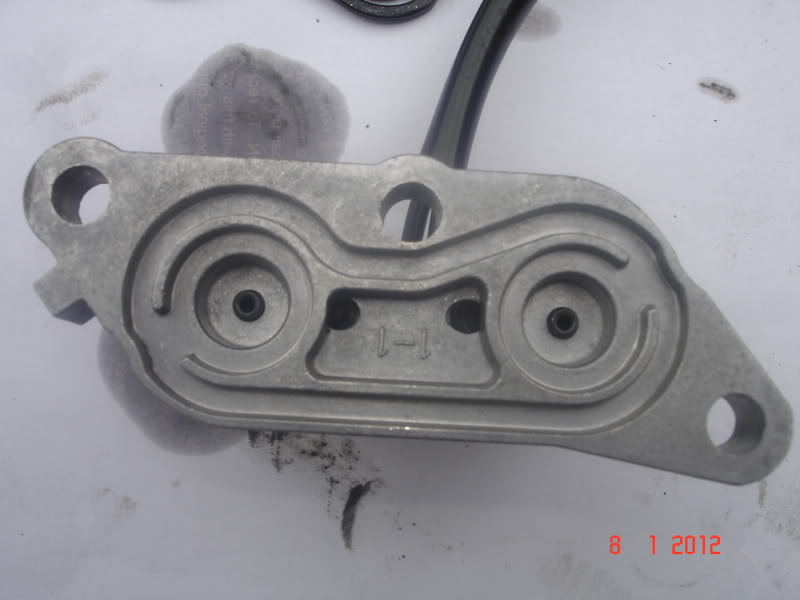
Repeat the same procedure for the lockup control. Here are both of them after cleaning:
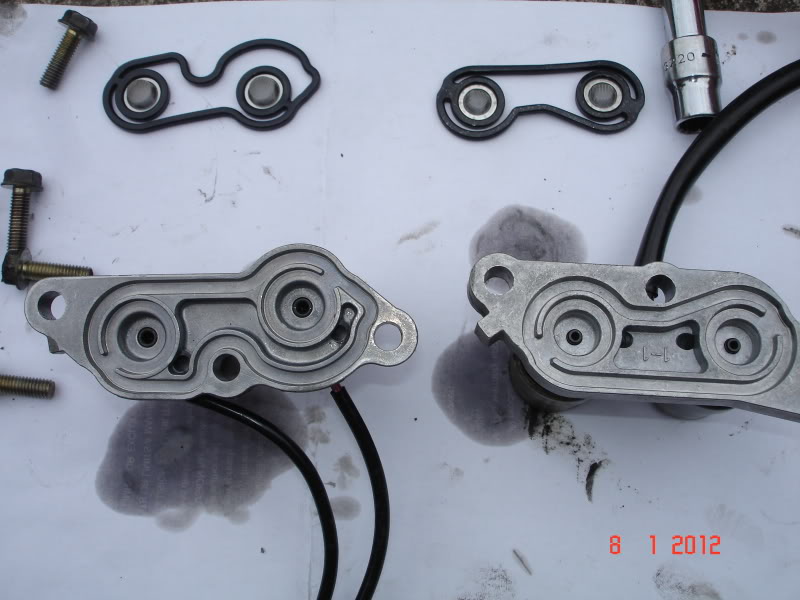
Put the gasket filter back in:
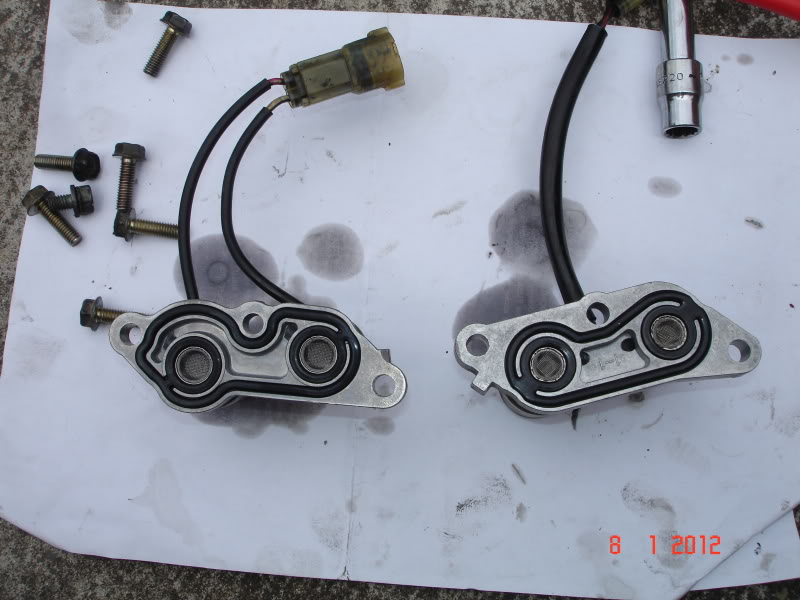
8) Apply some transmission oil to the gasket.
9) Clean the mating at the transmission housing with a clean rag and brake cleaner:
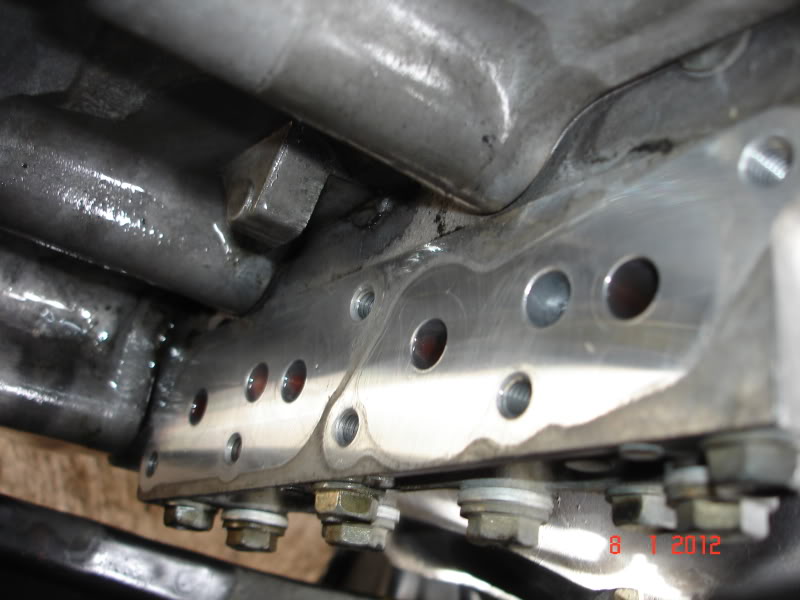
10) Reinstall the lower solenoid first with three 10mm bolts and apply 12Nm (9lb) of torque. I don't have much space for my bloody torque wrench so I guesstimate. Then reinstall the top solenoid, similar to the bottom one:
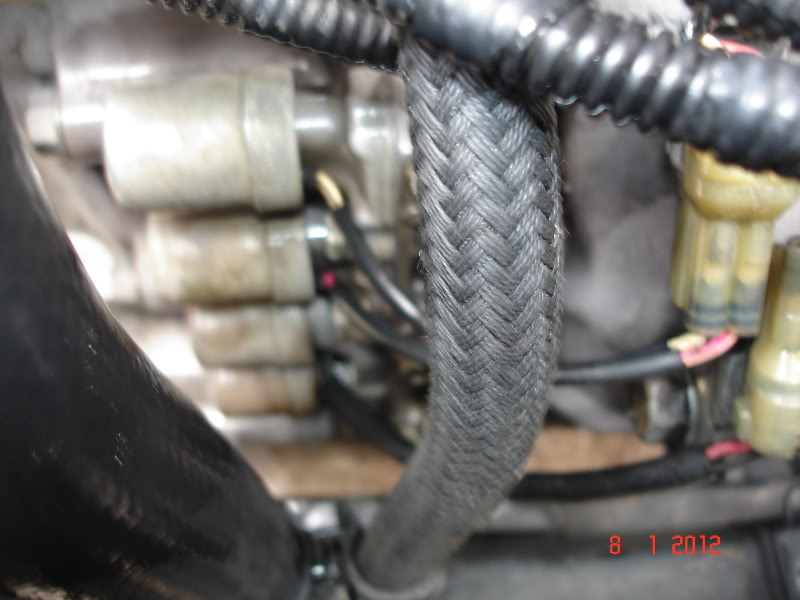
11) Plug all the solenoid plugs back into car harness connection. Easy enough.
12) Reinstall the battery negative and check everything around you, make sure no bolts or nuts hanging around.
Start the ca, go drive, and enjoy smoother shifts and gear engagement......
That's all folks!!!!