How To Paint Your Calipers And Change Your Brake Pads
By: m1k30rz
(From: http://www.preludepower.com/forums/showthread.php?t=242613)
Link to this page:
BACK TO PRELUDE3G.COM HOME
Ingredients

You need basic tools, break cleaner and some caliper paint of your choice (i chose this caliper spray paint as it has primer and everything built in so its just one step! very easy) I chose to paint mine silver as it matches the wheels and will blend in quite nice and not look all ricey and out of place! Gold would also look quite nice IMO. you will also need a wire brush thingy or some sandpaper.
Step 1:
Raise your car on jack stands (BE SAFE PEOPLE USE JACKSTANDS PLEASE) and take both front wheels off (we are doing the front for now).
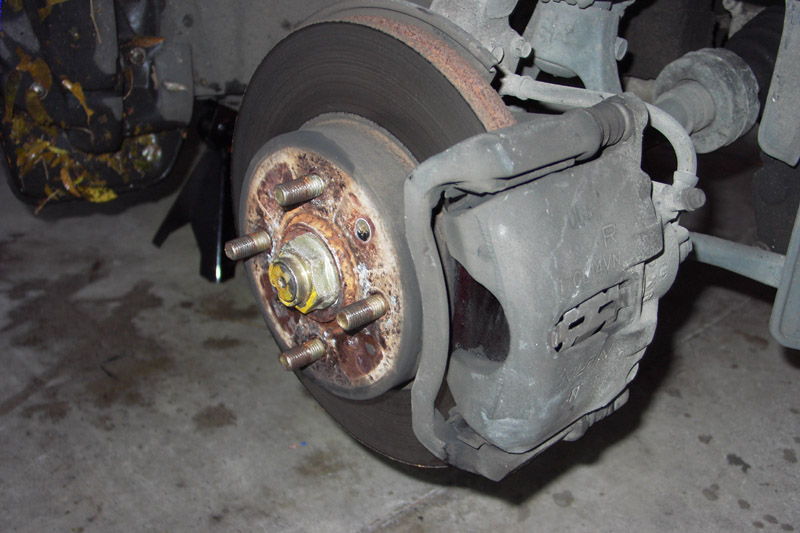
You will be greeted with this pretty sight :]
Now heroes a rule for this guide, keep one side fully intact do not take any of it apart until you've COMPLETLEY finished the first side, why? So if you forget what way round that pad/shim/caliper/bolt goes you can look at the other side! Saves messing up now
Step 2:
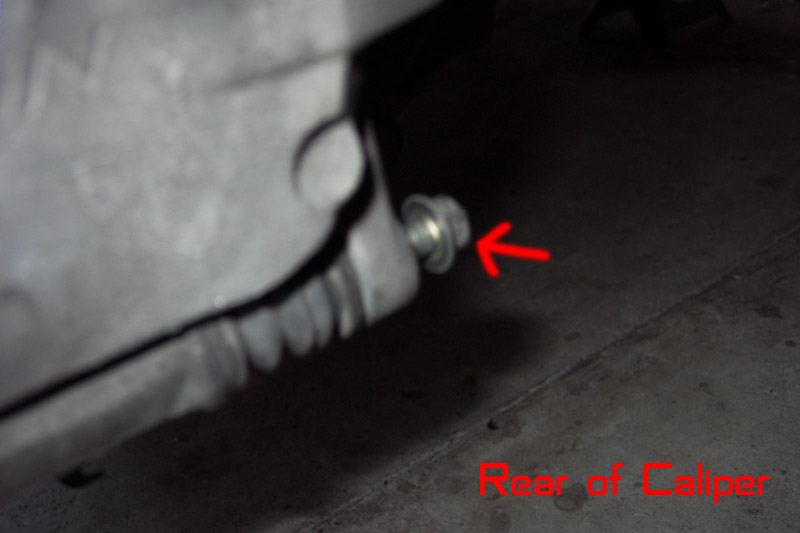
Remove the calipers bottom bolt on the rear of the caliper
Now swing the caliper up, depending on what kind of break disc quiet has been used etc it may be VERY TIGHT to lift up, Pull hard, it will come up. Just not TOO hard don't want to snap any break lines or anything!
Now you've got it up pull it towards you a little bit and let it back down, it will nicely rest on the existing brake pads as seen in step 3
Step 3:
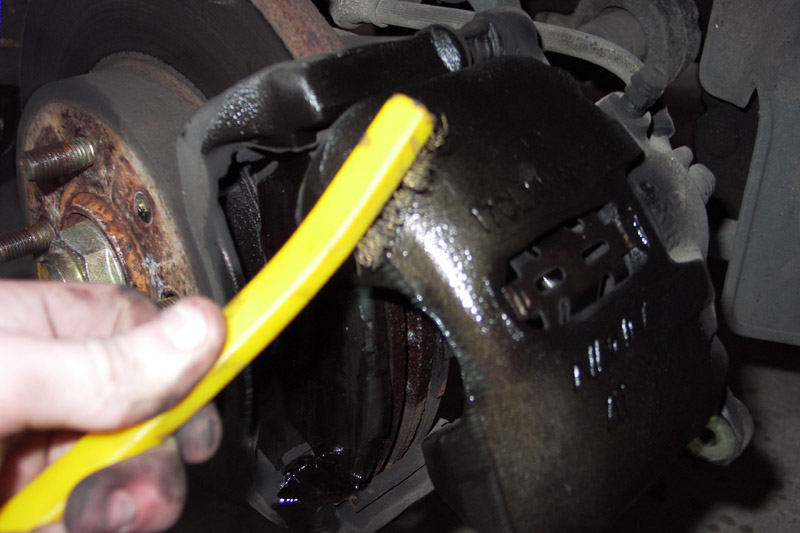
Now we want to clean that caliper! Get out your sandpaper or wire brush and break cleaner, spray a good amount of break cleaner all over it and then get to scrubbing! You want to remove ALL dirt/rust that is on the caliper, now let it dry and spray it hard out again to remove all the dirt/rust you broke free.
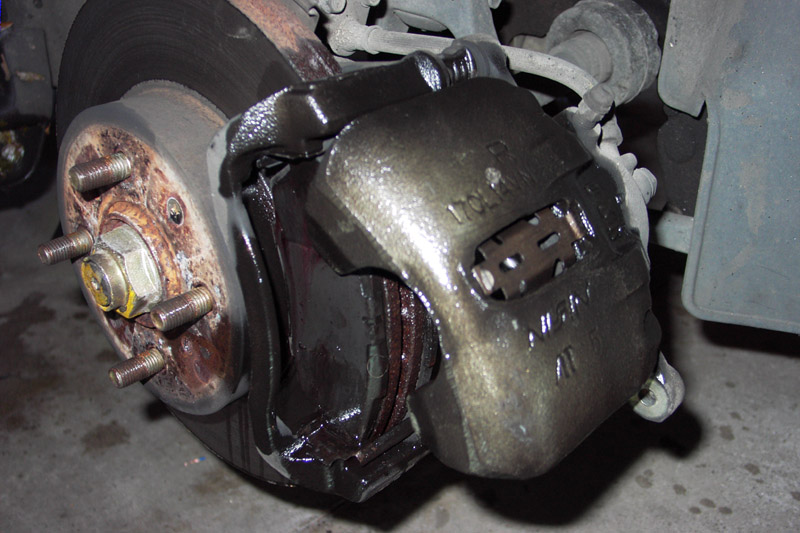
Repeat if necessary.
Should come up nice and clean like this
Step 4:
Lets get to painting! First we must block off anything we DONT want to paint, that would be our brake rotor! I don't think it would be too happy with paint on it!
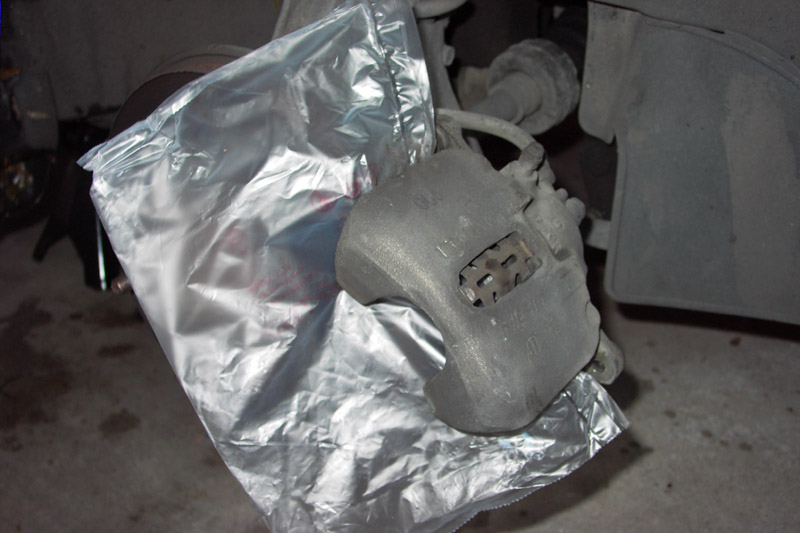
As you can see I used a plastic bag and put it up under the caliper covering the caliper piston as well.
Spray a good nice even coat and let it dry (says to let dry for 15 mins)
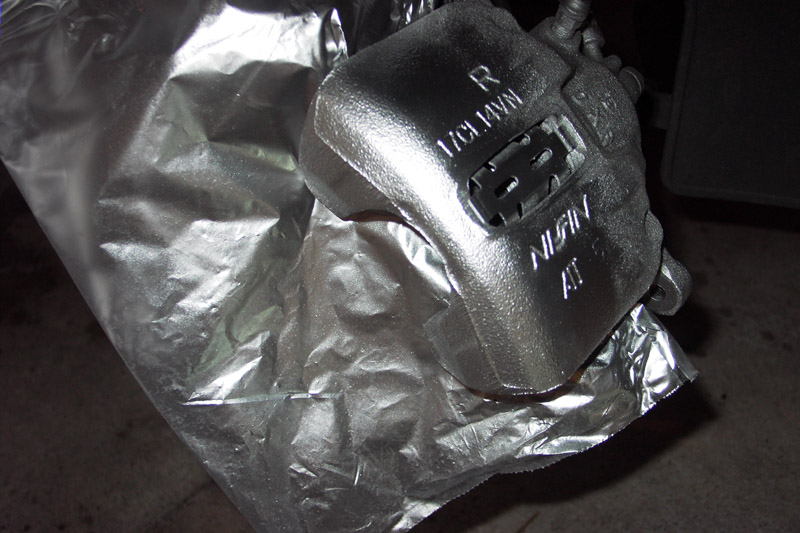
Now give her a few more coats (waiting in between 15 mins each time) until it has the desired finish, more spray = more shiny.
Step 5:
I let it dry for a good 4hrs before I went on so depending on your climate etc wait till its dry, we don't want to scratch up our nice painted calipers do we?!
Using a brake disc caliper piston pusher tool (available from most automotive shops) I pushed the caliper piston in, I put the tool into the caliper and put an old brake pad up to the piston and turned the handle and it pushed it in perfectly and evenly.
Make sure you do this with the master cylinder reservoir OPEN and a towel around it! Some brake fluid may come out!! you do NOT want this on any paintwork, nasty stuff!

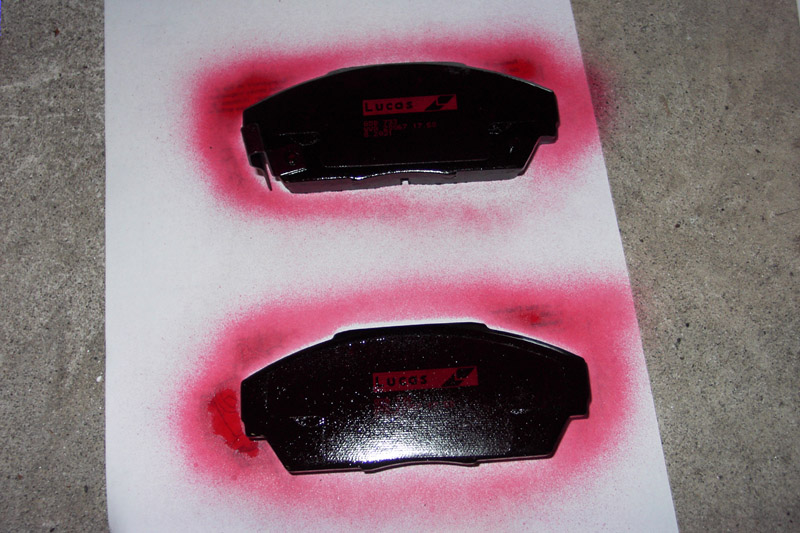
Now that the caliper was pushed in I got my new brake pads, these are Lucas non asbestos pads, they have EXCELLENT braking performance and don't create much dust, and they have many more great features I recommend them! They also have rubber shims on them so you do not require the OEM metal shims.
I used some CRC Disc Brake Quiet on the back of the pads, shop manual says you must use some form of disc brake quieter/lubricant on the back of the pads and shims (if you have metal shims)
When it has dried but still tacky (about 10 mins to get to this stage) place the pads into the pad retainers then close the caliper over top of the pads and put the bottom bolt back in and tighten it up good! (not too tight though)
If you need any more help with changing the brake pads visit the shop manual http://media.honda.co.uk/car/owner/m...sf100/13-7.pdf
Done!!
Now you can do the other side :] once both sides are done put the wheels back on and put the car back on the ground make sure all lug nuts are tightened!!
Get into your car and start her up, pump the brakes SEVERAL times as hard as you can to seat the pads properly.


Take her for a nice drive and enjoy!!