Quick Balljoint Removal
By: MustardCat
Link to this page:
BACK TO PRELUDE3G.COM HOME
This is how you can pop out all your balljoints using only a hammer, and optionally a chisel.
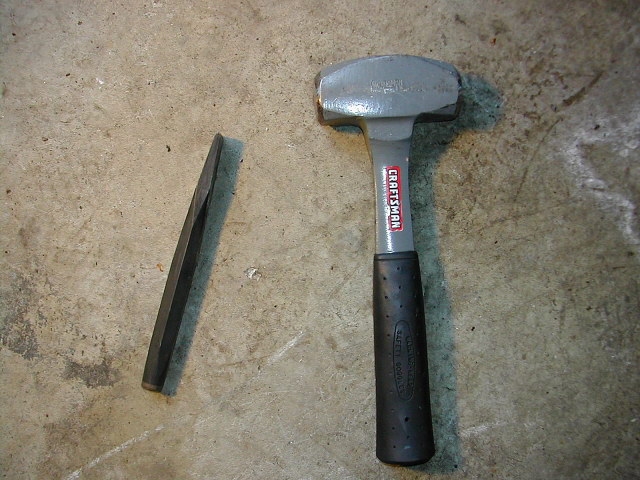
Here are the tools I will use. You want a hammer at least as substantial as this one. The chisel should be a 1" sized one. (The chisel pictured is only 3/4" and is too small.)
Start with the tie rod balljoint. Turn the steering wheel so it is better exposed:
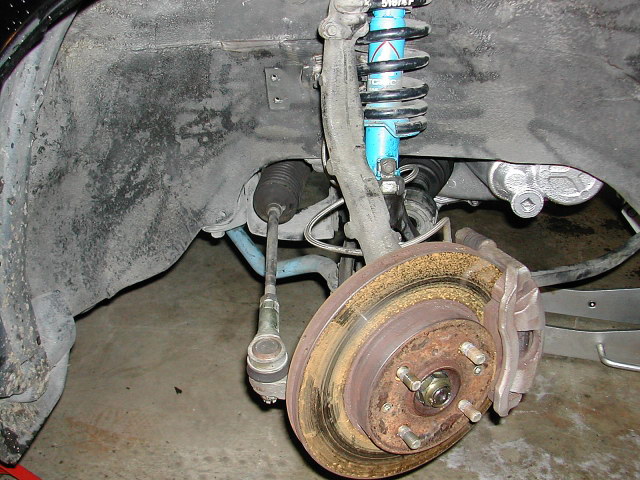
Remove the cotter pin and back the nut off so there space between the nut and knuckle like in this picture. Leave the nut on in case you miss or slip with the hammer so you won't damage the threads:
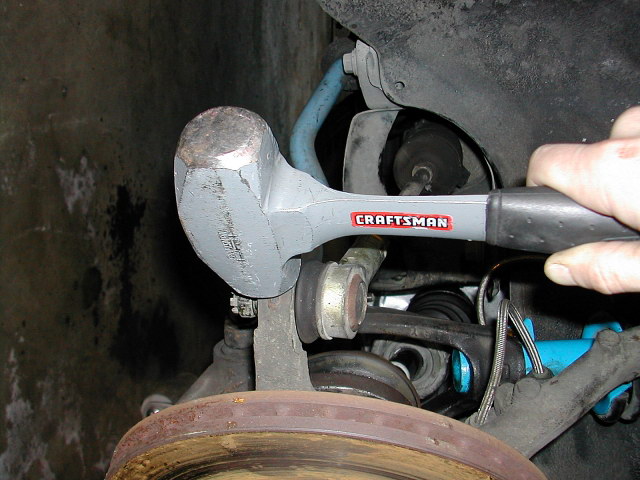
Hit the knuckle here as hard as you can. The amount of hits it takes for the joint to pop loose depends on many factors such as the size of the hammer to how long it has been installed.
Just keep hammering away until the joint pops up:
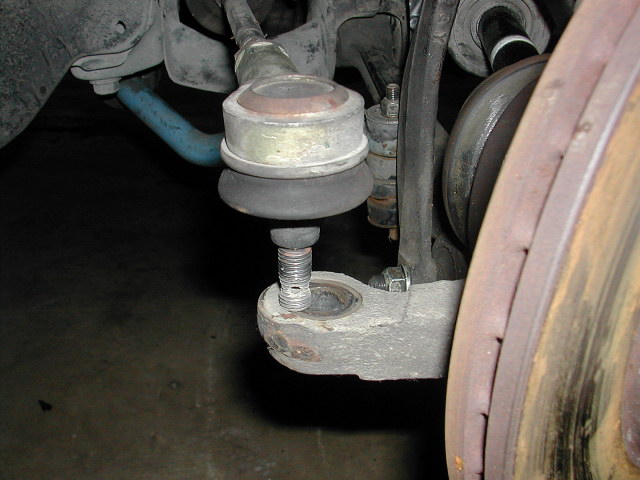
Here it is removed. You can see the markings on the knuckle where I was hitting it:
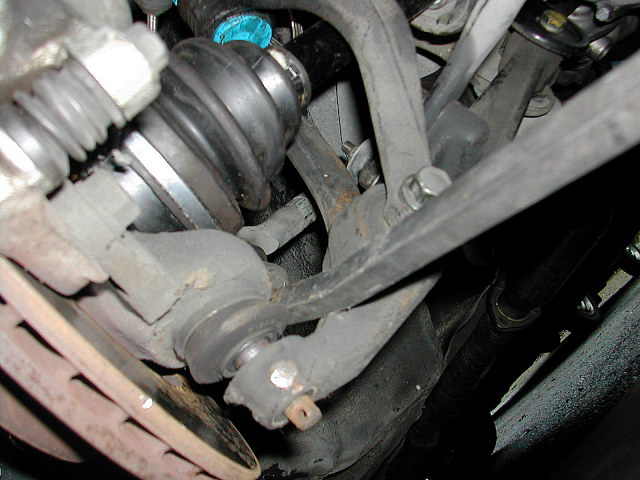
Now for the upper, same idea; back off the nut but leave it on to protect the threads:
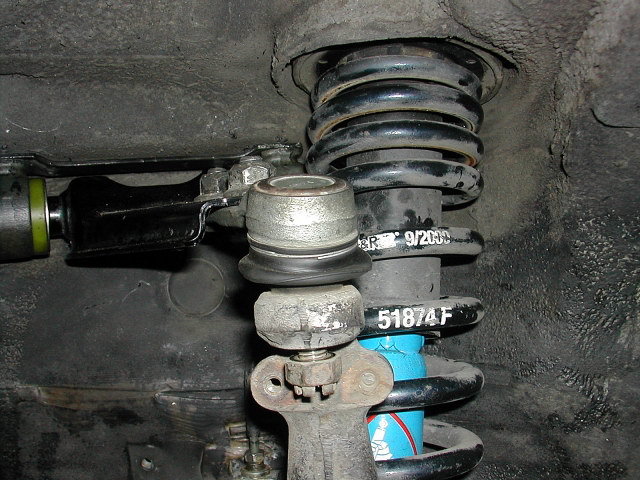
Hit it here. If it's not coming loose try hitting it from the other side as well:
Done:
Now the lower balljoint. There are two ways of getting this one loose.
The chisel method is best and easiest. Wedge the 1" chisel between the lower arm and knuckle. Then hammer it in and it will pop the joint out.
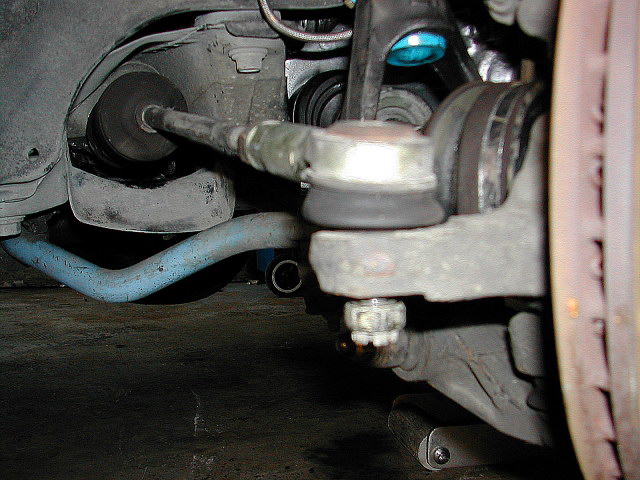
You need a chisel that is wider then the space between the control arm and knuckle. You stick the thin end of the chisel in till it stops, then you hammer that straight in and it will pop the joint out.
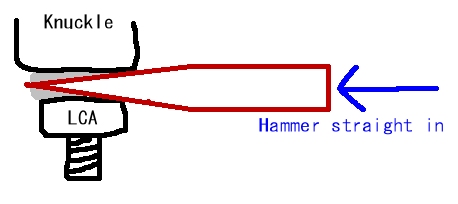
You're basically forcing a 1" wide chisel into a 3/4" wide space.
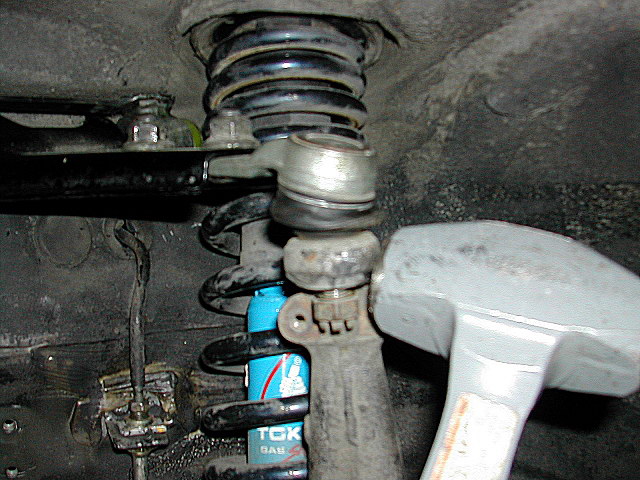
I didn't have a 1" chisel to do this with so this pic is just an example using my 3/4" one:

The other way is simply using the hammer like before. There's a small raised point on the lower arm I've highlighted in this pic, hit it there:
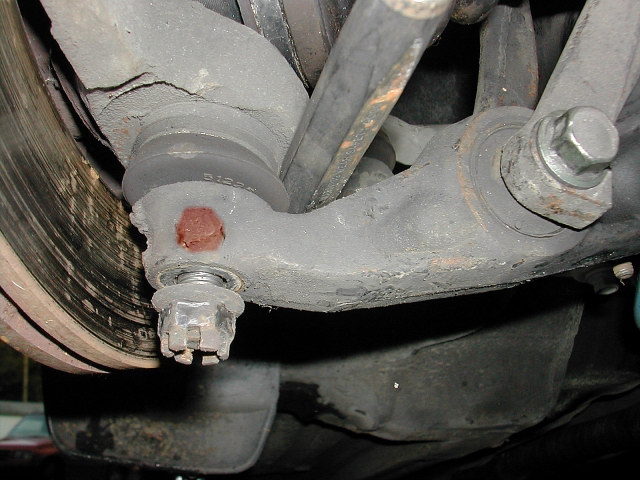
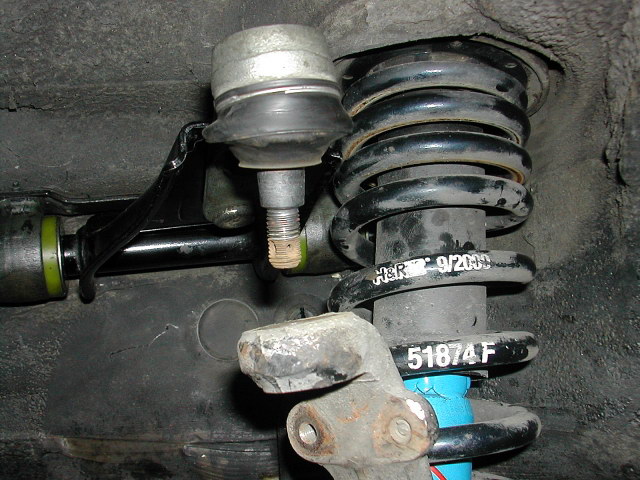
Done. The chisel method is preferred because you have more room to work with and less chance of missing and hitting the wrong thing. (You can see I nicked the outer edge of the rotor in this pic.)
No pics doing the rear, but it's the same idea as the front. You shouldn't have any problem figuring it out.