Adjustable FPR and Fuel Pressure Gauge Install
By: MustardCat
Link to this page:
BACK TO PRELUDE3G.COM HOME
I bought a B&M adjustable fuel pressure regulator and a liquid filled fuel pressure gauge, and this is how I installed them.
BTW the B&M FPR I bought was for a 92-96 Lude. Most Honda ones are the same but a B&M 92-96 Lude one is the only one I will guarantee to fit.
The FPR installs just like the instruction sheet that comes with is says, basically cut your stock one and bolt the B&M on. Not much else to say here it's very straight forward.
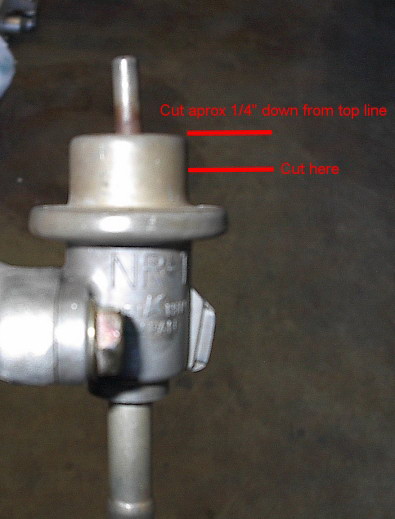
In case the instructions are not clear, cut the stock FPR here:

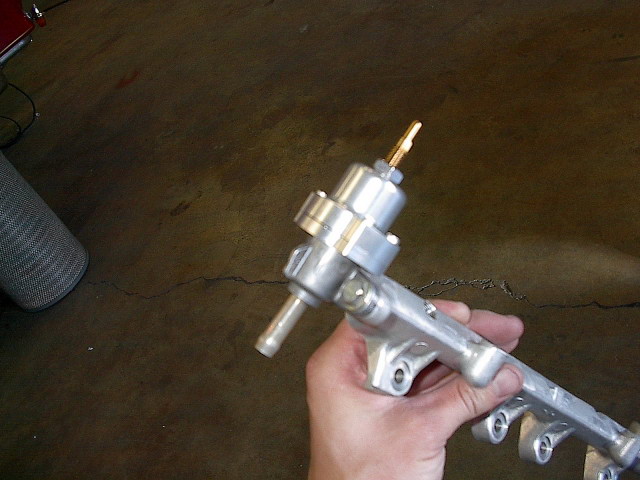
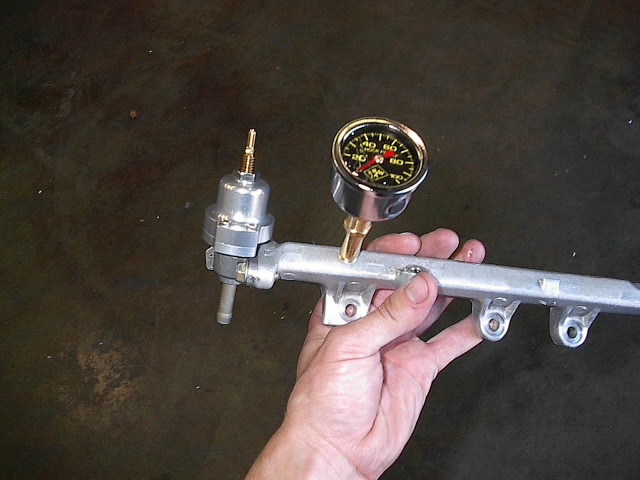
Here is the B&M installed:
Now for the gauge install. The gauge I got has a male 1/8" pipe thread on it and I didn't see any place before the rail I wanted to try and adapt it to.
So I drilled a hole into the fuel rail and threaded it for 1/8" pipe thread. Before removing the rail to drill it, mark where you want to drill it with everything on the car hooked up, so nothing winds up interfering when you go to re-install it. You have to remove the rail to do this step because metal shavings will drop into the rail of course, also take off the FPR for this step. Once you have everything drilled and tapped and ready to go, blow out the rail (With compressed air if possible) and spray it clean in and out with carb cleaner. Metal shavings in fuel system = bad news.
Here is mine with the hole drilled and taped to 1/8" pipe thread:
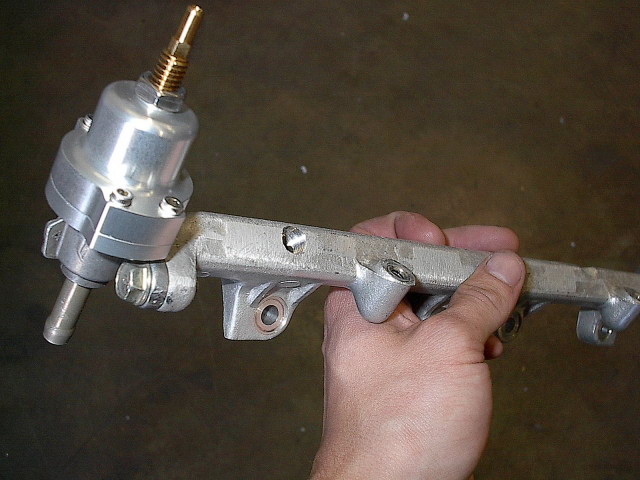
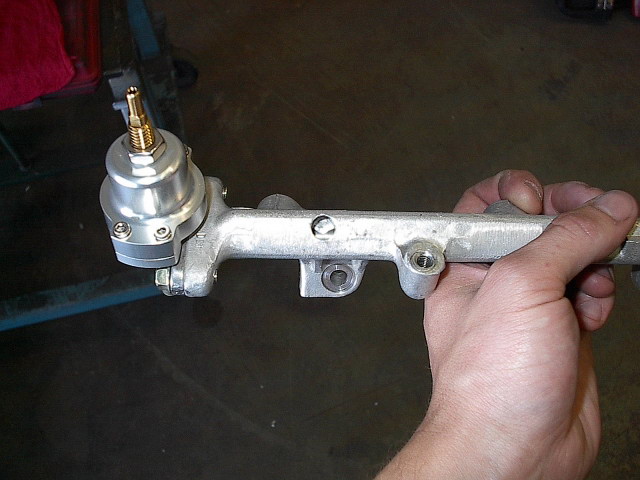
Well here is my first attempt at mounting the gauge, yes it worked but there is a big problem with doing it this way. Being extended so far out when I revved the engine the gauge and most of the extension pipe would vibrate back and forth like crazy! No good, either it will slowly loosen itself causing an inconvenient leak or it will simply weaken over time and crack in half possibly causing a fire and stranding me.
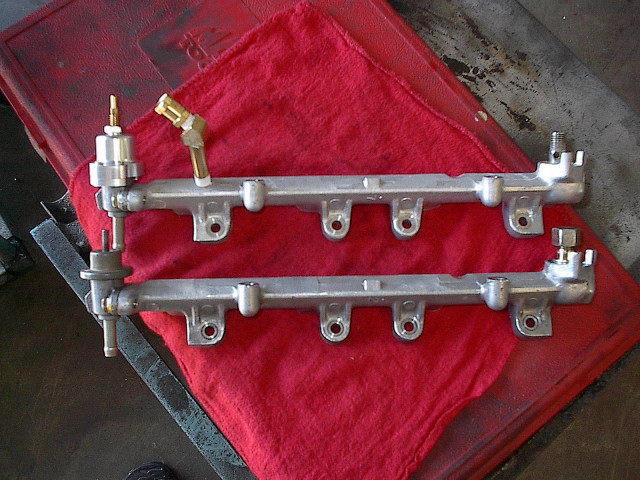
The solution! I picked up some "Lock-On" barb fittings and 2ft of 300psi rated hose (Make sure the hose is fuel compatible!) Also make sure the fittings aren't just regular barb fittings you can tell the difference because the lock-on ones have that little yellow plastic ring that the hose end will seat against.
I got all this at NAPA, Here's the full list of what I got:
2, 1/8" pipe thread lock-on fittings that accept 1/4" hose
1, 1/8" coupler. (To screw the gauge into)
2 feet of 300psi fuel compatible soft hose
2 small hose clamps
1 roll of teflon tape, if you don't have any
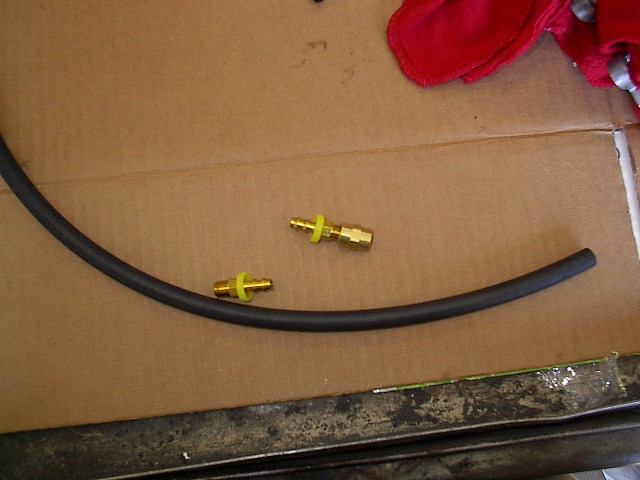
Wrap a ton of the teflon tape around the fitting thread and screw it in nice and tight.(They like to leak.) Then force the hose on. Yes you will have to push really hard to get it on, this is normal, make sure it seats against the plastic base on the fitting. Now though it's not technically required I backed that up with a small hose clamp, don't over tighten it though.
Here is the rail installed in the car with the fitting and hose installed, I recommend installing them before putting the rail in:
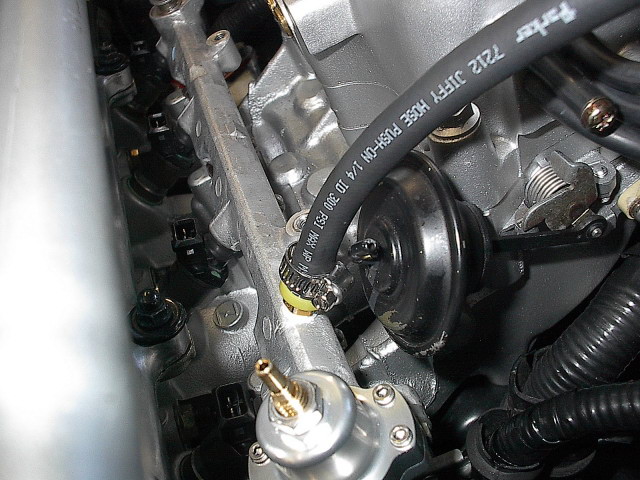
Now figure where you want to mount the gauge and how you want to route the hose. Once the hose is cut to the length you want force the fitting on the end, teflon tape all the threads and tighten everything up. When you first start the car before doing anything else watch for fuel leaks, keep an eye on the fitting, hose, and where the injectors slip into the rail.
It works!
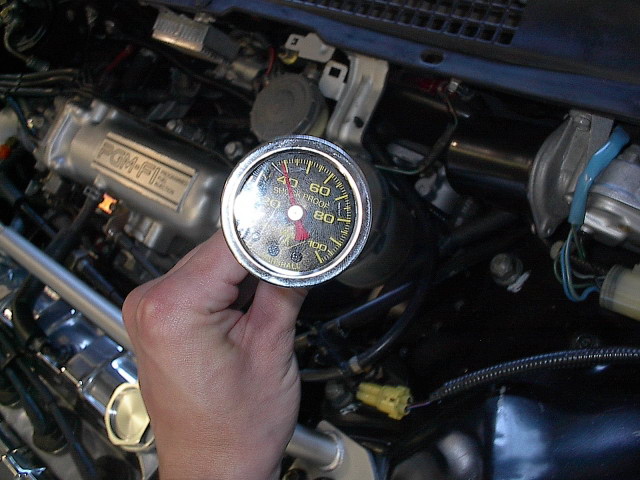
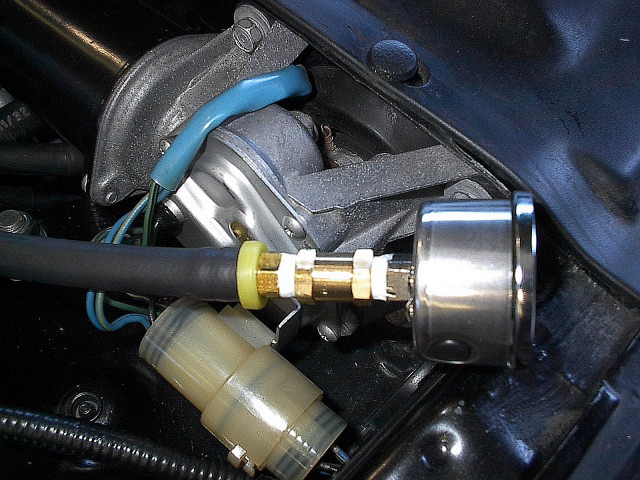
Haven't installed the hose clamp yet, but this is what it should look like:
For now it is zip tied to the firewall till I can make a proper bracket for it.
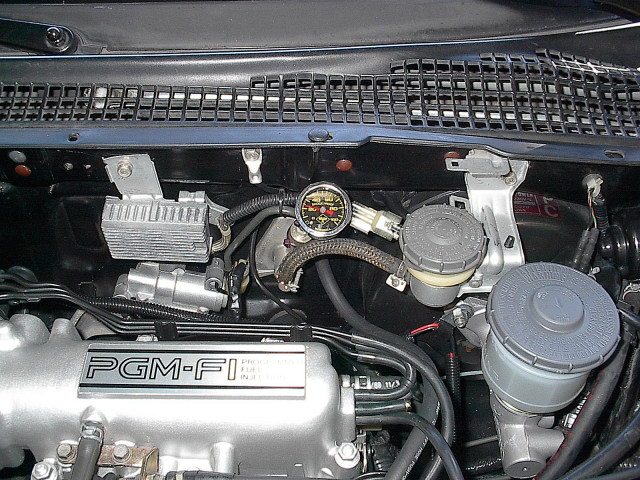
BTW stock fuel pressure with the vacuum line to the FPR unplugged is 35-40psi at idle, so I wouldn't run anything less than that. Also remember an adjustable FPR is to get a little more fuel out of the injectors through increased pressure, you shouldn't use one to get tons more fuel by running really high pressure, it's going to wear the fuel pump prematurely and might even blow out injectors seals, etc. If you need that much more fuel you need to get bigger injectors and some way of tuning it.