Installing Oil Temperature Sensor
By: MustardCat
Link to this page:
BACK TO PRELUDE3G.COM HOME
Ok, well you've got an oil temperature gauge from company X and want to install the temp sensor.. here's how I did mine. This write-up assumes you have the gauge installed already and just ran the wires into the bay.
Tools and materials needed:
Assortment of metric wrenches, sockets, extensions, and a ratchet
1/2" and 3/8" wrenches if your sensor is like mine
Drill with various bits at least as big as the threads of the bung your welding in
Steel bung to screw the sensor into
New oil pan gasket
500° + paint for the oil pan, you choose the colour
Welder
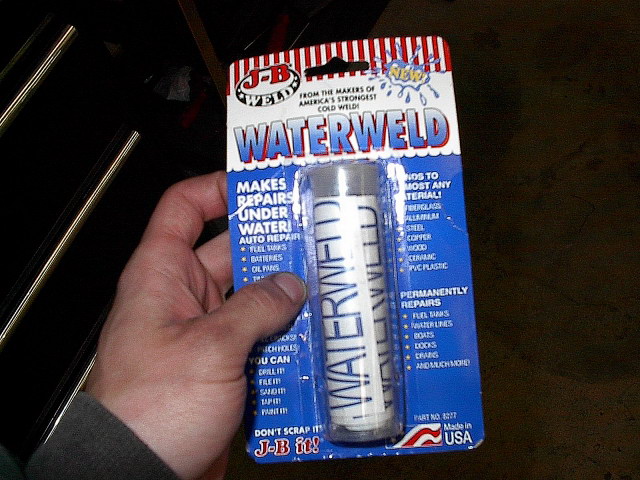
JB weld, I used waterweld made by them
Teflon tape or other pipe thread sealer
Solvent and simple green the clean the oil pan
Air powered wire brush is a plus for cleaning the gasket surface on the oil pan
Wire, wire tubing, crimp connectors, round end connectors, zip ties, and wire bracketing
Silicone that is suitable for use on engines
New oil, unless you have a clean pan to drain it into and plan on reusing it...
Jack up the car and put jack stand under either side, let the car down onto them and remove the jack. Take off the downpipe (6, 14mm bolts and nuts) and engine center beam (6, 14mm bolts). Remove the flywheel cover (3, 10mm bolts). Now take off the oil pan bolts and nuts they are all 10mm. Drain the oil.
At this point the oil pan is probably still stuck on there real good, use a flat head screwdriver and rubber mallet and tap it in between the block and pan in the back, and gently pry. You will probably have to do this in several spots and and angles, just don't pry so much that you bend the pan surface. Once you have it free it may still not drop off because it's hitting the drivers radius rod, I jacked up the suspension on that side and was able to pull it out after that.
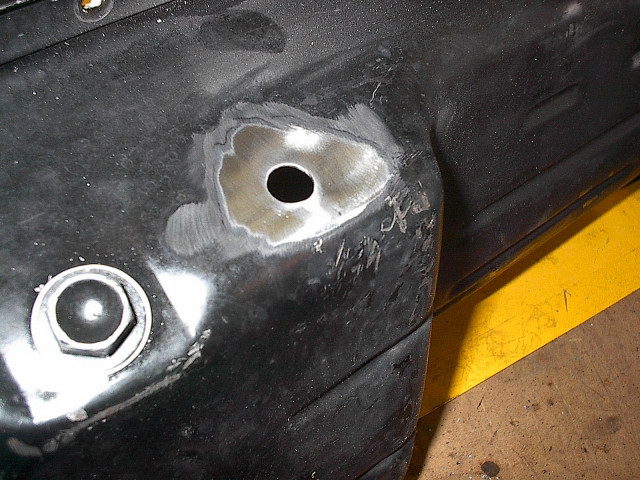
Now clean the inside and outside with solvent, after you have it as clean as you can get it spray it with simple green and clean it with that. Now pick where you want the sensor to be, obviously it has to be in a spot that will be submerged in the oil when the pan is full. I chose to put mine next to the drain plug. Once you have your spot picked, drill a hole that is the same size as the threads on the bung your using.
Now get sandpaper/wire brush/etc. and remove the paint all around the hole, it has to be clean bare metal. Once that is done clean the whole welding area on both sides with simple green again. The welding area need to be spotless as to avoid pinholes in the welds which could cause a leak:

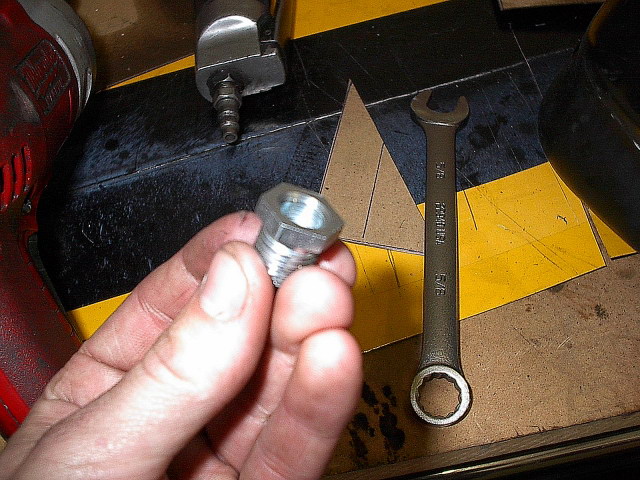
Here is the bung I'm using:
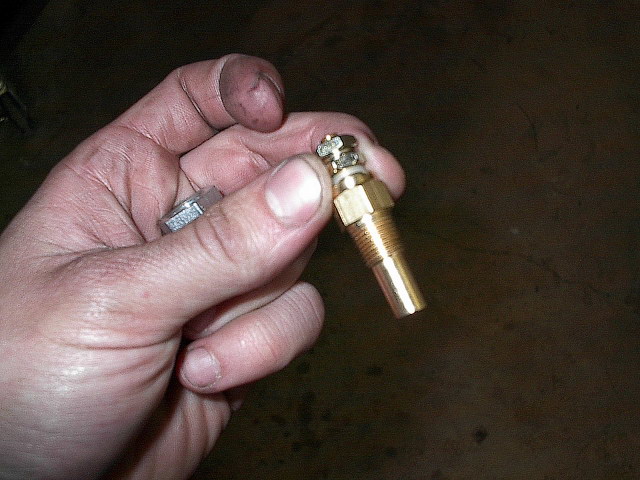
Here is the temp sensor:
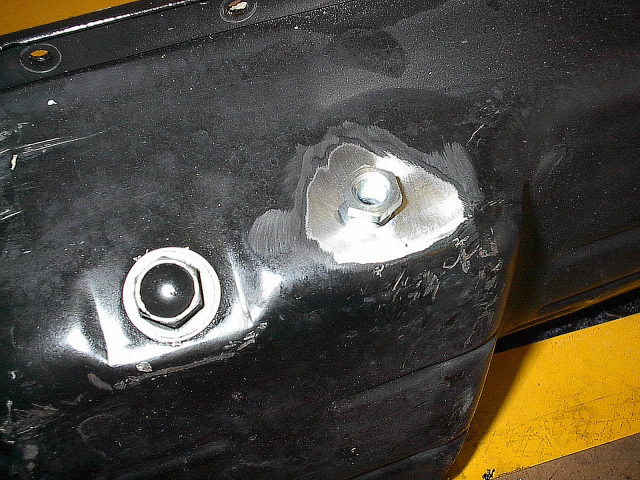
I put the bung in place:
Welding time, I just hooked the ground onto the exposed thread of the bung on the inside of the pan:
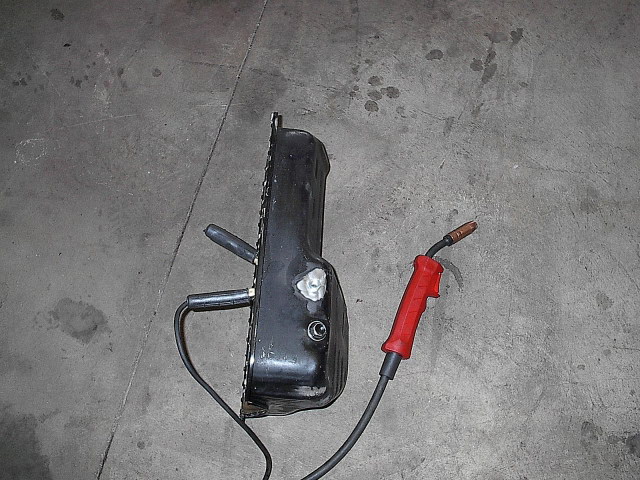
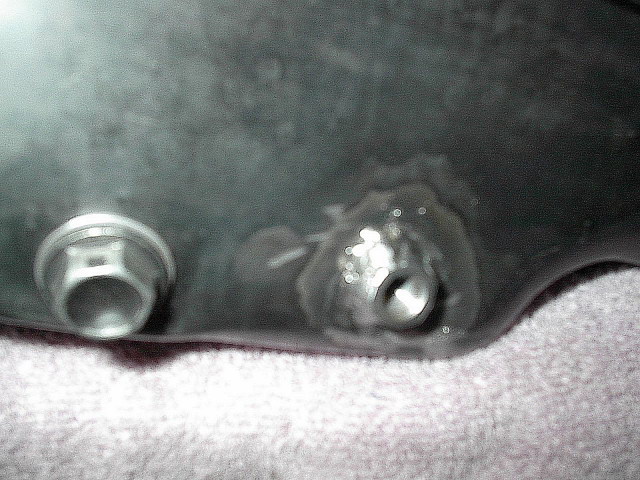
I kinda suck, but got the job done! Afterward I cleaned the weld up with a grinder:
Now use the JB weld and put it all around the bung, this will be added leak protection. Shouldn't take more than 1/4 of the stick:
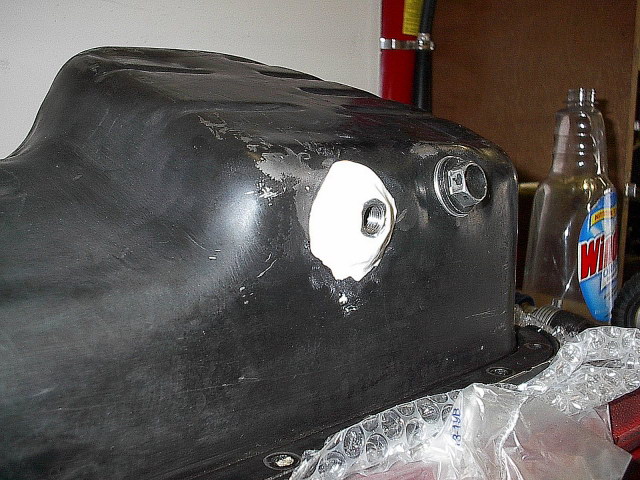
Now while that was setting up (takes 2 min) I used a clean rag and wiped the gasket surface down on the block:
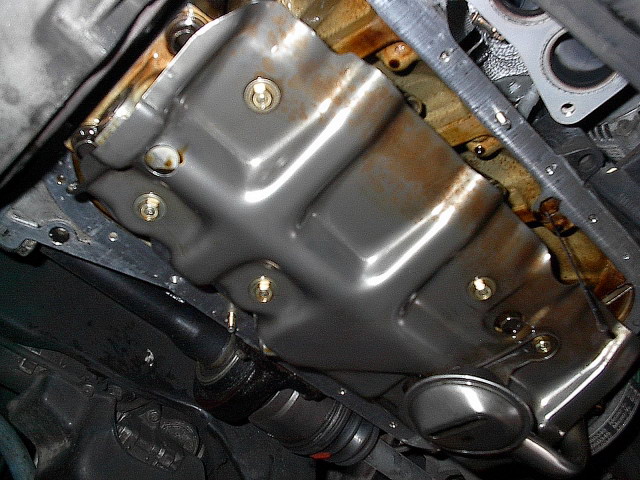
Next I used an air nozzle and blew all the metal shavings out of the pan, then cleaned it a final time with simple green. Then I put a new coat of high temp paint on it. While that is drying you can start routing the wiring to it.
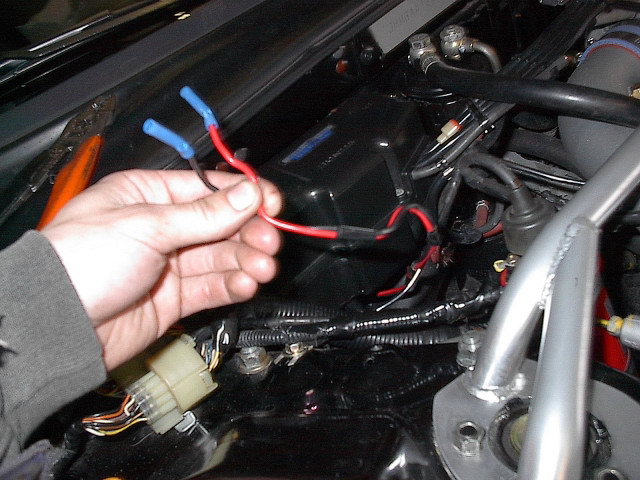
My autometer has a sender wire and a ground, the ground needs to be hooked up near the sensor. I have the wires coming though the firewall under the vacuum control box:
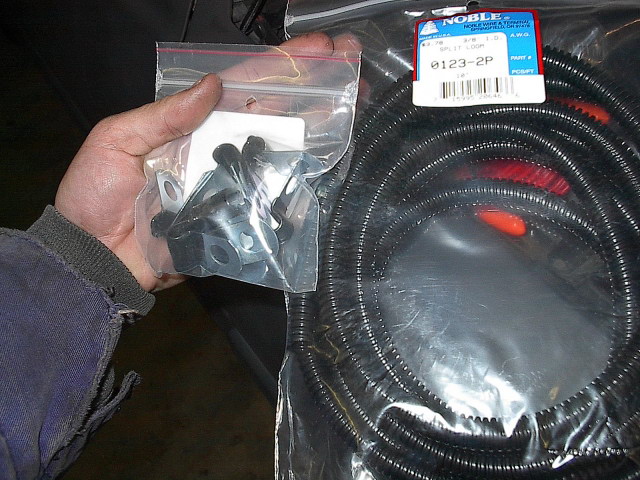
Here is the wire tubing and brackets I will be using to make it a clean install:
Slipping the wiring into the tubing:
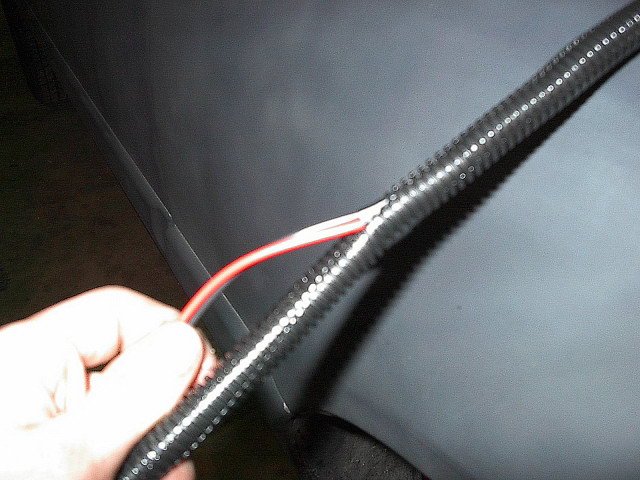
I routed it along the firewall using the brackets and zip ties as necessary:
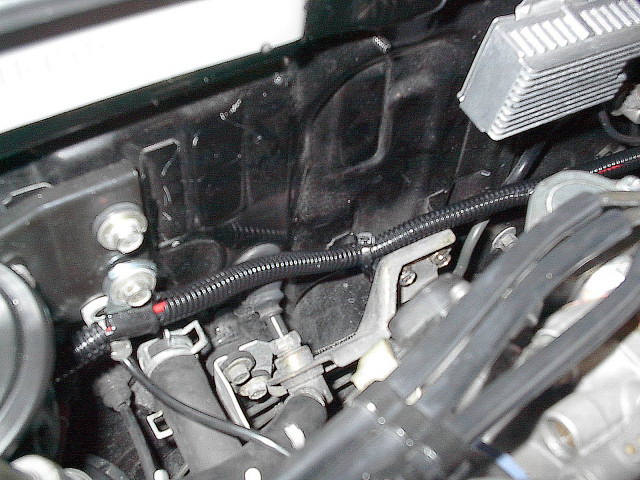
This is looking up from the bottom drivers side of the block. The wire brackets are hooked to one of the water pump bolts and the other is hooked to the very bottom side cover bolt:
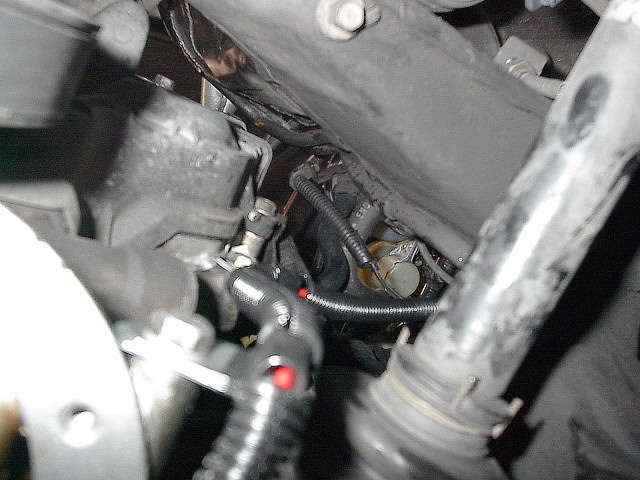
Next I ran it over to one of the intermediate shaft bolts. All this is necessary because I don't want it getting caught up on the drive shaft, that would end my fun real quick!
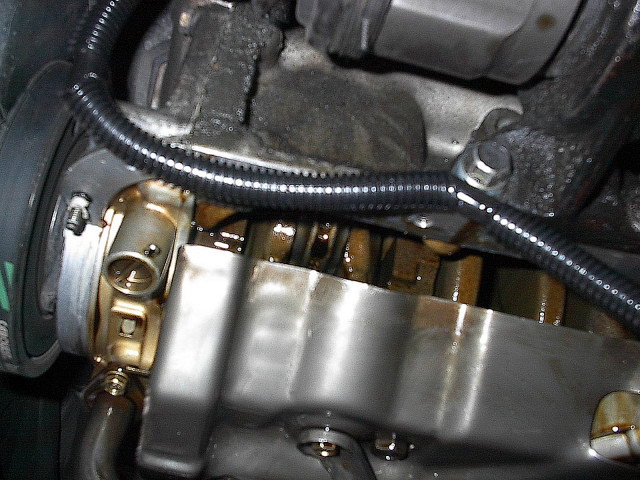
Oil pan is dry, didn't realize the paint was gloss till after painting it, oh well:
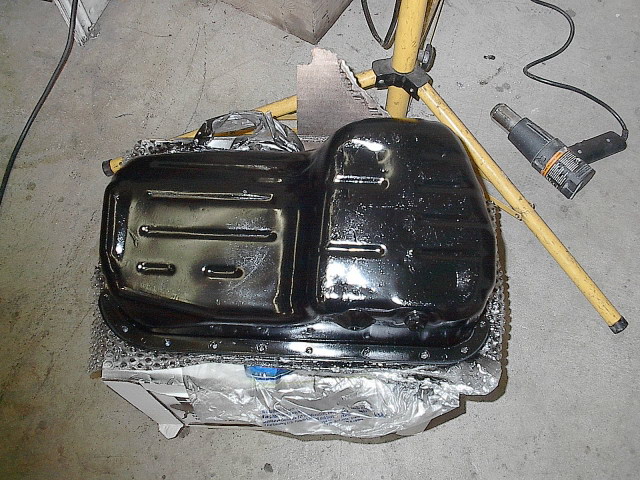
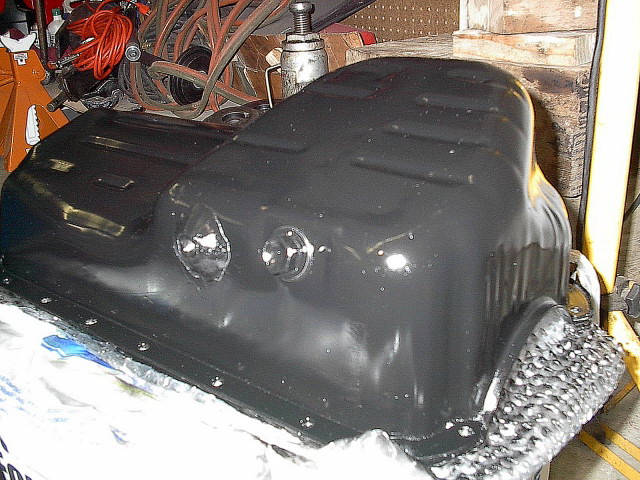
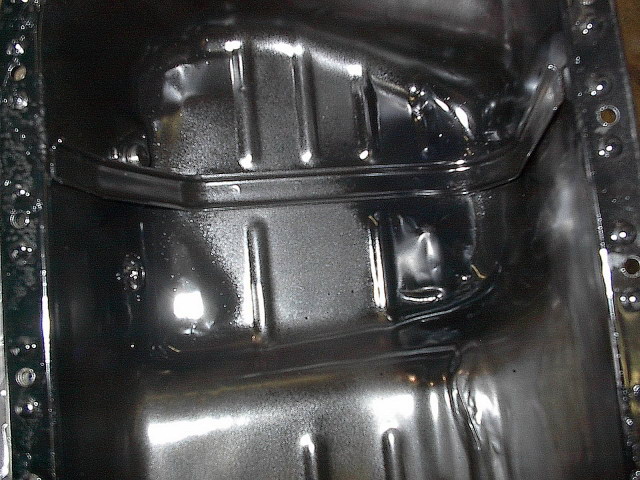
You need to put silicone on either end of the pan where it seals around the crank caps. Then set the gasket on the pan and use some on the top of those same spots. Check the online manual for the exactly procedure and follow it or it may develop leaks.
Now put the pan back up and run the bolts and nuts down. Torque them to 7 ft lbs. or 84 in lbs. don't just tighten them by hand! having them really tight doesn't actually make the gasket seal better, it just makes it leak. Do at least 2 passes on all the bolts to make sure you got them all right. Now hook up your sensor.
Here's the sensor all hooked up. I grounded to one of the oil pan bolts:
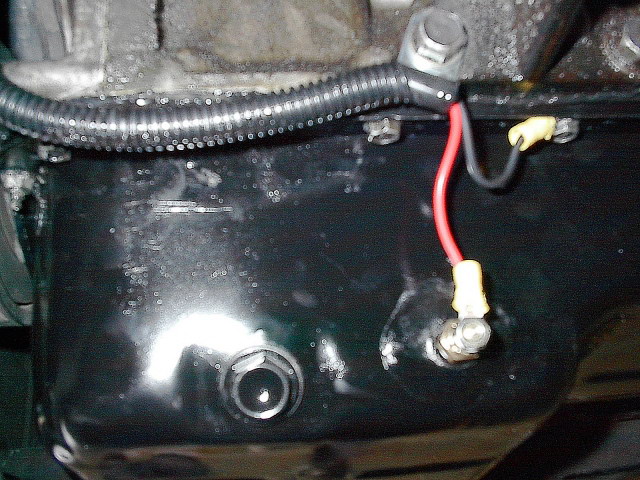
Now just put the downpipe and engine center beam back on and set the car back down. Fill it with oil and your done. When you start it up to test the sensor take it for a good drive because the oil seems to take 3x as long to get up to 180° than the water does. 3 days after the install or when you get some miles on it check for leaks and re torque the oil pan bolts. (Silicone will sometimes take a set)