Caster Adjustment
So the suspension has been checked, weight simulated, tire pressure checked, bushings neutralized, and ride height chosen... right? Now you are ready to start the actual alignment beginning with caster...
That is unless you suspect your toe settings are waaay off. Like for example if you just had the whole suspension torn apart for some major work. If this is the case you should skip to the toe adjustment section and do a quick initial toe adjustment to get it close. Then start here again and work through the tutorial finishing with toe again. Always finish with toe.
The reason for this is if you make big adjustments to toe it will have an effect on your caster/camber settings so you should have it close to begin with.
Ready to do the caster now? Haha not just yet. If your car is 4WS you need to again skip to the 4WS toe section and do the procedure to confirm the steering wheel is centered when the rear 4WS gearbox is locked.
Ok so now you have done an initial toe adjustment if needed and confirmed steering wheel centering if the car is 4WS. Now you are really ready to start caster...
Always pull the car forwards into your workspace. This makes it so everything in the suspension/steering is loaded in the same manner as if the car was driving forwards down the road.
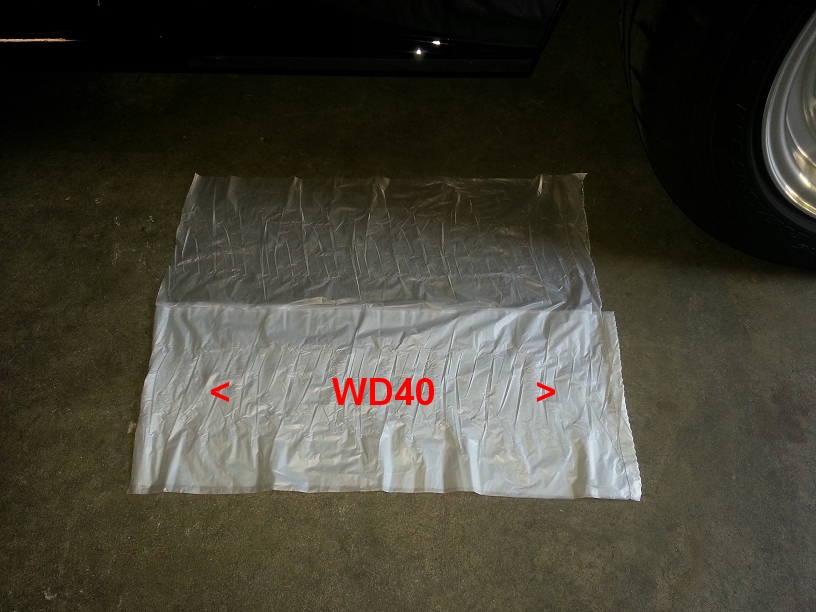
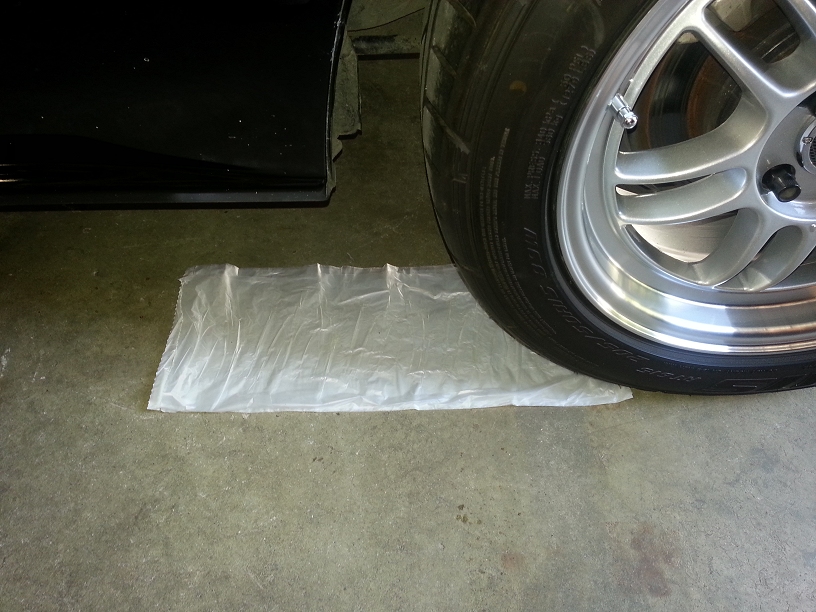
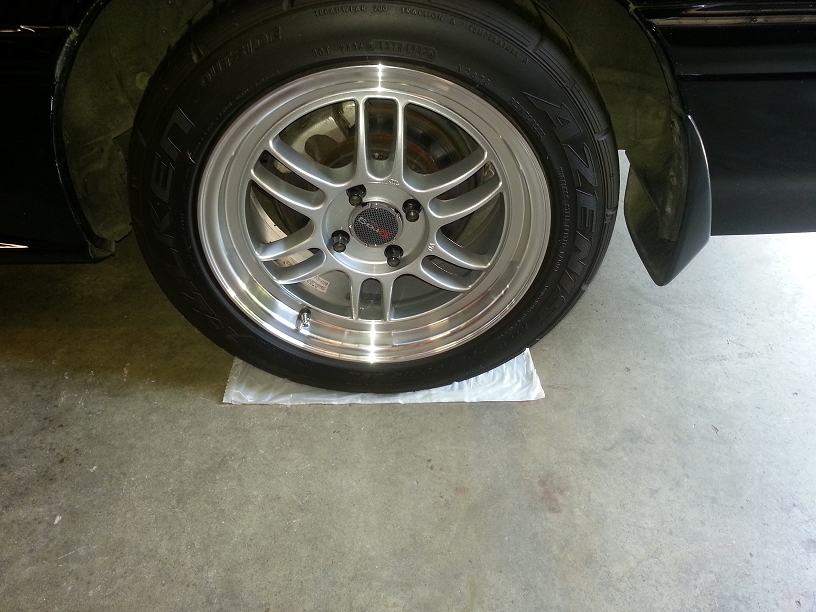
If you have a smooth/sealed concrete floor take your trash bags, spray some WD-40 in one of the folds, and place it in front of the wheel. Do this for every wheel and once done roll the car forward onto them:


If you are on a rough floor you will substitute the trash bags with stacked linoleum tiles. Apply some grease between them like this:

The purpose for all this is to create a slick surface between the tires and ground allowing them to turn easily.
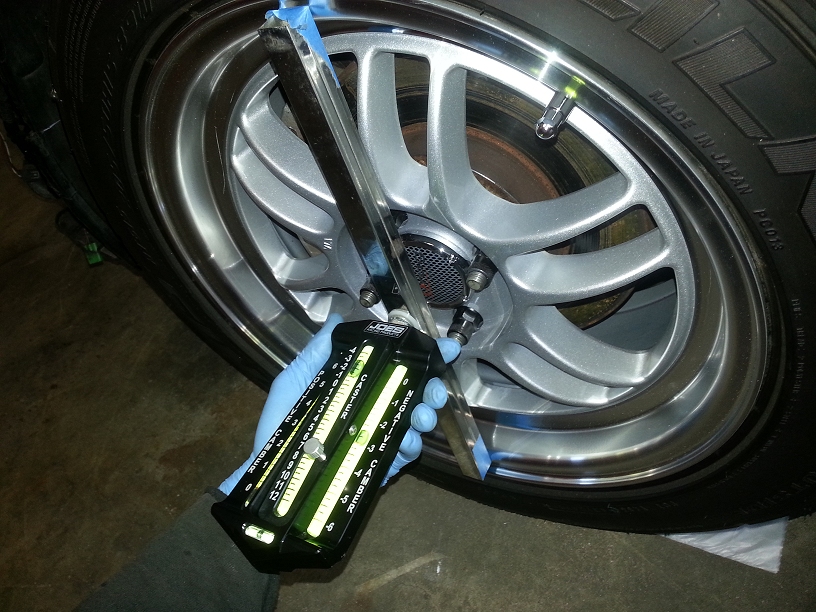
Here is my camber/caster gauge all set up and attached to a piece of square tube. You can see the square tube is cut so it rests on the flat portion of the rim with the gauge screwed into the center of the tube. You will need to cut a custom length to match whichever wheels you are using:
Go into the car and center the steering wheel, take your time to get it just right.
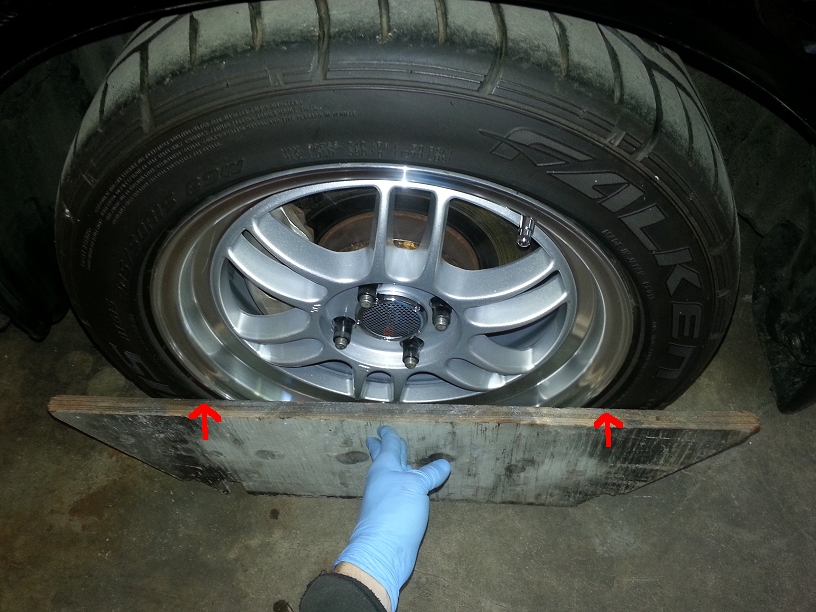
Once it is centered place your piece of wood against the wheel/tire like shown. It should touch the tire at the bottom and touch it where the two red arrows are:
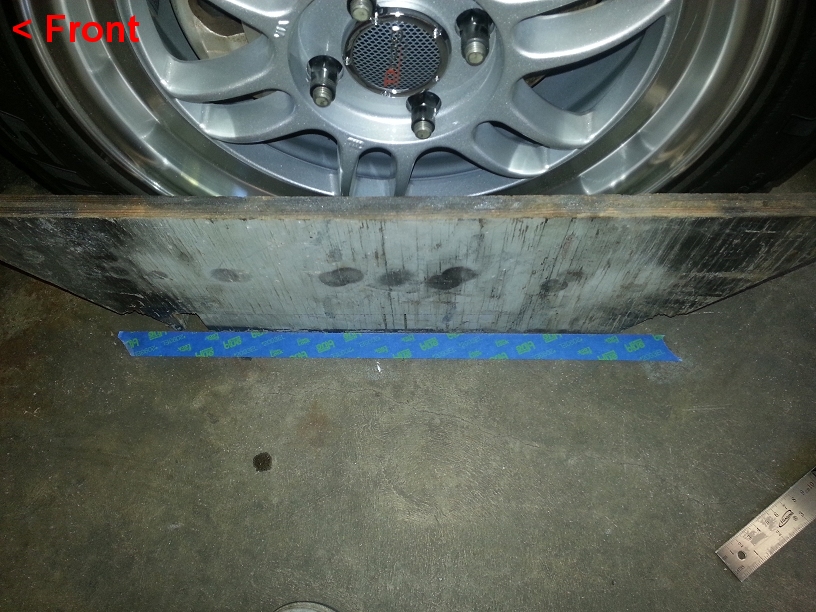
Now place a piece of painters tape along the bottom to mark the centered position of the wheel:
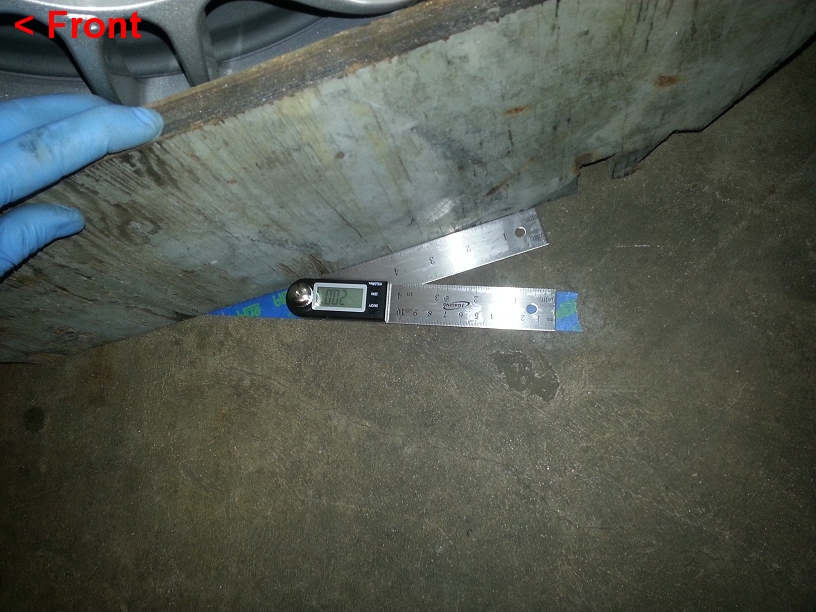
Set your protractor to 20°. Then using the tape and the piece of wood as reference turn the wheel so the front of it is pointing out 20° from center like this:
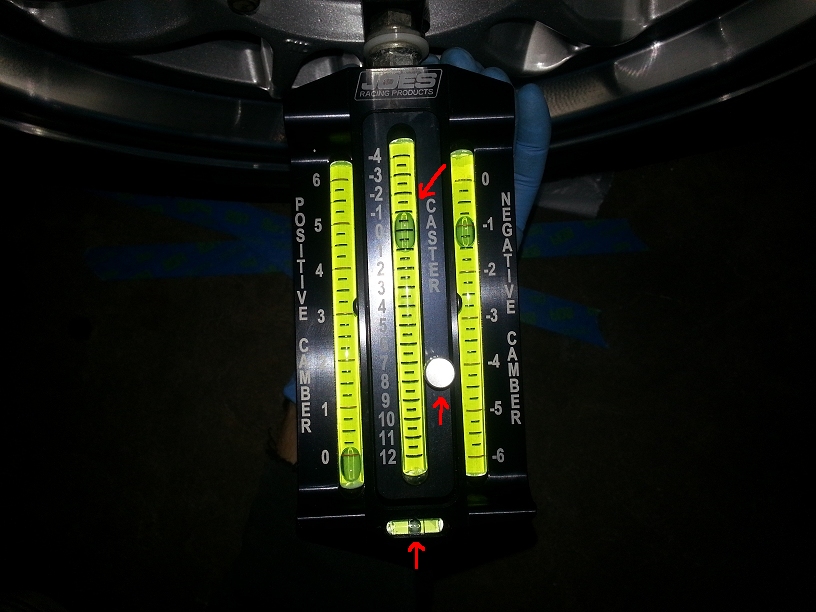
Place your caster/camber gauge on the rim and rotate it so the bubble in the small tube at the bottom is centered. Then turn the silver knob on the top until the bubble on the caster portion of the gauge is set at 0°. When reading the gauge you always read to the center of the bubble:
Gently place the gauge to the side and again using the protractor, tape, and board turn the wheel so the front is pointing 20° inward from center:
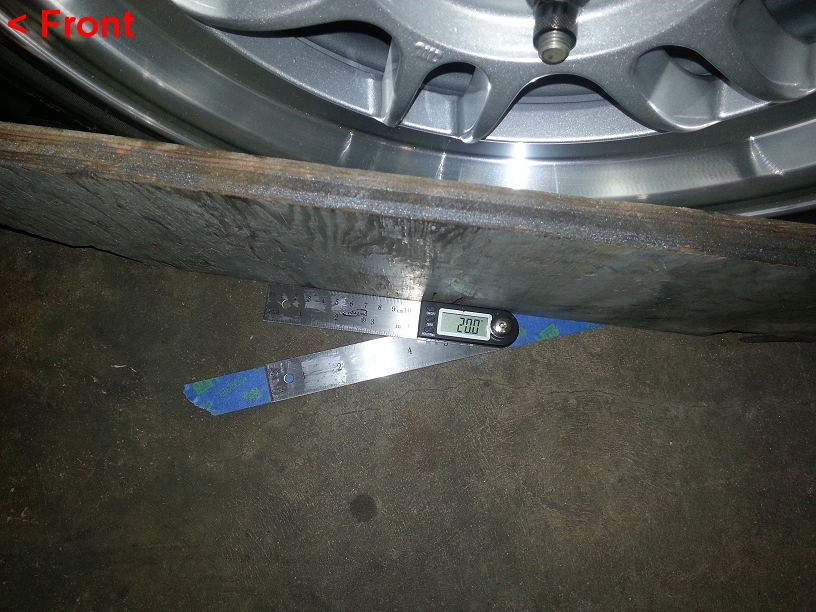
Place the gauge back onto the wheel like you did before and it will now give you your caster reading. I have 2° positive here:
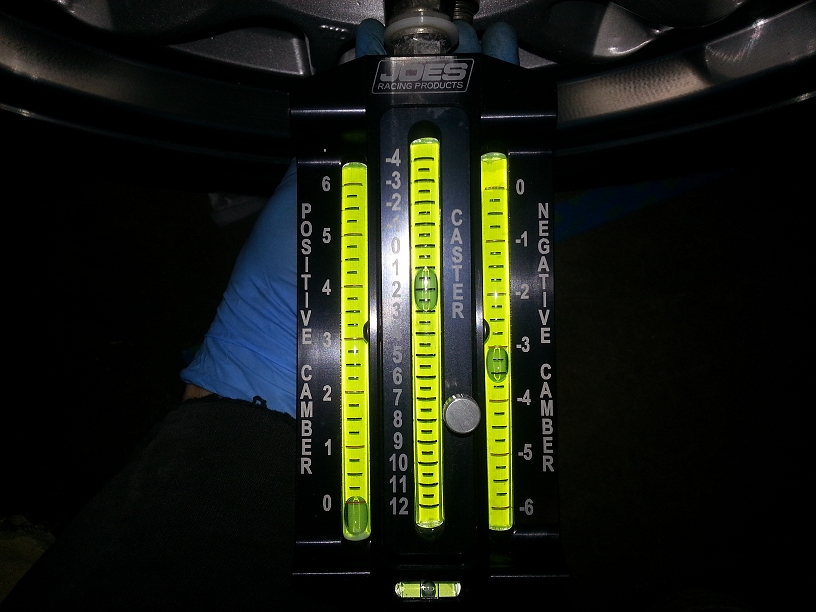
Now that you know the current caster you can start adjusting. The stock caster setting is +2.20° plus or minus .30°. You will notice our gauge reads in 1/2 degrees so you should adjust the caster to +2° or +2.5°, I recommend going for +2.5°.
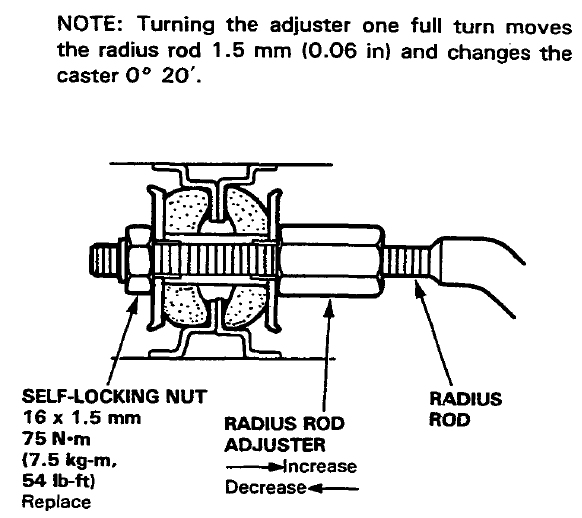
Here is a cut away from the front of the radius rod. If you want to increase positive caster you would loosen the adjuster nut then tighten the locking nut, that will pull the radius rod forward. To reduce positive caster do the opposite: loosen the locking nut and tighten the adjuster nut.
Pay attention to that note \/ It will allow you to calculate how much to turn between caster checks.
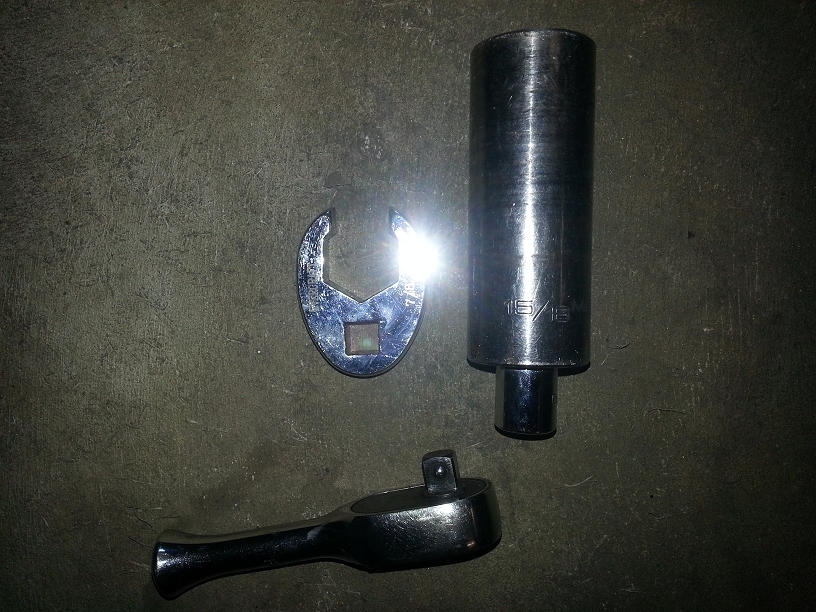
The locking nut is 24mm or 15/16" and the adjuster nut is 22mm or 7/8". A stubby ratchet with crows foot socket for the adjuster nut and deep socket for the locking nut works well for easy adjusting:
Once you have made an adjustment and want to check the caster again you have to start the whole procedure over. Turn the wheel 20° out, zero the caster gauge bubble, turn the wheel 20° inward, and finally read the caster.
A word of warning: Due to a thing called Ackermann steering built into the suspension, turning one wheel 20° out does not make the other wheel turn 20° inward. Don't try and shortcut this procedure by trying to do both sides at the same time, do each front wheel individually.
One more warning: If you needed to do a bunch of adjustments turning the wheel back and forth several times you should stop and confirm your centering tape mark is still accurate. Even with the improvised slip plates under the tires the front of the car may still walk to one side a bit after turning the wheels a bunch.
Once you get the caster finished you are ready to move on to Camber Adjustment.